Tuesday, April 30, 2019

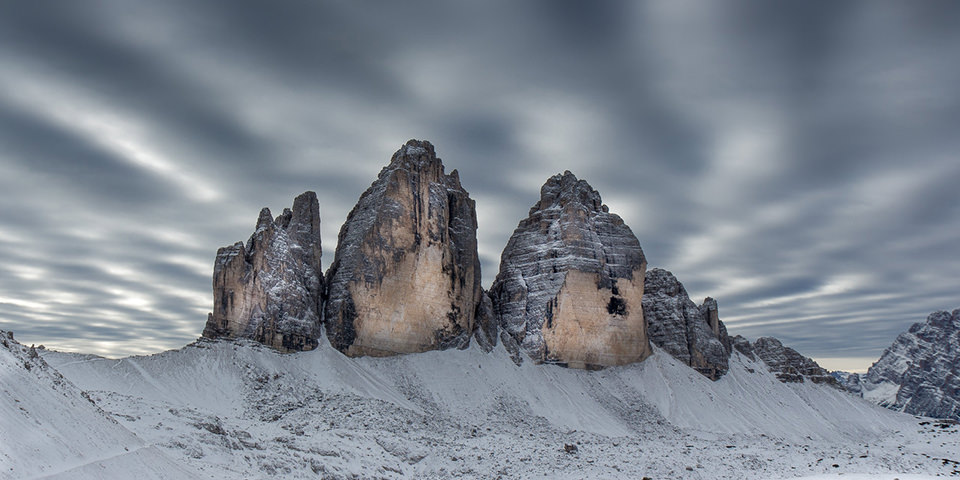
Fokussieren in der Landschaftsfotografie
10:03:00 PM

Ein Beitrag von: Stefan Czurda

Das Fokussieren in der Landschaftsfotografie ist ein viel diskutiertes Thema. Ziel ist es natürlich immer, möglichst scharfe Landschaftsfotos zu schießen. Aber wie bekomme ich eine ausreichende Schärfe auf meinen Landschaftsfotos und wo setze ich am besten den Fokus bei Landschaftsaufnahmen? Diese Frage ist nicht ganz so einfach zu beantworten.

Ich möchte Euch anhand mehrerer Beispiele zeigen, warum ich kein Fan der hyperfokalen Distanz bin und Euch eine einfache Methode vorstellen, wie Ihr Objekte sowohl im Vordergrund, als auch im Hintergrund scharf abbilden könnt. Hier findet Ihr alles, was Ihr für scharfe Landschaftsfotos braucht!

Wo ist mein Objektiv am schärfsten?

Wenn man zu Fotografieren beginnt, lernt man sehr schnell, dass man für mehr Schärfentiefe abblenden soll. Also warum nicht einfach Landschaftsfotos bei f/22 schießen, wird schon alles scharf sein, oder? So ganz einfach ist es dann doch nicht. Ab einer gewissen Blende kommen sogenannte Beugungseffekte ins Spiel, die die Schärfe vermindern. Daher ist es sehr wichtig, dass Ihr wisst, bei welcher Blende Euer Objektiv am besten betreffend der Schärfe abbildet.

Das lässt sich ganz einfach herausfinden. Montiert Eure Kamera auf ein Stativ und fokussiert auf einen bestimmten Punkt in Eurer Landschaft. Ich würde dazu ein markantes Objekt im Vordergrund Eures Bildaufbaus nehmen. Einmal fokussiert, ändert Ihr den Fokus nicht mehr. Am besten schaltet Ihr den Autofokus komplett aus und fasst den Schärfering nicht mehr an. Nun fangt Ihr mit der größten Blende an und fotografiert das gleiche Bild bis zur kleinsten Blende. Die Belichtung müsst Ihr natürlich bei jedem Wechsel anpassen. Danach schaut Ihr Euch die Schärfe in Lightroom an.

Die folgenden Bilder habe ich bei f/2.8 bis f/22 mit meinem Zeiss Loxia 21 an der Sony Alpha 7 III geschossen. Diese Kombination setze ich in der Landschaftsfotografie häufig ein. Ich habe hier nur mit den ganzen Blendenstufen (f/2.8, f/4, f/5.6, f/8, f/11, f/16, f/22) gearbeitet. Nun kann ich mir in Lightroom ansehen, wo das Objektiv am besten abbildet. Dazu verwende ich die Vergrößerung bei 100 %.

f/2.8

f/4

f/5.6

f/8

f/11

f/16

f/22

Das Schärfeoptimum am Fokuspunkt liegt bei f/8. Für die Landschaftsfotografie kann ich einen Bereich von f/8 bis f/13 gut gebrauchen. Bei diesen Blenden habe ich auch sehr gute Schärfe in den kritischen Randbereichen. Ab f/16 sieht man dann schon recht deutlich einen Abfall der Schärfe. Das habe ich aufgrund der Beugungseffekte natürlich auch erwartet. Ich setzte mir ein Limit bei f/13, weiter würde ich mit diesem Objektiv bei Landschaftsfotos nicht abblenden.

Bitte beachtet, dass das Zeiss Loxia 21 eine Festbrennweite ist. Arbeitet Ihr mit Zoom-Objektiven, dann müsst Ihr diesen Test eventuell bei verschiedenen Brennweiten machen. Macht Euch einmal die Arbeit und testet Euer Objektiv gründlich hinsichtlich der Schärfeleistung. So könnt Ihr immer im besten Schärfebereich fotografieren.

Nun möchte ich Euch mehrere Methoden für scharfe Fotos in der Landschaftsfotografie vorstellen. Konkret geht es nun darum, wo ich am besten meinen Fokuspunkt für scharfe Landschaftsfotos setze.

Fokussieren mit der hyperfokalen Distanz

Das Konzept der hyperfokalen Distanz ist nach wie vor sehr beliebt beim Fokussieren in der Landschaftsfotografie. Fokussiert Ihr auf ein Objekt, das der hyperfokalen Distanz entspricht, dann soll alles von der halben hyperfokalen Distanz bis unendlich eine größtmögliche Schärfentiefe besitzen. Die hyperfokale Distanz ist abhängig von der Brennweite und von der Blende. Die Werte lassen sich aus Tabellen ablesen. Ebenso gibt es Handy-Apps (wie Photo Pills), die Euch die Werte auslesen lassen.

Vorweg, ich bin kein Fan dieses Konzepts und finde es eigentlich nicht brauchbar für scharfe Landschaftsfotos. Außerdem finde ich es umständlich, denn man muss die Distanzen immer wissen und dann den Abstand von der Kamera zum Objekt, auf das fokussiert werden soll, abmessen.

Für meinen Test wähle ich Blende f/11. Der Wert liegt in meinem definierten Schärfeintervall von f/8 bis f/13. Die hyperfokale Distanz für das Zeiss Loxia 21 bei f/11 beträgt 1,32 m. Fokussiere ich auf ein Objekt, das 1,32 m entfernt ist, dann sollte alles von 66 cm (halbe hyperfokale Distanz) bis unendlich möglichst scharf abgebildet werden.

Waldaufnahme mit Grafiken

Fokussieren in der Landschaftsfotografie mit der hyperfokalen Distanz

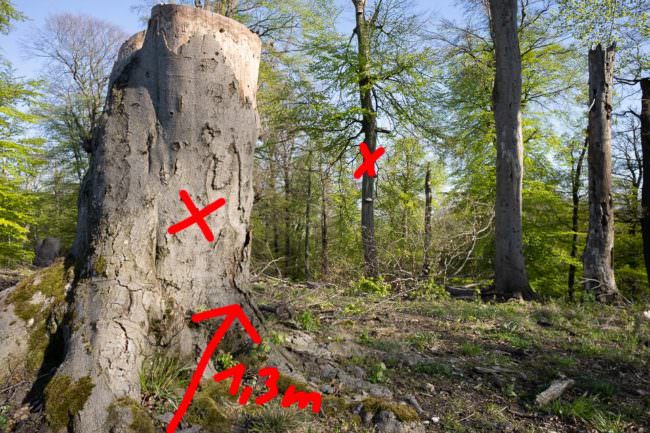
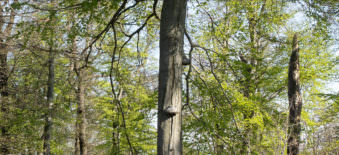
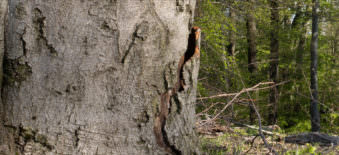
Der linke Baum im folgenden Bild ist 1,3 m von meiner Kamera entfernt und entspricht der hyperfokalen Distanz. Ich habe es exakt abgemessen! Fokussiert habe ich mit der Fokuslupe mit 5.9 x Vergrößerung mit der Sony Alpha 7 III im Sucherbild.

Der hintere Baum liegt in einem weit entfernten Bereich. An diesem Punkt möchte ich die Schärfe evaluieren. Der hintere Baum muss möglichst scharf abgebildete werden, wenn das Konzept der hyperfokalen Distanz stimmt.

Die Bildschärfe der mit X markierten Bereiche schaue ich mir in Lightroom bei 100 % an:

BaumrindeBaum

Links passt der Fokus, dort habe ich fokussiert! Rechts im weiter entfernten Bereich ist das Bild aber etwas weich. Ich habe den Test bei f/13 wiederholt und das Ergebnis war ebenso ernüchternd. Fokussieren mittels hyperfokaler Distanz für scharfe Landschaftsfotos kann ich nicht empfehlen.

Fokussieren auf die doppelte hyperfokale Distanz

In einem spannenden Video empfiehlt Landschaftsfotograf Ross Hoddinott, auf die doppelte hyperfokale Distanz zu fokussieren. Dieses Konzept habe ich ebenso ausprobiert.

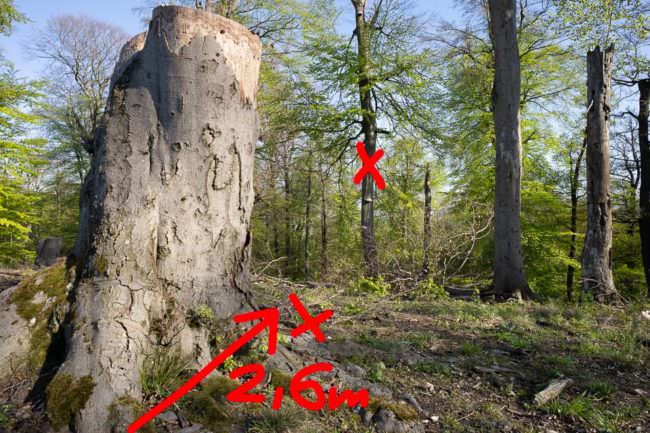
In meinem Setting wieder bei f/11 entspricht die doppelte hyperfokale Distanz 2,64 m. Ein kleines Pflänzchen hinter meinem Baum befindet sich 2,64 m von der Kamera entfernt und dient mir nun als neuer Fokuspunkt. Auch hier habe ich die Distanzen genau abgemessen.

Waldaufnahme mit Grafiken

Scharfe Landschaftsfotos mit der doppelten hyperfokalen Distanz

Nun kontrolliere ich die Schärfe wieder am vorderen und hinteren Baum:

RindeBaum

Beim Fokussieren auf die doppelte hyperfokale Distanz habe ich an beiden Objekten eine gute Schärfe. Dieses Konzept funktioniert gut für scharfe Landschaftsfotos. Allerdings muss man hier natürlich ein wenig Rechnen.

Nun habe ich aber noch ein weiteres Konzept für scharfe Fotos, bei dem alles ein wenig einfacher funktioniert.

Fokussieren auf die minimale Distanz mit der Fokuslupe

Auf YouTube habe ich ein weiteres sehr interessantes Video gefunden. Sony Alpha Ambassador Mark Galer zeigt, wie man die exakte hyperfokale Distanz ganz einfach mit der Fokuslupe der Sony Alpha 7 finden kann. Für diese Technik braucht Ihr keine Tabellen und Werte. So bin ich beim Fokussieren auf die minimale Distanz mit meiner Sony Alpha 7 III vorgegangen:

  • Fokussiert mit der Fokuslupe bei höchster Vergrößerung auf ein markantes Objekt im Hintergrund Eures Ausschnittes.
  • Ihr müsst manuell fokussieren.
  • Zum korrekten Positionieren des Autofokusfeldes nutzt am besten das Flexible Spot Medium Fokusfeld.
  • Verwendet dazu immer den Sucher.
  • Nun fokussiert Ihr mit der Fokuslupe nur so weit, bis das Objekt in der Ferne gerade scharf abgebildet ist – also auf die geringste Distanz, die möglich ist.

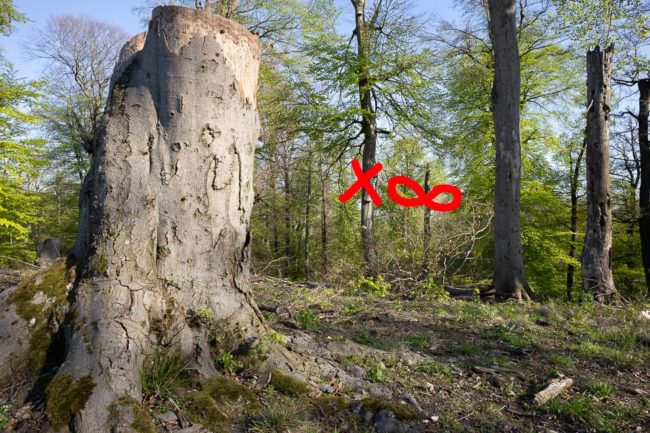
Die Fokuslupe habe ich mir auf die C1-Taste der Sony Alpha 7 III gelegt. Drücke ich zweimal auf diese Taste, bin ich im Sucherbild in der größten Vergrößerung. Das Fokussieren ist nicht ganz einfach und benötigt ein wenig Übung. Man gewöhnt sich aber sehr schnell daran. Ich verwende keine Kantenanhebung, da sie mich beim Scharfstellen bei höchster Vergrößerung stört. In meinem Setting habe ich wieder bei f/11 auf dem Baum im Hintergrund fokussiert.

Waldaufnahme mit Grafiken

Scharfe Landschaftsfotos ohne Tabellen mit der Fokuslupe

Nun evaluiere ich wieder die Schärfe im Vordergrund und Hintergrund:

RindeBaum

Sowohl im Vordergrund, als auch im Hintergrund habe ich mit dieser Methode eine wirklich gute Schärfe. Eine tolle Technik für scharfe Landschaftsfotos, ganz ohne Tabelle und Rechnen! Sollte der Fokus im Vordergrund allerdings nicht passen, dann könnt Ihr maximal bis Blende f/13 abblenden.

Wo fokussiere ich in der Landschaftsfotografie?

Hier sind ein paar einfache Regeln, die Euch das Fokussieren in der Landschaftsfotografie erleichtern sollen. So bekommt Ihr garantiert scharfe Fotos.

Sonnenuntergang an einem see mit Baumstamm im Vordergrund

Schärfe im Vorder- und Hintergrund muss beachtet werden, der Baumstamm soll scharf sein.

Regel 1: Spannendes Objekt im Vordergrund

Habt Ihr im Vordergrund ein spannendes Objekt (siehe Foto oben vom Sonnenuntergang), dann sollte es scharf abgebildet werden. Sucht Euch ein Objekt im Hintergrund und fokussiert manuell auf die minimale Distanz, wie oben beschrieben. Das Objekt sollte aber nicht zu weit im Hintergrund liegen (max. bei 2/3 des Bildes). Wenn der Vordergrund nicht scharf erscheint, dann blendet so weit ab, wie es der Schärfebereich Eures Objektivs zulässt. Am einfachsten geht das mit einer Systemkamera. Verwendet dazu den Sucher und die Funktion „Fokuslupe“ bei der höchsten Vergrößerung.

Regel 2: Kein spannendes Objekt im Vordergrund

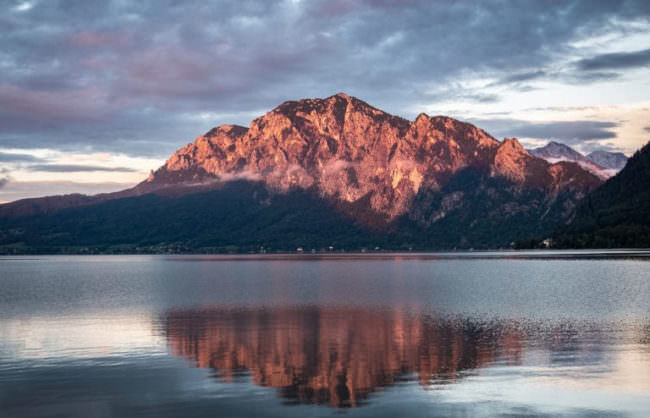
Befindet sich im Vordergrund nichts Spannendes, dann könnt Ihr einfach mit dem Autofokus auf das gewünschte Objekt im Hintergrund fokussieren. Ihr verliert je nach Blende nach vorn vielleicht etwas Schärfe, aber das kann Euch in diesem Setting egal sein (siehe das untere Bild). Eventuell müsst Ihr hier auch nicht so weit abblenden.

Regel 3: Die richtige Blende für scharfe Landschaftsfotos

Verwendet immer jene Blenden, bei der das Objektiv eine gute Schärfentiefe hat und besonders scharf abbildet. Testet unterschiedliche Blenden bei unterschiedlichen Brennweiten. In der Regel sind das Blenden zwischen f/8 und f/13, wenn man mit einer Vollformatkamera arbeitet. Vergesst nicht, dass sich kleinere Sensoren hinsichtlich der Schärfentiefe anders verhalten. Hier liegt das Optimum der Schärfe bei größeren Blenden als am Vollformat und Beugungseffekte treten früher ein.

Ein Berg spiegelt sich in einem Gewässer

Kein Objekt im Vordergrund, hier wird auf den Berg fokussiert

Fazit

Meiner Meinung nach ist die hyperfokale Distanz eher ein mathematisches Konzept und kann im Zeitalter hochauflösender digitaler Kameras nur mehr bedingt für scharfe Fotos eingesetzt werden. Die Methode der minimalen Distanz finde ich sehr brauchbar. Mit ein wenig Übung ist sie sehr einfach durchzuführen und meiner Meinung nach für scharfe Landschaftsfotos wirklich empfehlenswert.

Der Artikel erschien zuerst auf Stefan Czurdas Blog. Wir veröffentlichen ihn mit freundlicher Genehmigung.


kwerfeldein – Magazin für Fotografie http://bit.ly/2DF3C52

Sourced by Time Trap Photography sharing the best photography tips, news and tricks throughout the industry. Time Trap Photography is dedicated to freezing those special moments in life that can be revisited and admired for generations to come. - Shannon Bourque
Please visit our main site for booking availability and rates.


"Time


Receive valuable industry knowledge delivered free to your email each day.


"Time

Rumors Suggest DJI Taking Aim at GoPro with Action Camera Concept

6:52:00 PM

The past several years were kind of tough for GoPro, the pioneering action camera maker that has watched its market share get gobbled up by competitors.

Still reeling from an abortive effort to get into the drone market, it seems that GoPro may yet face DJI in the field as rumors point to the Chinese drone behemoth possibly entering the action camera market itself.

Image via Francesco Paggiaro from Pexels.com.

Of course, that makes a lot of sense when you look at DJI’s lineup of drones.

But, if you’re GoPro, that news has to stink.

Photo Rumors reports that “DJI is rumored to announce a new action camera to compete with GoPro. The new model will be probably based on the current OSMO Pocket and will be equipped with a super-wide angle lens.”

As a lot of people on the Internet are pointing out, the rumor makes sense, both from the standpoint of a natural add-on to their current products but also as part of the company's desire to expand beyond just drones and accessories.

That doesn’t mean it is accurate, but making sense is usually the first step towards becoming reality.

Not only do a bunch of action camera videographers use drones in their work but also most of them likely make use of a drone from DJI (given their market share).

Where the company could have an edge is in instant compatibility and ease of use with DJI drones.

Further, the OSMO Pocket is apparently perfectly positioned to become an action camera with just a few modifications.

Nonetheless, DJI might face some tough competition from GoPro and the other makers, most of which are established and really competitive on price.

That could be a game changer but we’ll have to wait and see if any of this happens.

What do you think? Should DJI get into the action camera game? Let us know your thoughts in the comments.

Let's block ads! (Why?)


Light Stalking http://bit.ly/2IS90pW

Sourced by Time Trap Photography sharing the best photography tips, news and tricks throughout the industry. Time Trap Photography is dedicated to freezing those special moments in life that can be revisited and admired for generations to come. - Shannon Bourque
Please visit our main site for booking availability and rates.


"Time


Receive valuable industry knowledge delivered free to your email each day.


"Time

Leica Responds to Tiananmen Square Video

6:17:00 PM

The past week or so has not been the best of times for Leica in China.

After a video came out that showed the Tiananmen Square incident and associated it with Leica, the German camera brand has been banned from Chinese social media and is doing massive damage control.

Image via Marcus Spiske from Pexels.com.

The video, called “The Hunt,” shows a cameraman evading Chinese police but not before surreptitiously snapping a picture of the iconic Tank Man, the protester who stood in front of tanks holding nothing but grocery bags.

Given Leica’s close partnership with Huawei on their smartphones, this ad was less than well received.

In fact, any mention of the 1989 Tiananmen Square event is banned on Chinese Internet.

Spokesperson for Leica, Dirk Große-Leege, said of the video that, “the video was not commissioned, financed or approved by any company in the Leica Group. We expressly regret any confusion and will take further legal steps to prevent unauthorized use of our brand.”

Leica has still not explained how it was made and what exactly the nature of its relationship with Brazilian marketing firm F/Nazca Saatchi & Saatchi is.

The marketing firm didn’t shy away from promoting the video on their social media accounts either, posting it on its Twitter account on April 16.

The collaborators behind the film said, “Rare are the films that allow immersion in concept and development like this. We studied, for over a year, several stories of photographers and, mainly, the obstacles they had to overcome to achieve the striking photos of their careers. Without their bravery and boldness, maybe many stories would have never been known around the world.”

You can read all about the film on this website.

Among other things, it details the process behind the ad and doesn’t shy away from its association with Leica.

So, even with Leica’ official disavowal, we’re no closer to knowing what’s up.

Let's block ads! (Why?)


Light Stalking http://bit.ly/2V4lhxY

Sourced by Time Trap Photography sharing the best photography tips, news and tricks throughout the industry. Time Trap Photography is dedicated to freezing those special moments in life that can be revisited and admired for generations to come. - Shannon Bourque
Please visit our main site for booking availability and rates.


"Time


Receive valuable industry knowledge delivered free to your email each day.


"Time

Darkness has approached and I feel no light inside of me. 🌑 Featuring: @ambermclarty Event Host: @shellylangephotography #moodyports . . . . . #itraptime #nature_perfection #folkcreative #VisualsOfLife #gearednomad #MoodyGrams #moody #visualambassadors #exklusive_shot #thecreative #modellife #modelling #modelphotography #altgirl #testshoot #sacigers #nikonphotography #nikontop #nikon_photography_

5:48:00 PM

via Time Trap Photography http://bit.ly/2V5fCb5

Image by Time Trap Photography sharing the best photography tips, news and tricks throughout the industry. Time Trap Photography is dedicated to freezing those special moments in life that can be revisited and admired for generations to come. - Shannon Bourque
Please visit our main site for booking availability and rates.


"Time


Receive valuable industry knowledge delivered free to your email each day.


"Time

Instagramavision: Samsung Making Vertical TV to Commemorate Everyone’s Favorite Shooting Mode

5:22:00 PM

Have you ever thought about buying a vertical television set?

What about buying one to…view Instagram?

Image via Samsung.

That’s apparently the inspiration behind Samsung’s vertical television concept which is geared towards people who are accustomed to viewing content on their smartphone screen.

Also, we assume, it will make vertical videos more palatable.

Or something along those lines?

The 43-inch television is called the Sero which is Korean for vertical according to PetaPixel.

Marketed towards the “millennial generation,” the television uses NFC to sync up with your phone’s screen so that you can view that content on the Sero instead.

If a more traditional viewing orientation is your thing, you can rotate the Sero to a horizontal viewing position like any other television.

We can imagine that companies that work in social media as well as some well-heeled individuals will find this product appealing.

The Verge writes, “Throwing in 4.1-channel, 60W speakers along with an integrated navy stand and a minimalist rear design, Samsung seems to hope this TV will function as both a music streaming hub and a handsome piece of furniture.”

And, at $USD 1630, it won’t exactly break the bank.

Still, that’s quite a big amount of money to buy a television set that is so specialized.

If you’re interested in the Sero it should be available in its home market of South Korea by the end of May.

It joins Samsung’s other speciality televisions like the Serif and the Frame.

No word on a release in other markets around the world and Samsung is really careful to call the Sero a “concept.” We can imagine that if it does really well in South Korea then it will probably make its way to other markets around the world eventually.

What do you think of the Sero? Too specialized or pretty cool concept for today’s smartphone-filled world?

Let us know your thoughts in the comments.

Let's block ads! (Why?)


Light Stalking http://bit.ly/2J6OqRO

Sourced by Time Trap Photography sharing the best photography tips, news and tricks throughout the industry. Time Trap Photography is dedicated to freezing those special moments in life that can be revisited and admired for generations to come. - Shannon Bourque
Please visit our main site for booking availability and rates.


"Time


Receive valuable industry knowledge delivered free to your email each day.


"Time

Disappearing Likes? Instagram Officially Testing New Feature

5:12:00 PM

Remember when we told you that Instagram was planning on testing a feature that would hide likes from public view?

Well, it looks like they’re plunging ahead with the test and whether or not it is finally implemented could have huge implications for the future of the platform.

Image via Pixabay from Pexels.com.

TechCrunch reports that Instagram told them that, “Later this week, we’re running a test in Canada that removes the total number of likes on photos and video views in Feed, Permalink pages and Profile…We are testing this because we want your followers to focus on the photos and videos you share, not how many likes they get.”

Why Canada, you might ask?

Instagram tells TechCrunch that, “Canadians are highly social and tech-savvy, with over 24 million people connecting across our family of apps each month. We wanted to test this with a digitally savvy audience that has a thriving community on Instagram.”

This change accompanies a lessened emphasis on follower counts as well as tweaks to the algorithm that determines what content you see.

Under pressure from almost everyone to stop the insanity surrounding likes and followers, the changes wouldn’t eliminate likes but it would make them harder to calculate according to the testing parameters.

A user could see who has liked the photo but it would not tally the likes for them according to TechCrunch.

One group that could be adversely impacted by these changes are the so-called “influencer” class of Instagram users that worry about how they will get analytics if these changes go through.

Along those lines, Instagram said, “We understand that this is important for many creators, and while this test is in exploratory stages, we are thinking through ways for them to communicate value to their brand partners.”

Other features being considered for testing include a “nudge” feature that will limit hurtful comments, an “Away Mode” that is in between account deactivation and active, and enhanced interaction features that let you customize how you interact with other users.

Right now, you can unfriend them or block them, so the last feature in particular sounds like something that would benefit everyone.

Let's block ads! (Why?)


Light Stalking http://bit.ly/2PFVExk

Sourced by Time Trap Photography sharing the best photography tips, news and tricks throughout the industry. Time Trap Photography is dedicated to freezing those special moments in life that can be revisited and admired for generations to come. - Shannon Bourque
Please visit our main site for booking availability and rates.


"Time


Receive valuable industry knowledge delivered free to your email each day.


"Time

Godox AD200: An Amazing Flash— If You Tweak it a Little

5:02:00 PM

The Godox AD200 has been much written about (and fawned over) for good reason: it's a legit 200ws flash in a near-speedlight form factor that has a lot going for it.

At only $299 (a pretty remarkable price point) you can't expect it to be perfect. And it isn't. The good news is that for an extra $67, you can go a long way towards closing that gap.

Earlier this week, I spent an afternoon shooting headshots of BFA student actors at UMBC, a nearby university with a great theatre program. Doing the heavy lifting on my key light was a Godox AD200, which is a 200 watt-second flash that is about the size of a locked-open full-sized speedlight, only heavier.

This is an amazing form factor for a 200 watt-second flash. A speedlight is generally about 60ws of power, meaning that Godox has crammed more than three speedlights' worth of power into this thing. It must be virtually all big capacitors on the inside.

It includes a capable rechargeable battery, too. It'll knock off 500 full-power pops in a single charge. Which means a couple thousand pops at the equivalent power rating of a speedlight on full power. For people shots, lighting in close, I am working way down the power scale. So for me it is essentially a bottomless pit of available flashpower.

Godox offers a lot of tech bells and whistles, too. It is compatible with their system remotes and other flashes. So it integrates seamlessly with other Godox gear across multiple brands of cameras. It has TTL and HSS capability. (Which does not interest me. but lots of people like and use it.)

Like the Paul Buff Einstein, it also can be set to display the flash's t.1 times at various power settings. This can be very helpful. Kudos to Godox for including this spec instead of the flattering-but-useless t.5 times. (To understand why, see more here.)

As we can see above, the full power pop does not quite fit into 1/250th of a second. So there is no use in trying to squeeze full power pops into the sun at your camera's max sync speed, if it goes to 1/250th. Drop the flash down 1/3 of a stop from full power for a clean 1/400th t.1 time in that case. And the t.1 times very quickly get much shorter from there.

NOTE: For those who love high speed sync (HSS), please understand that as you walk up the shutter speed scale an increasing amount of your flashes' pop falls on the closed portion of the shutter curtain. So that t.1 time deficiency is not effectively reclaimed via HSS.

Either way, a t.1 time of 1/220 is respectable at full power in such a small package.
__________

Two Flashes In One

As seen in the cased shot up top, the AD200 ships with a bare bulb adapter. This is fantastic, and to be commended. In addition to making possible some cool lighting techniques, it also makes the flash much better for use in soft boxes.

Let me show you why.

On the left is a picture with the "normal" (fresnel) head of the AD200 shoved into a soft box. Not very even, is it?

In fact, that's a pretty nasty hot spot in the center. As you can see, your box is now really a much smaller light source with a rapid fall-off to the full-sized box. The box in this case is internally double baffled, and even that won't fix the fresnel as an internal light source.

Fortunately, with the bare bulb, you get much more even coverage, as seen in the photo on the right. This translates into a much nicer look on your subject from a soft box, with smoother highlight-to-shadow transfers and better specular highlights.

For the record, I exposed this duo to set the aggregate exposure of the box at a light gray so you could more easily see the gradients and problems caused by a fresnel head in a soft box. (And the resulting solution by using the bare bulb head.)

Speaking of the fresnel head, let's take a look at that beam pattern, shall we? I'll just pop it on a white exterior wall so we can see how even it is...

Oh. My. God.

Honestly, that's pretty bad. It looks more like a Michael Bay lens flare than a proper beam pattern. Based on this test shot against a white wall, with the exposure dropped so you can better judge the beam pattern and gradient, I would say the appropriate time to use the fresnel head would be ... approximately never.

Fortunately, there is a fix for that, and it'll only cost you $8. Godox sells a pebbled reflector (MPEX | Amazon) for the bare bulb head that is flat out lovely. Here it is:

For the record, those splotches are out-of-focus pock marks on the wall. Not even my sensor dust looks that bad. But here is the beam pattern:

That is about ten kajillion times better. Beautiful coverage, even falloff, nothing not to like. For $8, you turn your AD200 into a real flash. (And is it me or is the color way cleaner than the standard head? Both were shot on the same daylight white balance.)

And Godox, are you listening? You create some sophisticated fresnels for your speedlight flashes. Put a good one on this flash, too. It doesn't even have to zoom, so it should be easy to optically design this to be a beautiful pattern.

Make it about a 35mm throw on a full-frame camera. That'll nicely fill an umbrella without much overspray. And speaking of that, there is no need to make the beam rectangular, either. Much less the stretched-out hyperspace effect from a sci-fi movie that you now have.

We are not going to use this flash atop our cameras. So you can make the beam a much more useful 1:1 ratio.

Please, please do this in the next version. Because the current standard head is rendered near useless with the current fresnel.

Pretty Plus Wide

If you want a wider throw from the bare-bulb reflector head, Godox includes that solution in the $8 fix as well. There are two diffusion plates that snap into the front of the head that will widen the spread. Each one will also cost you about a half stop of light. The first photo is straight reflector, the second with both plates:

In that way you can think of this as a poor man's zoom reflector. Putting both plates in will cost you about a stop (at least that is the adjustment I used between the two images above to even them out.)

The takeway: to buy this flash and not spend the $8 for the bare bulb reflector and diffusion plates is penny wise and pound foolish.

Back to Soft Boxes

When using the AD200 in a soft box, there is a problem here as well.

The good news: you can mod a Bowens mount S-bracket (the de facto speedlight soft box mount) to fit an AD200. It's very easy, watch:

But as we have seen, using the fresnel in a soft box makes for pretty crappy coverage. So you want to use your bare bulb when shooting in a soft box.

The bad news: this creates some fitting problems. The preferred bare bulb head is too big to slide in from the front. And the AD200's "butt" is too big to slide it into a modded S-bracket from the back. So you have to disassemble the head, slide the exposed joint from the back, and reassemble the head inside the box.

And this only works if your box is the inexpensive-but-slow kind where you assemble the support ribs each time you build the box. "Umbrella-style" quick-opening boxes do not generally leave enough room to reassemble the bare-bulb head to the flash. I found this out the hard way.

The solution is the second thing you'll want to buy to elevate this from a pretty good flash into a very good flash: it's called the AD-B2 soft box adapter, and it looks like this:

It'll run you $59 (MPEX | Amazon) but it is very much worth it if you want to use this thing in a box. As you can see, it also gives you the ability to mount two AD200s into a single soft box. For those two reasons, it is money well-spent.

Let's Talk Color

The spec on this flash as far as color consistency is +-200K. That's pretty hefty. That's a 400K range, which is something you can easily see if you examine it by shooting two photos on the Kelvin white balance at 400K apart.

So you'll want to test at different power settings to see if you can handle the drift, or if you'll want to correct it. If you tend to use the flash in the middle of the range (i.e., not bouncing between 1/1 and 1/128th) it probably will be fine. And I doubt many people are going to be using this for color-critical catalog work.

But if it matters, you'll want to test and gel. Actually, most of you will be gelling this flash anyway unless I wasted my time writing Lighting 103. Right?

Fortunately, gelling is easy with the bare bulb. Just cut and tape some little gel condoms and slide them right onto the glass housing for the bulb.

Caveat: if you are pushing lots of power through, or using a deep colored gel that absorbs light (and heat) then you are advised to affix the gel further away from the tube. But for normal stuff, the condom approach is fine.

The Bottom Line

The Godox AD200 is a super useful flash that has a lot of built-in tech and goes from 200ws down to less than 2ws(!) in a form factor the size of a submarine sandwich. At $299 (MPEX | Amazon) it is a near miss. But at $366 (flash plus reflector plus soft box adapter) it is very versatile, with much better light quality—a no-brainer.

I am going to be using this thing a lot.

Let's block ads! (Why?)


Strobist http://bit.ly/2IR3uUl

Sourced by Time Trap Photography sharing the best photography tips, news and tricks throughout the industry. Time Trap Photography is dedicated to freezing those special moments in life that can be revisited and admired for generations to come. - Shannon Bourque
Please visit our main site for booking availability and rates.


"Time


Receive valuable industry knowledge delivered free to your email each day.


"Time

The Best Camera For Portraits Is…

8:03:00 AM

Today I want to talk about a very specific thing, the best camera for portraits.

When it comes to investing in camera gear, we are always up to paying more for lenses than bodies. The main reason for this is because lenses have (up to this day) longer durability and even legacy in some cases. This results in longer cycles before getting any update on a specific lens.

Bodies, on the other hand, are constantly evolving (almost at a yearly ratio) thanks to the fast pace in which technology renews itself almost every two years. Lenses have electronic components but they still don't have complex chips or processors built in.

Here is my opinion about which cameras are the bee's knees, but don't worry if you aren't a pro, this brief yet helpful post can be read by any photographer out there. After all, the fact that you aren't a professional photographer today doesn't mean that you won't be one someday.

So, when it comes to picking out my choice of the best camera for portraits, there are three major digital tools. They are:

  1. DSLR full-frame cameras
  2. Mirrorless full-frame cameras
  3. and Medium Format cameras.

Let's Start With The Best Large-Sensor Cameras for Portraits

And The Best DSLR Camera for Portrait Photography Is…

Nikon D850

Oh no, not again… Yup, the Nikon D850 again. These guys really made a huge effort in developing this magnificent beast, and we have mentioned it in several posts before, for many genres (but street photography). If you want a reliable full-frame DSLR camera, then you should really consider the D850. If your business depends on high-quality portraits, then this is the way to go.

You don't have to be married to other brands if you are currently upgrading, you can still sell your previous gear and you can invest in a trusty D850 with a prime f/1.4 or even an f/1.2 50mm lens. Or you can even buy a dreamy 85mm and that would be pretty much everything you'll need for portraiture. The lens choice will depend on what you really need and want to achieve with your shots.

The price – ouch – is something you'll want to sleep on ($2966.95) but it is a really wise investment. It has a full-frame (35mm) sensor with 45.7 megapixels that tickles to be a medium format sensor. It is part of the D eight-hundred series flagship cameras from Nikon and comes with improved design, autofocus, dynamic range, sensitivity, Speedlight control, battery life, shutter and mirror drive mechanisms, Silent Photography in Live-View mode, focus shift capability and more.

This is perhaps the most impressive DSLR yet, and we know for sure they are near the end of their era.

The Best Mirrorless Camera You Can Buy For Portraits Is…

Sony a7R III

Since Sony unveiled their a7 camera for the first time, photography changed forever, and we knew that the DSLR days will fade away sooner or later. Their latest addition to their a7 lineup is the a7R III, an extremely powerful camera that requires a credential from the FAA in order to use it properly.

If you are done with DSLR cameras and want to change, then you should consider the a7R III. This is a lightweight (like all mirrorless systems) camera with a lot of power, honestly, you won't look back.

This beast comes with 42.4 megapixels, built in eye-tracking autofocus (399-Point AF System), 10 fps shooting capability, and since they wisely removed the controversial low-pass filter, the image quality isn't compromised. Also important, if you need precise manual focus, it comes with a pretty awesome and accurate focusing peeking system.

In the early days of the first a7 system, questionable battery life and a limited number of lenses was the huge “but” for not upgrading, however, times have evolved, and the batteries are decent now, and there are plenty of great lenses to choose from. The body has a price tag of $2,798.00.

How About The Best Medium Format Camera For Portraits?

Fuji GFX System

Nothing says “Professional Photographer” more than a huge and expensive medium format camera that doesn't feel nice in your hands for long periods of time. Wait? What? Well, that was exactly what Medium Format was about before Fujifilm wrecked the game for big fellows like Hasselblad, PhaseONE and Mamiya.

Fujifilm was never interested in the full-frame market, they already knew Sony was pretty much the king there and so they decided to focus on something else, Medium Format. They have released not one but two medium format mirrorless cameras so far, and their prices have made it accessible for a lot of photographers (professional and amateur alike).

Thanks to Fuji you can experience all the mighty power of Medium Format photography for $5,499.00 with their GFX 50S camera, and $4,499.00 with the latest GFX 50R mirrorless medium format camera systems. This prices might look high, but they are a mere fraction (almost 1/7th) when compared to regular medium format cameras.

So, you'll have all the power and high quality of the king format of portrait photography, in a lightweight device that will make you more creative outside of the studio.

Still Not Ready for a Full-Frame Body?

Fujifilm XT-3

If you are not able to invest thousands of dollars in a camera yet, you can still invest in a very decent system that will make you absolutely happy.  This is the Fujifilm X-T3 camera, which is rather new but is the third version of their flagship X-T mirrorless camera series. So far, Fuji hasn't made us mad with any of their cameras, so we are pretty sure they won't make a faux pas with this little beast.

The XT-3 alone comes with a new generation CMOS 4 Sensor, with 26.1 megapixels and 16 built-in film simulations (they make the investment worth it, trust me). It can be yours for $1,399.00, and you don't need to make it your first camera if you are already using a heavier one for portraits, it can be your carry-on camera as well.

Final Thoughts

Remember, it isn't the gear alone that is responsible for making meaningful photographs. The photographers behind them are the real reason why so many images are able to compel us in mind-blowing ways. Whatever you do, professionally or at an amateur level, do it with extreme passion, and your images will be creatively fulfilling and enjoyed.

Got an opinion on the best camera for portraits, or perhaps you have a favourite camera that you can't live without – give us your thoughts in the comments below

Further Resources

Further Learning

The Art Of Portrait Photography is your chance to truly master portrait photography, and produce your own inspiring, memorable images that convey real meaning and emotion. In The Art Of Portrait Photography, you will discover the insider secrets used by professionals to take your portrait photography to the next level.

In this guide you'll learn:

  • Where to find the best natural light
  • How to get great shots with minimal equipment
  • How to make your own lighting gear from stuff that’s lying around your house
  • How to bend, squeeze, and alter light for dramatic effects
  • How to pose a single subject and groups of subjects
  • What are the best lenses to use
  • How good of a camera do you need
  • What steps to take for razor-sharp photos
  • What f/stop should you use
  • And much more…

Grab Your Copy Now

Let's block ads! (Why?)


Light Stalking http://bit.ly/2ITlkWH

Sourced by Time Trap Photography sharing the best photography tips, news and tricks throughout the industry. Time Trap Photography is dedicated to freezing those special moments in life that can be revisited and admired for generations to come. - Shannon Bourque
Please visit our main site for booking availability and rates.


"Time


Receive valuable industry knowledge delivered free to your email each day.

"Time

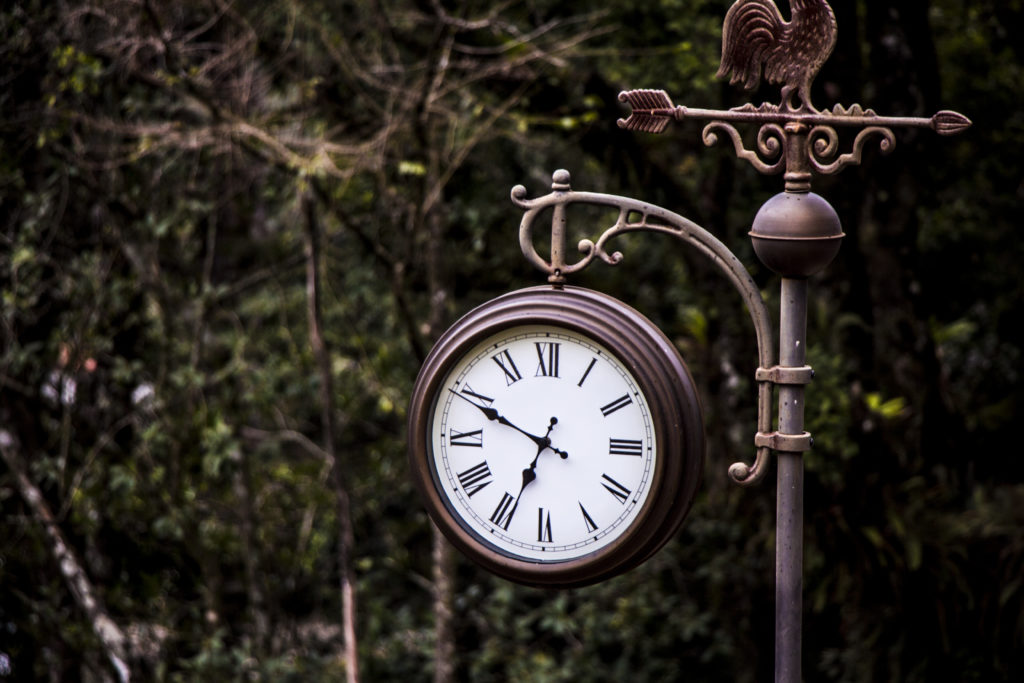
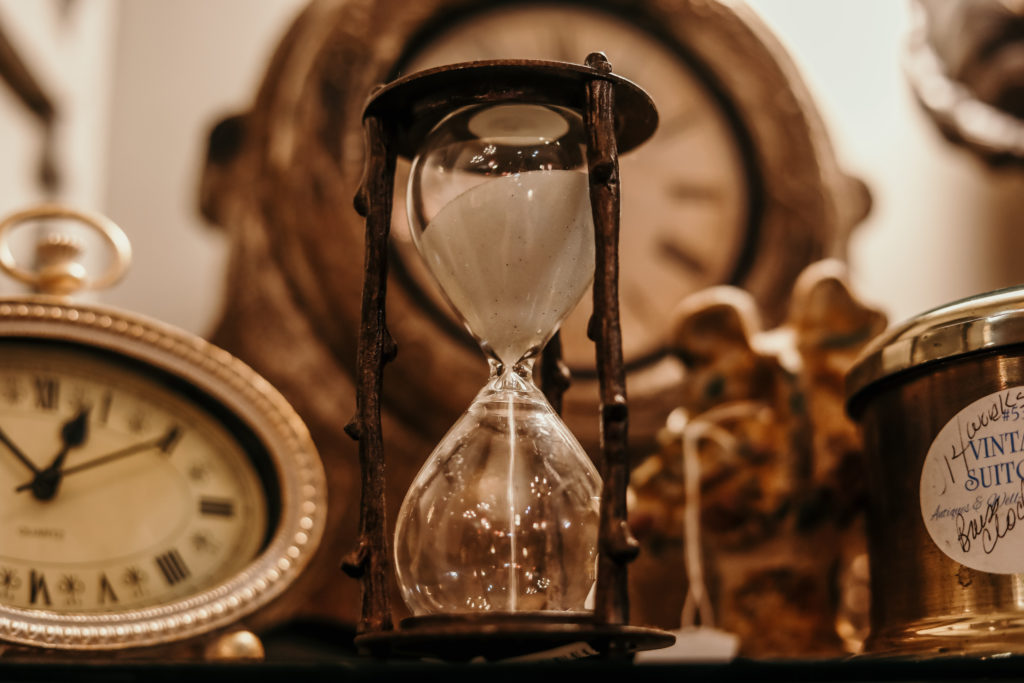
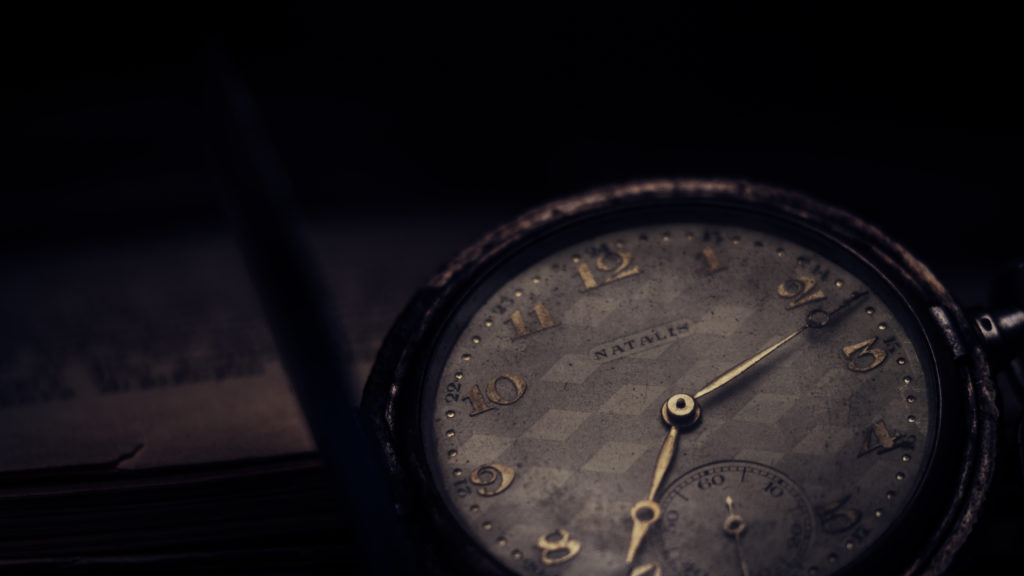
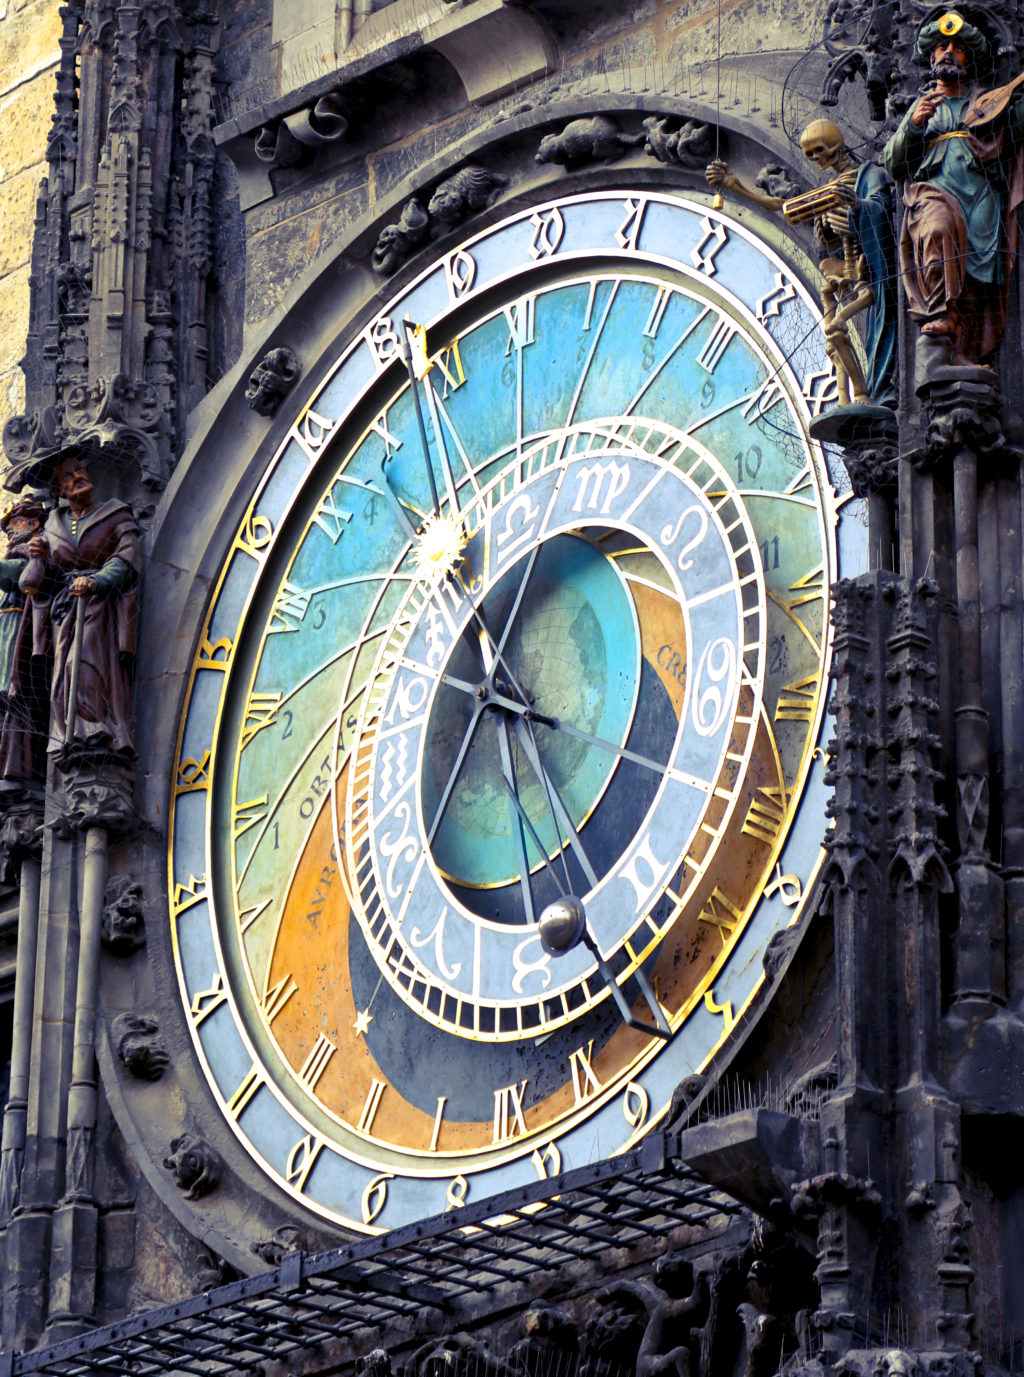
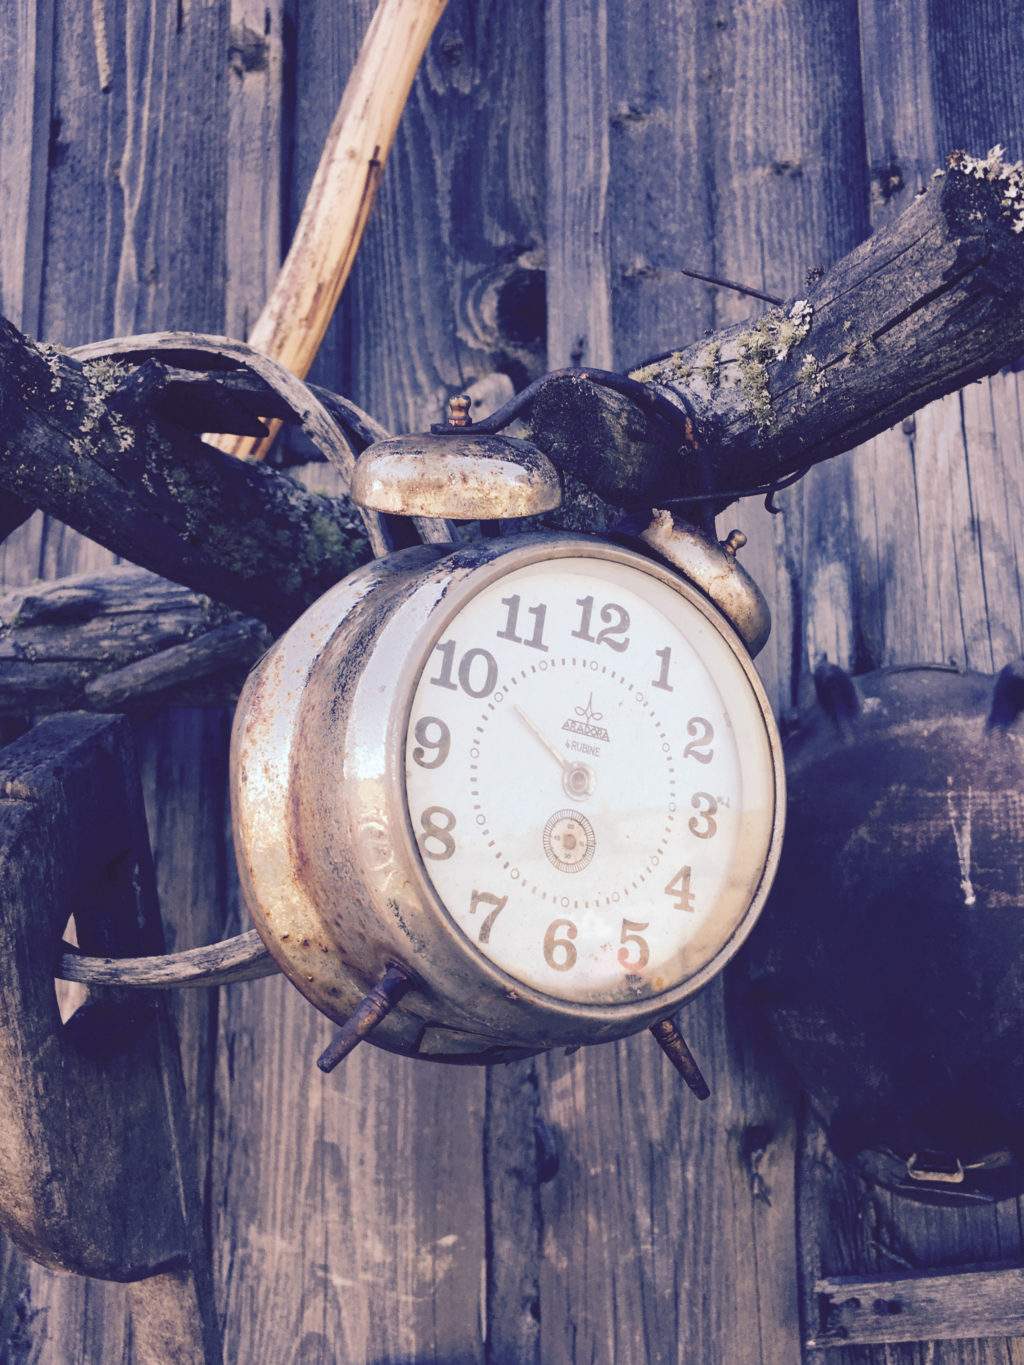
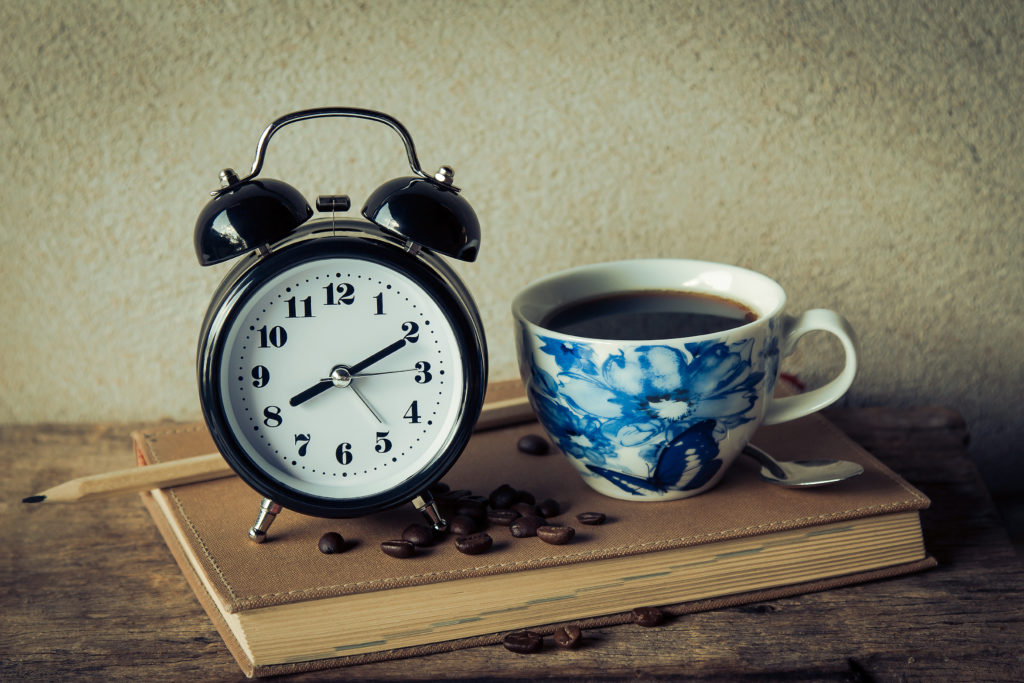
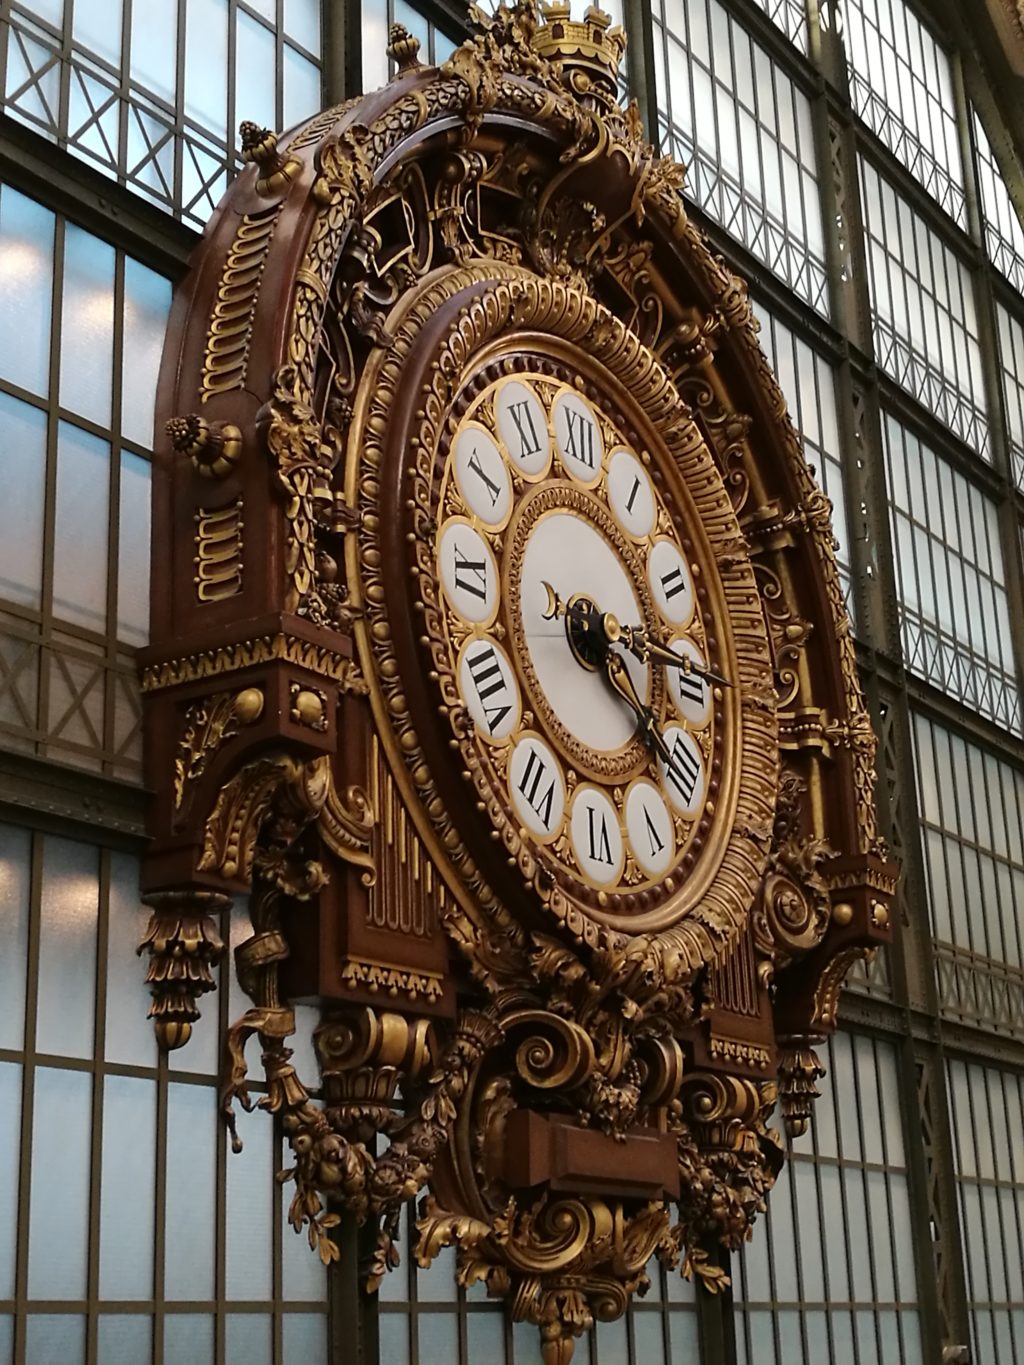
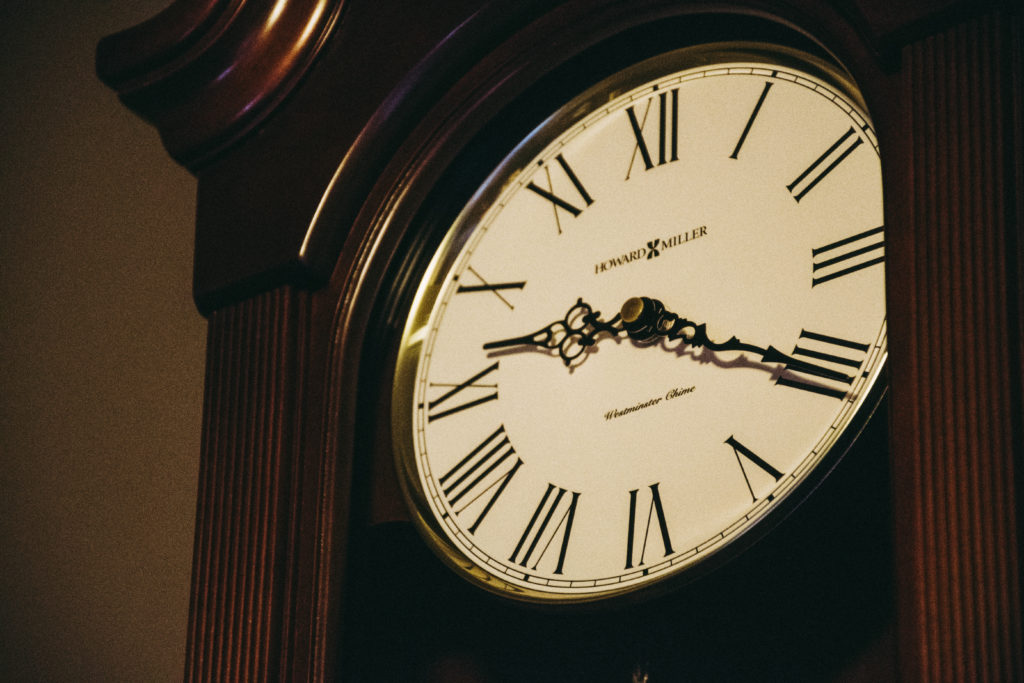
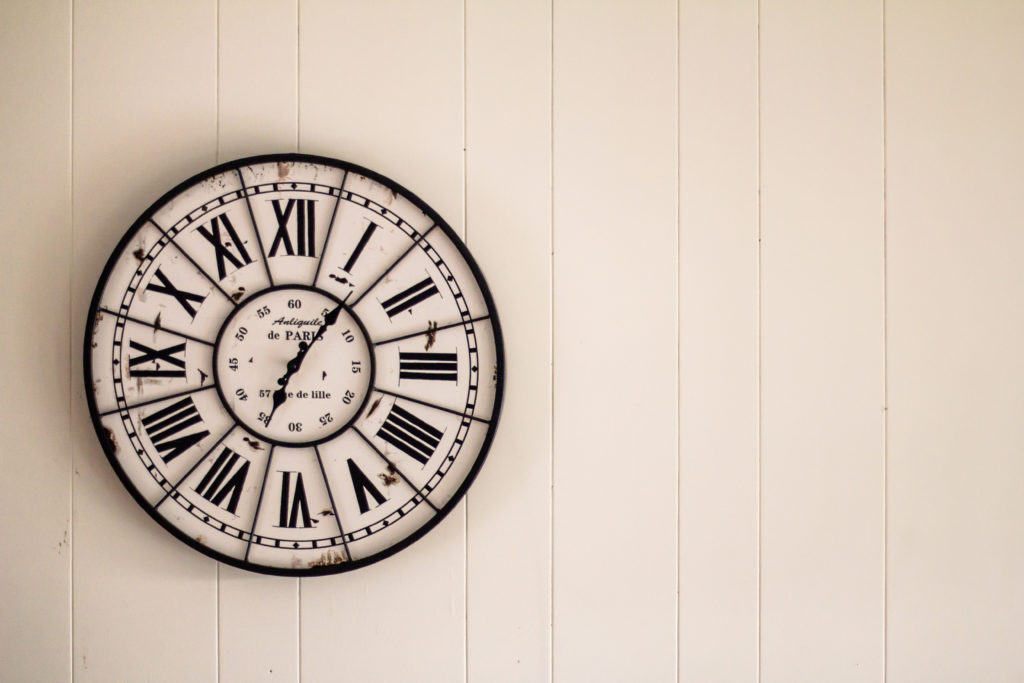
41 Beautiful Photographs Of Clocks That Remind Us That Time Flies

5:03:00 AM

Tempus fugit! Clocks are human creations that seem to embody something more profound. People have been building beautiful machines and devices to count the passing moments for millennia. From calculating the passage of time, seasons and astrological phenomenon to determining longitude, clocks have changed the course of history.

The beauty in these timepieces is not just in the aesthetics, but also in the mechanisms and their history, so here are a collection of curated photographs of clocks for you to spend time enjoying.

Let's face it, capturing beauty is about amazing composition.  Getting composition right has always been the greatest challenge for the photographer. If you’d like to get better at photography composition and learn concepts that go beyond the basics, you should take a look at Kent DuFault’s guide to advanced composition.

Learning And Applying Advanced Composition Will Elevate Your Photographs

Advanced Composition – will ensure you create images that pop. You'll get more out of your photography and start taking images that will truly capture your creative vision. If you’d like to improve your composition skills and learn concepts that go beyond the ‘rule of thirds’, do take a look at Kent DuFault’s guide Advanced Composition

In Kent Dufault's Advanced Composition, you'll discover advanced composition concepts such as:

  • Compression
  • Color Placement
  • Contrast Overlap
  • Rhythm
  • Color Wash
  • Texture
  • Stacking

Get it here today

Capturing The Beauty Of Time Is Just The Beginning…

We hope you've enjoyed this gallery of beautiful clocks. If you are looking to improve your photography composition and learn concepts that go beyond the ‘rule of thirds’, do take a look at Kent DuFault’s guide Advanced Composition. With this guide, you will learn all about:

  • color
  • light
  • shadow
  • lines
  • curves
  • repetition
  • juxtaposition
  • anticipation
  • pre-visualization
  • timing

Click here now to check it out.

Let's block ads! (Why?)


Light Stalking http://bit.ly/2V2Rhm5

Sourced by Time Trap Photography sharing the best photography tips, news and tricks throughout the industry. Time Trap Photography is dedicated to freezing those special moments in life that can be revisited and admired for generations to come. - Shannon Bourque
Please visit our main site for booking availability and rates.


"Time


Receive valuable industry knowledge delivered free to your email each day.


"Time

About Us

Time Trap Photography is dedicated to freezing those special moments in life that can be revisited and admired for generations to come. - Shannon Bourque

The lens in focus

“Life is like a camera. Just focus on what’s important and capture the good times, develop from the negatives and if things don’t work out, just take another shot.” — Unknown

TIME TRAP PHOTOGRAPHY COPYRIGHT 2016