Saturday, June 29, 2019

3 Quick Tips To Help Get You Started With Off-Camera Flash

12:05:00 PM

Do you recall the moment you decided that you need to get better at — or get familiar with — flash photography? Thinking back, what was one of the first pieces of advice you encountered?

I’ll bet it was an exhortation to “get that flash off your camera.”

3 Quick Tips To Help Get You Started With Off-Camera Flash
  • Claim Your Free Camera Craft Cheat Sheet

Print it out and keep it for when you really need it - when you're out shooting!

Did you even know what that meant? How well did anyone bother to explain it? Unfortunately, a lot of new photographers run into abbreviated explanations when it comes to getting started with off-camera flash, leaving them frustrated and intimidated by the topic.

It doesn’t have to be this way. Here are 3 simple tips to help get you started working successfully with off-camera flash.

Get The Flash Off Your Camera And Then…

The pop-up flash on your camera is mostly useless. Not totally useless, but its effectiveness is limited.

If you’ve already made the leap to a separate flash unit, congrats, but you really will get the most out of it once you remove it from atop your camera.

That’s what everyone says, right? Well, once you remove it from the hot shoe on top of the camera, then what?

Simply use a light stand or a flat surface to position your flash in relation to your subject (a 45-degree angle is a great starting point).

When it comes to getting the flash to fire remotely, the exact how-to will depend on the flash you’re using. You may need a PC sync cable or an optical trigger (options that will work for virtually any flash), or you may be able to do it wirelessly (you may need to do a little research on your flash to see if it is capable of this).

Get The Settings Right

Now that your flash is in position you need to dial in your settings (for the sake of this discussion let’s assume you’ve got a manual flash and need to dial in the settings yourself).

Where to start? For now, start by experimenting. Let’s say you’re shooting outdoors and you want a blurred background. You might try this three-step approach:

  1. Set your aperture to get the amount of background blur you want — f/2.8, for example.
  2. With your camera in manual mode, aperture at f/2.8 (following on from step 1) and set to the lowest native ISO, expose for the ambient light. Choosing a faster shutter speed will give you a darker background, while a slower shutter speed will provide you with a brighter background. The choice is yours; don’t worry about your model appearing underexposed, you only care about the background at this stage.
  3. Now it’s time to light your model. Start with a flash power of 1/32. If this level doesn’t sufficiently illuminate the model, increase the power; if it’s too strong, decrease the power.

These settings will vary — sometimes drastically — depending on your shooting environment (indoors vs outdoors, ambient light levels, etc.), but you should now have an inkling of how to determine off-camera flash settings.

Get Yourself A Light Modifier

A light modifier, such as a reflector or a softbox, will allow you to soften, shape and redirect the light and help kick your off-camera flash work into high gear.

There are some cleverly designed modifiers out there, but you don’t need to spend a lot of money on one. In fact, it’s entirely possible that the only modifiers you’ll ever need are already in your possession: white poster board and sheer curtains come to mind.

Final Thoughts

There is much to learn about off-camera flash, but once you’ve got a decent grasp on the basic principles, you can begin to experiment with your technique. The points provided here will help encourage you to dig deeper into off-camera flash as you pursue your goal of mastering lighting.

Further Reading

Let's block ads! (Why?)


Light Stalking https://ift.tt/2Np30b6

Sourced by Time Trap Photography sharing the best photography tips, news and tricks throughout the industry. Time Trap Photography is dedicated to freezing those special moments in life that can be revisited and admired for generations to come. - Shannon Bourque
Please visit our main site for booking availability and rates.



"Time


Receive valuable industry knowledge delivered free to your email each day.


"Time

29. Juni 2019

4:02:00 AM

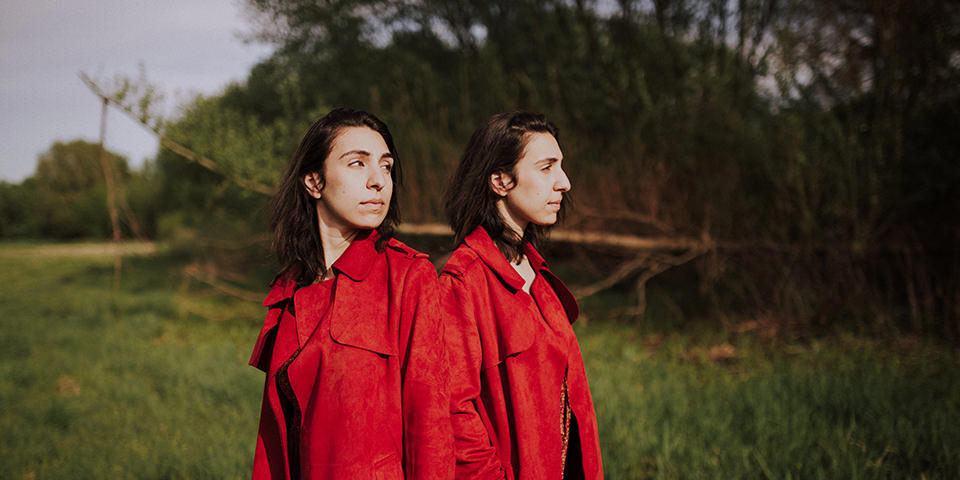
Das Bild des Tages von: Sunny Herzinger


kwerfeldein – Magazin für Fotografie https://ift.tt/2YkKRw9

Sourced by Time Trap Photography sharing the best photography tips, news and tricks throughout the industry. Time Trap Photography is dedicated to freezing those special moments in life that can be revisited and admired for generations to come. - Shannon Bourque
Please visit our main site for booking availability and rates.


"Time


Receive valuable industry knowledge delivered free to your email each day.


"Time

Friday, June 28, 2019

Experiment: Das doppelte Lottchen

10:05:00 PM

Ein Beitrag von: Stephanie Hagenstein

Im vergangenen Jahr schrieb ich von meiner Suche nach Kreativität, dem Gefühl des Stehenbleibens und damit verbundener Ängste. Auch wenn es bereits viele Monate zurückliegt, fühlt es sich an, als wären all diese Gedanken erst gestern noch in meinem Kopf umhergegeistert. Ich bin diesen Gefühlen, besonders der Angst, anderen nicht gerecht zu werden, noch immer so nah und es ist, als müsste ich sie abermals verbannen.

Doch dadurch, dass ich mich selbst wiederholt reflektiere und anderen gegenüber immer offener meine Wünsche kommuniziere, habe ich mir eine Tür öffnen können, deren Schlüssel ich jederzeit bei mir trug – ich war nur zu, unsicher ihn zu benutzen.

Und so kam es, dass ich zunächst mittels Selbstportraits neue Techniken ausprobierte, kurz darauf meine Mutter bat, Modell für eine solche Technik zu stehen und anschließend erste Modelle fand, die ebenfalls an meinen Ideen interessiert waren.

Besonders viel Freude bereitete es mir in diesem Kontext, mit vertrauten oder ähnlich schöpferischen Menschen zu arbeiten. Seither habe ich etliche Dinge ausprobiert und mit großer Begeisterung festgestellt, wie schön es sein kann, Neues zu versuchen und Unerwartetes zu schaffen.

Doch genug der langen Vorgeschichte! Ich möchte Euch zeigen, wie ich eine Person öfter in einem Bild erscheinen lasse. Inspiriert wurde ich einerseits durch Arthur Tress, der sich fotografisch mit den Albträumen von Kindern auseinandersetzte, und andererseits durch das sonderbare Fehlen meiner nie geborenen Zwillingsschwester.

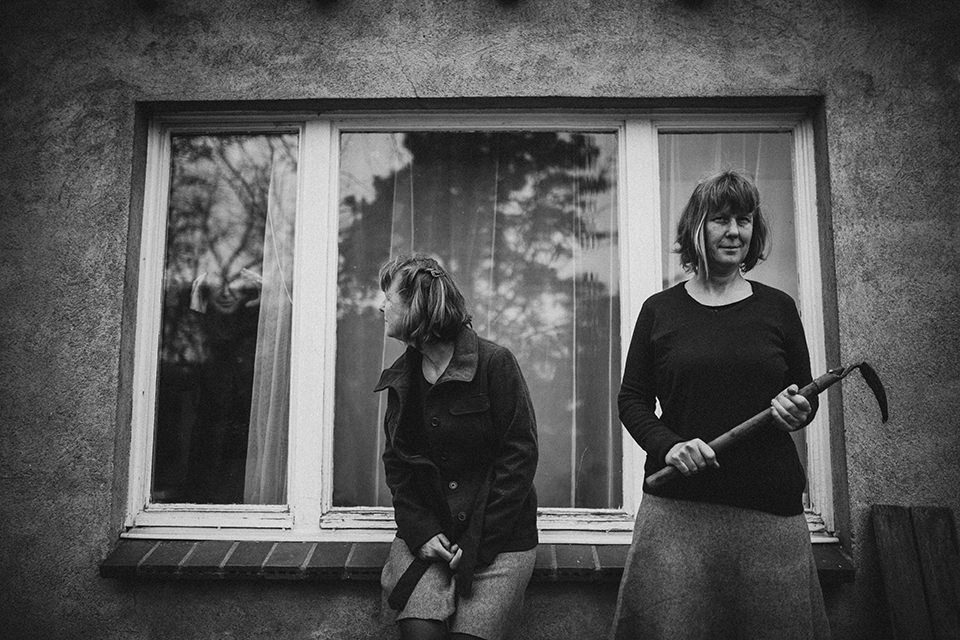
Zwei Frauen vor einem Fenster

Drillinge auf einem Feld

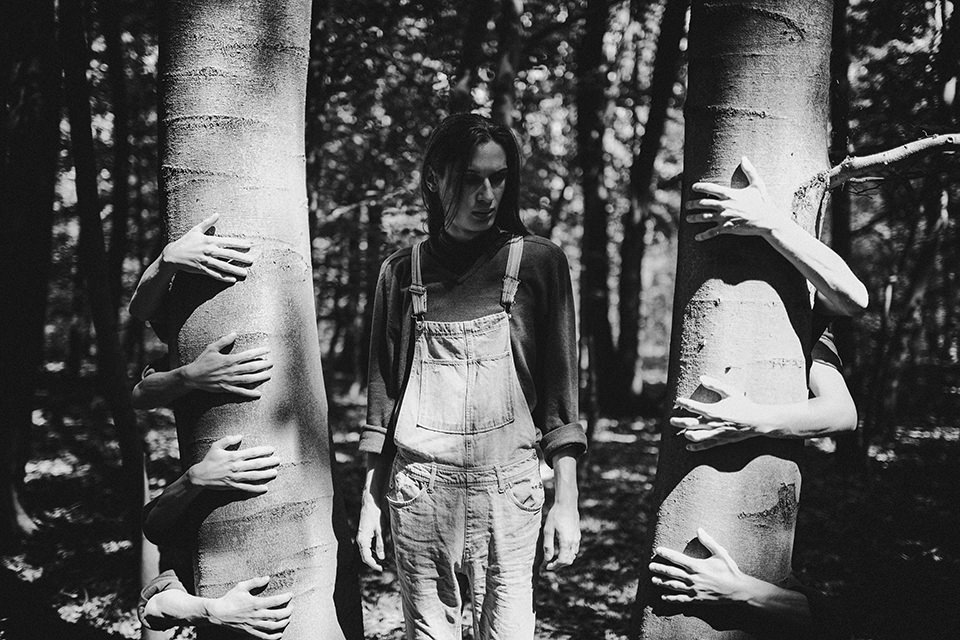
Frau mit vielen Händen um einen Baum

Viele Beine ragen aus Bilderrahmen am Rand eines Feldwegs.

Zwillinge im Wald

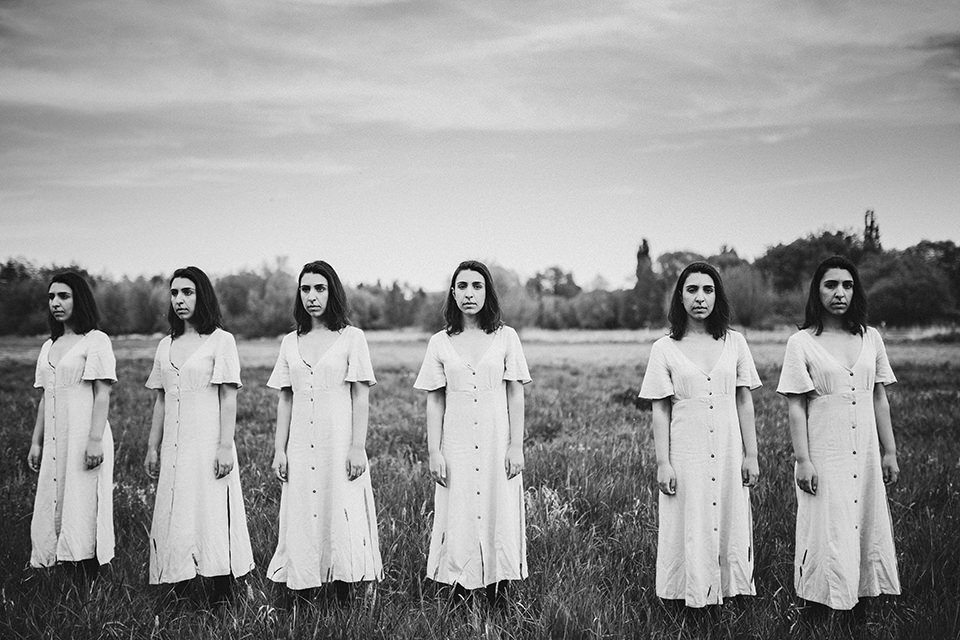
Sechslinge frontal auf einem Feld

Zwillinge einander zugewandt auf einem Feld

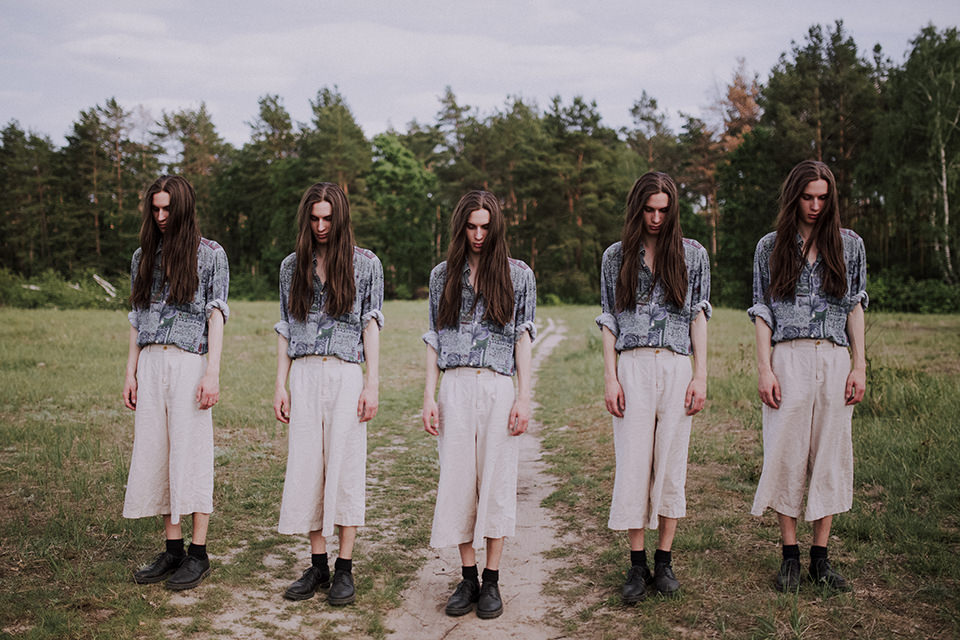
Fünflinge stehen frontal auf einem Feld

Zur Bearbeitung solcher digitalen Fotografien nutze ich nur wenige Werkzeuge in Photoshop. Um die Vorgehensweise möglichst simpel und nachvollziehbar darzustellen, beschreibe ich Euch die einzelnen Schritte meiner Bearbeitung.

Wähle zuerst zwei unterschiedliche Fotos, die aus der gleichen Perspektive (zum Beispiel mittels Stativ) und mit den gleichen Einstellungen (Fokus, ISO, Blende, Belichtungszeit etc.) aufgenommen wurden. Am einfachsten ist es, wenn sich die zu vervielfältigenden Objekte nicht überschneiden.

Öffne dann die Fotos und füge das zweite Bild als Ebene in das erste Bild ein. Die Kurzbefehle dafür sind Strg+A (alles auswählen), Strg+C (Auswahl kopieren), wechsle von Bild zwei zu Bild eins, Strg+V (kopierte Auswahl einfügen). Füge der gerade erstellten Ebene eine Ebenenmaske hinzu.

Ich nutze dann das Verlaufswerkzeug, um einen Schwarzweißverlauf innerhalb der erstellten Ebenenmaske anzulegen. Die Fläche, die Du erhalten möchtest, sollte im weißen Bereich des Verlaufs liegen. Eventuell sind noch ein paar Kleinigkeiten wie zum Beispiel Schatten auszubessern. Fertig!

Screenshot

Screenshot

Sollten sich die Objekte jedoch überschneiden, ist etwas mehr Geduld gefragt. In diesem Fall könnt Ihr ebenfalls mit einer Ebenenmaske arbeiten. Bei klaren Abgrenzungen empfehle ich das magnetische Lassowerkzeug und das Pinselwerkzeug mit verschiedenen Härtegraden.

Mir hilft es auch, ab einem bestimmten Punkt die Ebenen zusammenzufügen („Sichtbare auf eine Ebene reduzieren“) und dann mit dem Kopierstempel und dem Bereichsreparatur-Pinsel den Feinschliff vorzunehmen.

Ich bin sehr gespannt auf eure Ergebnisse. Teilt diese gerne in den Kommentaren!


kwerfeldein – Magazin für Fotografie https://ift.tt/2Yh1GIw

Sourced by Time Trap Photography sharing the best photography tips, news and tricks throughout the industry. Time Trap Photography is dedicated to freezing those special moments in life that can be revisited and admired for generations to come. - Shannon Bourque
Please visit our main site for booking availability and rates.


"Time


Receive valuable industry knowledge delivered free to your email each day.

"Time

About Us

Time Trap Photography is dedicated to freezing those special moments in life that can be revisited and admired for generations to come. - Shannon Bourque

The lens in focus

“Life is like a camera. Just focus on what’s important and capture the good times, develop from the negatives and if things don’t work out, just take another shot.” — Unknown

TIME TRAP PHOTOGRAPHY COPYRIGHT 2016