Tuesday, August 30, 2016

Yuneec Breeze Aims to Make Drone Photography...a Breeze

10:03:00 PM
AUGUST 30, 2016
By Greg Scoblete
 If you’ve ever considered buying a drone but wanted to hold off until they were optimized for selfies, well, you’re in luck. Drone-maker Yuneec has released a selfie-oriented flying camera dubbed the Breeze, for $500.
The 1 pound Breeze is operated through a smartphone and offers five automated flying modes to ease newcomers into drone photography. The modes include a selfie mode (of course), a pilot mode for more manual control as well as an orbit mode that puts the Breeze in motion around a subject. A journey mode sends the Breeze away from the operator and then back while a follow-me setting ensures the Breeze stays on the trail of its operator.
The drone's onboard camera can record 4K video, snap 13-megapixel stills and stream a 720p HD signal to mobile device while airborne. The free Breeze Cam app (iOS and Android) allows you to download images and videos to your mobile device so you can share them on social media. The app can directly share content to Facebook, Twitter, YouTube, Instagram, and WhatsApp.
The Breeze uses optical flow and infrared positioning sensors to stay in place whether indoors or outdoors and has an automated return-to-home function so users won't have to worry about tricky landings.


The Yuneec Breeze costs just $500 and aims to get drones into the hands of more photographers.
Gear RSS http://ift.tt/2bQo5Zn

Sourced by Time Trap Photography sharing the best photography tips, news and tricks throughout the industry. Time Trap Photography is dedicated to freezing those special moments in life that can be revisited and admired for generations to come. - Shannon Bourque
Please visit our main site for booking availability and rates.


"Time

Receive valuable industry knowledge delivered free to your email each day.

"Time

Image Editing Software Overview – On1 Photo 10

12:17:00 PM

Since the advent of digital photography there has been one program that has been the penultimate of all image editing – Adobe Photoshop. There is no denying that it is powerful, but many find it confusing and hard to learn. Another aspect that some people aren’t sure about is the new subscription based ownership. So for many, another solution to the predicament is On1 Photo 10. It’s a program that is not that expensive, and can do most of what the majority of photographers want.

leannecole-on1-enhanced003

Image processed with the Enhance Module in On1 Photo 10

Overview of On1 Photo 10

The On1 Photo 10 editing software has been around for some time, and you may know it more as plugins for Lightroom and Photoshop. However, recently it has been given a new look, and it is now also a standalone program. This means you don’t need another program to be able to use it. You can download it and do all your editing within its confines.

When you open On1 Photo 10, it looks a bit like Lightroom, but that is about it. Locating all the tools is different, but not so different that you can’t find things. When you begin using On1, a window pops up with several videos to teach you how to use it. It is advisable that you watch them and learn. They are not very long, but they are packed with useful information.

On the right side of the panel there are a series of modules that you can edit your photos in. Each one is specific and gives you different options.

Browse Module

In the Browse section you can look at your photos and catalogue them, decide where you want them, and upload them to Cloud storage facilities like Dropbox, Google Drive, and OneDrive. It is similar to Bridge in Photoshop or the Library Module in Lightroom. You can make the images larger, so you can get a better look at them and decide which ones you want to work on.

When you want to start editing, the other modules are there for you to use.

leannecole-on1-browse-folder

Browse Module, here you can view your photos and move them around.

Enhance Module

When you open your photo into the Enhance module you can do some basic editing, for example: changing the exposure, adjusting whites, black, shadows, and highlights. It will allow you to fix the white balance and help with noise reduction. This section is where you get your image ready for further work. It is like the preparation area before you go on to do the real work.

Similar to Lightroom, On1 works in a non-destructive manner. If you don’t understand that, it means nothing you do to your image is permanent. If you do something to it and don’t like it, you can go back and reverse the change. When you are just learning photo editing, it is good to work with software that allows you to work this way, without having to worry about ruining your image.

leannecole-on1-enhance-folder

The Enhance Module allows you to do some basic editing to your images.

Effects Module

In Effects, you can add filters and presets to your photos. There is a large variety of them, and each one has several options within. You have the option of creating your own and saving them (just as in Lightroom), which is very helpful if you want to use the same one a lot.

There is a difference between presets and filters. On1 explains that presets do multiple effects, while the filters have only one. When using any of them you can make adjustments so it is as strong as you like, or they can be made to have less effect. You get to be the judge of how you want the final result to look.

leannecole-on1-effects-module-1

In the Effects Module you can apply presets and filters to your images.

leannecole-on1-effects-module-2

You can see what the presets or filters will do to your image, if you click the grid you will get a larger of view of each option.

leannecole-on1-effects-module-3

You can see what each preset or filter will do and when you decide which one to use, just click on it.

leannecole-on1-effects-module-4

On1 will then apply it to your image.

Portrait Module

Portrait module is possibly is the hardest one to use. For people who photograph portraits on a regular basis, though, it may seem more intuitive. You have to work out faces, and point out the eyes and mouth to the program. Then it will whiten the eyes, and make the lips lighter. You also have the option of going back over everything and readjusting the settings. While whitening the eyes can be nice, if it is done too much it looks very strange.

leannecole-on1-portrait-module-1

On1 allows you to do specific work to faces, and asks you to highlight the eyes and mouth so it can to its thing.

leannecole-on1-portrait-module-2

You can work on the skin and other parts of the face as well.

Layers Module

On1 Photo 10 also has the ability to work in layers, so if you like working with texture overlays and replacing skies, you will like this module. It makes these very easy to do, especially the former.

The program comes with a number of textures, backdrops, and borders. You could quite easily just use what it provides, but it also has a section where you can add your own. So, you can upload any textures you have collected and apply them to your images.

As with most sections in On1, you can adjust, and then decide how strong the layer will be. There are blending options and tools are available if you want to remove part of it too.

leannecole-on1-layers-module-1

The Layer Module lets you work in layers, there are also some tools on the left that allow you to do some specific processes.

leannecole-on1-layers-module-2

You can apply textures.

leannecole-on1-layers-module-3

Or you can replace a sky, which is very easy with the masked brush tool.

Resize Module

Figuring out how to resize an image is easy, and fairly straight forward. It is a task that many people usually find difficult. I often see people putting up large images on the internet because they don’t know how to make them smaller. On1 has a separate module where you can make them  the size you want. If you want to resize it for something special, there are options available for that as well. There are no excuses now for loading images that are too big.

Who would use On1 Photo 10?

If you like plugins and seeing the different effects on your images, you will love this software.  It is perfect for someone who is just starting out, and looking for software that is simple and easy to use. Many of the other programs can get you bogged down because of how complicated they are, On1 has great online help and there are a number of videos available to help you work through it.

Experience using On1 Photo 10

I have to admit that while I know how to use many different types of editing software, I had to find some video tutorials to help me find my way around. On1. It is something that you should always do when learning new products, it can help you find the correct way to use them. Fortunately, On1 has a lot of tutorials available to help you learn how to use it.

It could just be my computer, or the size of my files, but I had trouble with the program crashing or freezing. I have a PC and am using Windows 10, so it may not be compatible. I have sent an email to the developers in hope of finding out what keeps causing that. There is however, a 60 day trial version available, which is far more than most other software products. So you can find out if it will work for you or not.

The program does have a tendency to blow out the highlights. In Photoshop you can often fix them, but On1 blows them out even more, and it seems like you are unable to do anything about it. However, it only happens when using RAW images, if you convert them to JPEG it doesn’t appear to happen. Though, it will teach you to be careful with them.

leannecole-on1-highlights-001

You can see with the top image, which was a RAW file how the highlights have been blown out, but it has not happened in the jpeg file.

Every time you open an image it asks if you want to edit a copy or the original. When you start you may find that every time you open the image you are creating another copy of it. Take care, and perhaps once you have that first copy, just work on that one.

leannecole-on1-opening-an-image

Read the windows as they open up, and make sure you are aware of what you are doing.

Overall

On1 Photo 10 is a good program, and those interested in doing only basic editing will find it very useful. Those that love the grunge look and adding textures will also enjoy using it. It likely won’t replace Photoshop, but for beginners and people who love using plugins, it’s a great option.

Have you tried it? What are your thoughts?

Let's block ads! (Why?)


Digital Photography School http://ift.tt/2c2GwXO

Sourced by Time Trap Photography sharing the best photography tips, news and tricks throughout the industry. Time Trap Photography is dedicated to freezing those special moments in life that can be revisited and admired for generations to come. - Shannon Bourque
Please visit our main site for booking availability and rates.


"Time


Receive valuable industry knowledge delivered free to your email each day.


"Time

How to Use an iPad as a Softbox or Custom Background

7:23:00 AM

What I really like about the iPad is the retina display screen; the quality of the images displayed on it is simply stunning. The brightness emitted from the screen is also quite powerful, so I was curious to see what apps are available in harnessing the light to aid photographers and see if the iPad can be used as a small softbox.

A glass tumbler shot on an iPad. I created the custom pattern using Photoshop.

For this article, I wanted to see how useful some of these apps on the iPad are for photographers. In particular, if you are only starting out in photography and you need to understand more about lighting. Or you are stuck in a hotel room, and you want to have a bit of fun experimenting with a light source.

Can an iPad be used as a Softbox? Or is it just an interesting alternative light source to explore your photography skills?

I will also demonstrate a simple step-by-step Photoshop tutorial on how to create simple pattern preset images for your iPad or tablet, that you can use as creative backgrounds for your shots.

If you are not interested in creating your own, you can simply download the free ones I’ve created specially for this article. Please click on the download button at the bottom.

What is a softbox?

A softbox is really only a light modifier, similar to an umbrella. However, a softbox controls the shape and direction of light more so than an umbrella does. A softbox has the flash (strobe) enclosed behind a diffuser, which prevents light-spill from occurring. They come in different shapes and sizes. The more common ones are square, rectangular and octagonal.

Softboxes also have the advantage of being able to produce natural-looking light by mimicking the shape of a window. As the name suggests, they produce a soft light for all types of shooting, be it food, product, portraiture, and so forth.

The regular size iPad has 9.7 inch (1536x2048px) display, and most softboxes range from small (12″) to quite large (four by six feet). This makes the iPad a very small softbox. A good rule of thumb is the bigger the light source relative to distance to the subject, the softer the light.

How to use a soft box?

A quick on search on iTunes and I came up with the following apps:

As I can’t make the iPad bigger, I’m going to use the iPad as a softbox in four different ways:

Head shot using an iPad as a soft box

My daughter shot with an iPad I used the Photo Light HD (Softbox) app

As a main light source

The first method is using the iPad as my main light source. I had the iPad on a tripod, close to my daughter’s face. You do need to turn off all other light sources. Having the iPad on a tripod made it easier for me to direct my subject. I downloaded the Photo Light HD app to test it out.

photo-light-HD-app

The Photo Light HD (SoftBox) app comes with 24 preset pattern images.

preset-image-photo-light-HD-app

One of the preset images that comes with the Photo Light HD (Softbox) app

It comes with 24 preset images. I used the second one here (see above photo). I was also able to use my iPhone as a remote with this app. I wanted a more dramatic portrait, where half of her face is illuminated, and the other half falls off to darkness. I did bump up the ISO quite high, as I handheld my camera.

Tip: You can mount your camera on a tripod and reduce the ISO, which will also help reduce noise in your photos.

Of course you don’t have to download this app. You could try out the Refboard or Soft Box Color apps instead, which are both free.

color-softbox-app

The Soft Box Color app is free to download.

Set the background color to white. Use a willing subject or object, and experiment by moving the iPad nearer or closer. You will see how the light wraps around the subject. Pay attention to how the shadows appear and drop off. See animated gif below.

meridian-man

By moving the iPad nearer or further away from your subject. You can determine how soft or hard the light will be.

Monster lighting

The second method is called Monster Lighting. This is done by placing the main light directly underneath the subject. So I positioned a toy gorilla on the iPad, and displayed a patterned image that I created to add more drama to the photo.

toy-gorilla

Monster Lighting – where the light source is directly underneath the subject.

lego-figure-blue-stars-background

Another example of the Monster Light effect. The reflection of the pattern image highlighted just under the mouth of the Lego figure adds to the drama. I wish I could say that this was intentional but it was purely experimental.

In the photo of the Lego figure above, I used a different pattern. You can download this one for free along with two others. See the link at the bottom.

Colored patterns as a backdrop

For the third method, I used colored patterns on the iPad as an illuminated backdrop. I created my own in Photoshop, see the step-by-step tutorial below demonstrating how I created them. This is where you can get really creative, and have fun taking these types of shots.

By placing an ordinary tumbler on the iPad with a preset pattern image, you can get really interesting refractions in the glass. Experiment by moving your camera position slightly up or down, to find the angle that best suits your shot.

glass-tumbler-on-blue-circles-background

I love the way the pattern image is distorted by the glass.

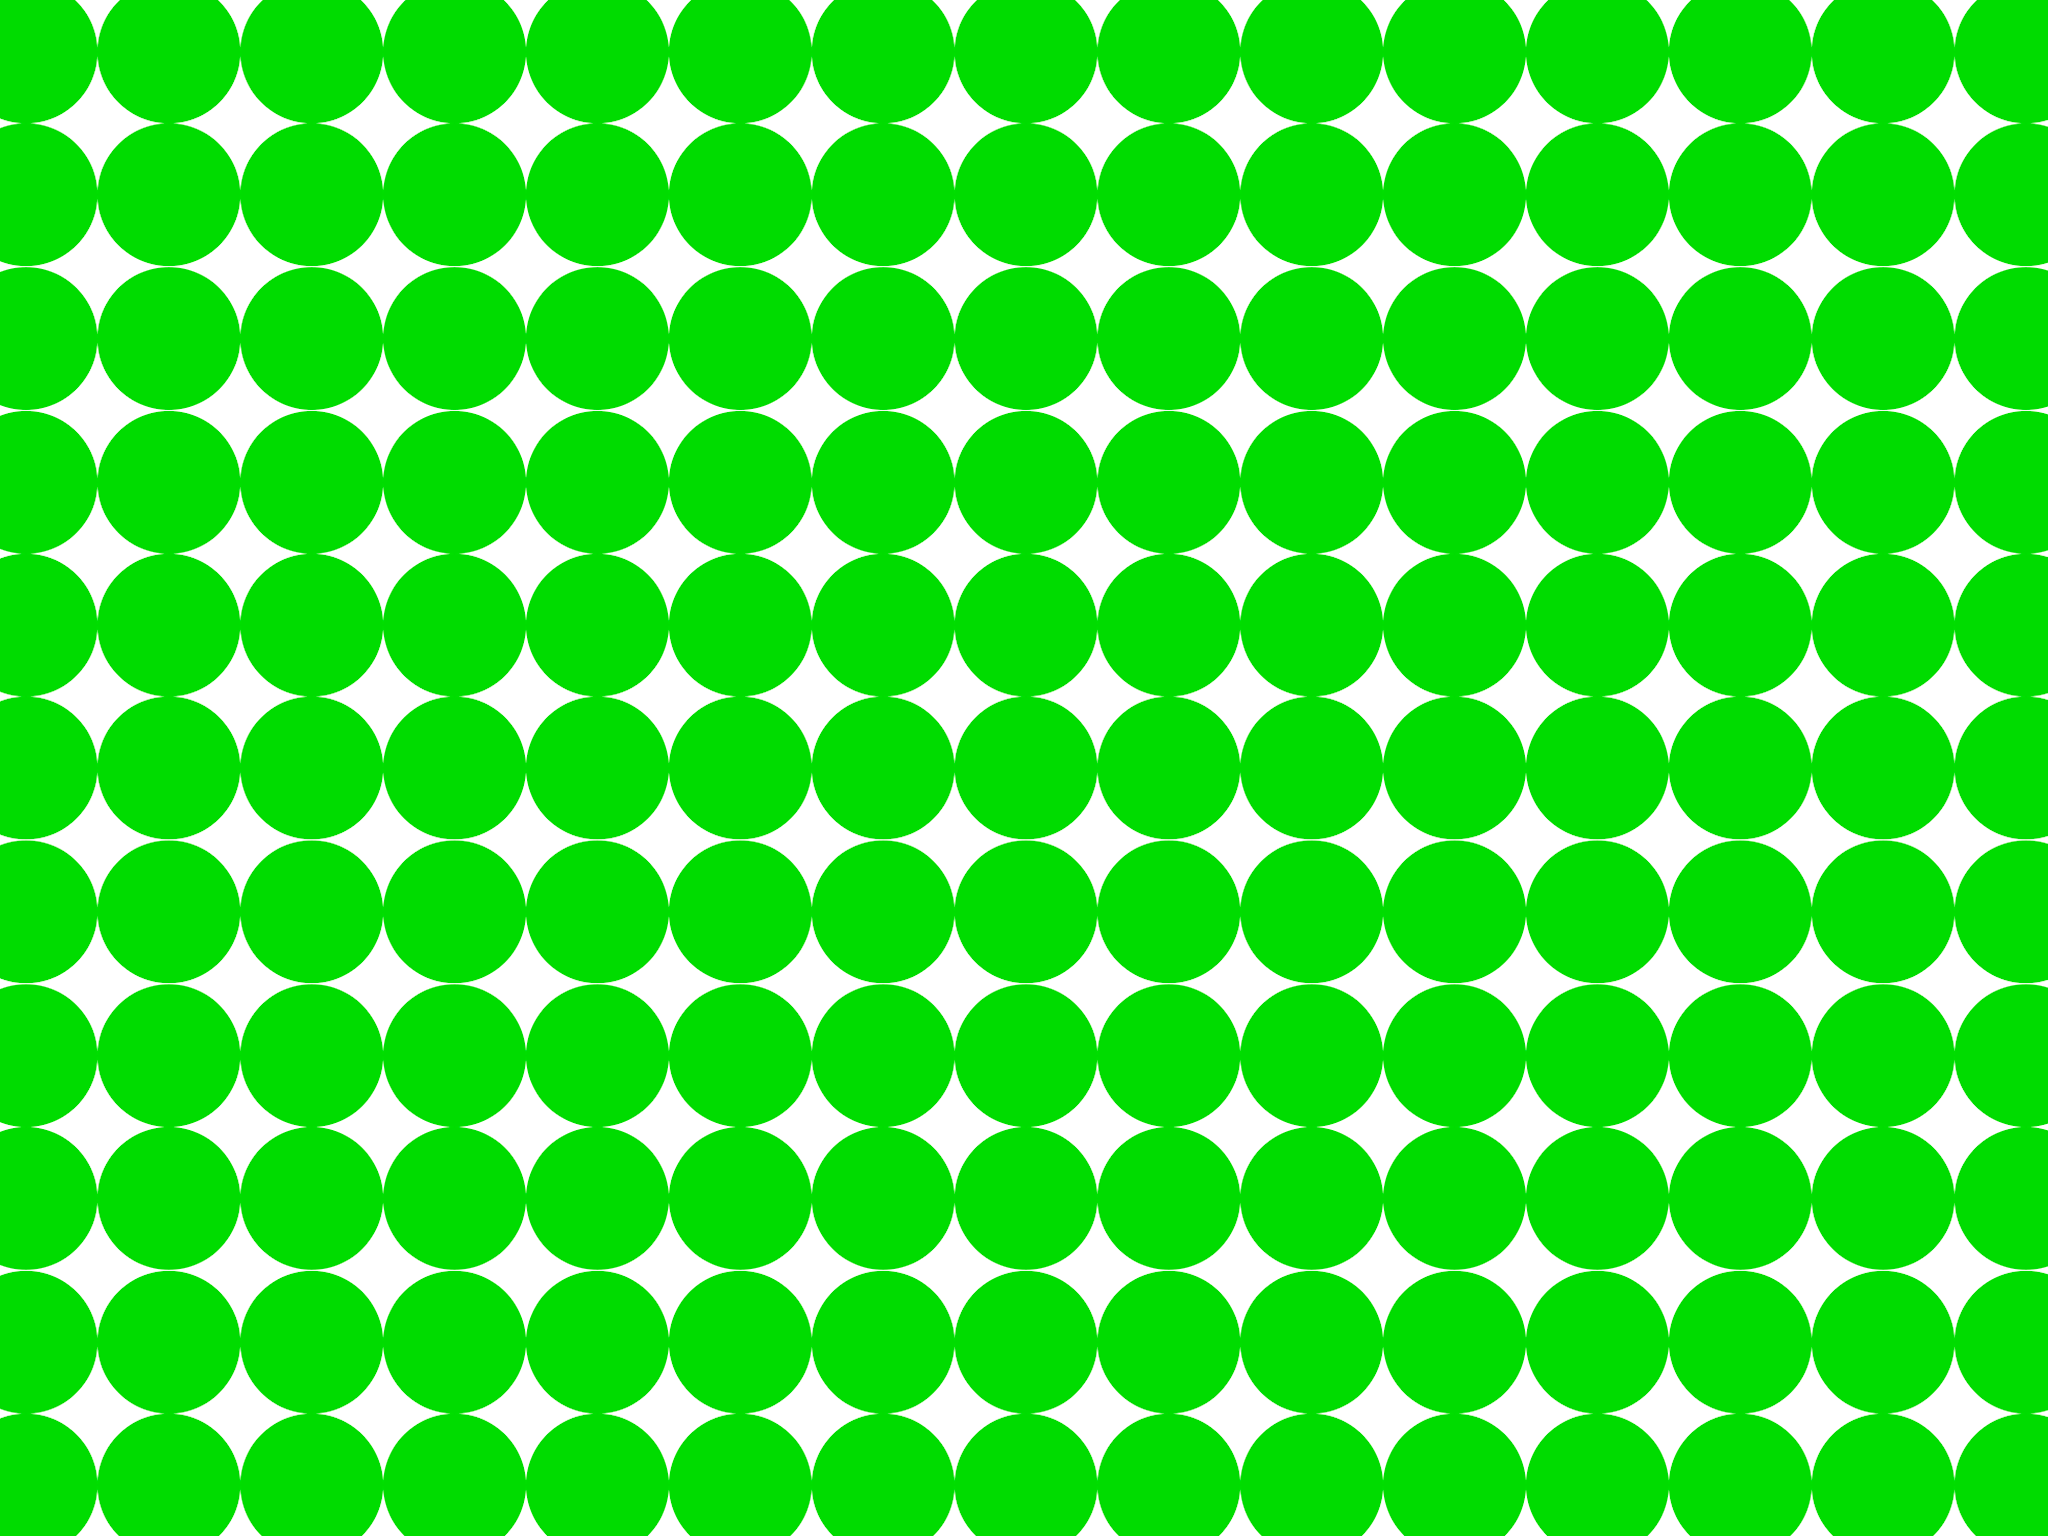
I also shot this small plastic yellow ball, placed on another preset pattern of green circles, to create an abstract composition.

yellow-ball-on-green-circles-background

A small yellow plastic practice golf ball, shot on another custom pattern image on the iPad.

Create a silhouette

Creating a silhouette is simple to do. Use the Soft Box Color or the Refboard app, set to white. They are both free to download. Just make sure your brightness level on your iPad is set all the way to the right (brightest) in Settings. In the example below, I used a toy ostrich to create a silhouette.

ostrich

A toy Ostrich silhouetted against an iPad, using the Soft Box Color app, set to white.

Creating your own patterned images in Photoshop

In this quick Photoshop tutorial I will show how easy it is to make these patterned image,s by using the Step and Repeat technique in Photoshop.

Start by opening a new document 2048px by 1536px. You can ignore the DPI setting. This only matters when you want to print your images. You will be saving this file as a PNG format which discard pixel density. Our concern here is pixel dimensions. I’m going to leave the background as white. You can choose any color you want.

resolution-72dpi

In this example, I’m going to name the document “Circle Pattern” and click OK.

Make a shape

Click-and-hold on the Rectangle tool in the Toolbox and choose the Ellipse Tool from the menu. If you want a different shape, for example a star or diamond shape, you can select the Custom Shape Tool. There are many preset shapes to choose from.

ellispe-tool

Ellipse tool

Custom shapes

Custom shapes

Then, up in the Options Bar, make sure the Shape Layers icon is selected. Choose whatever fill color you want. For this tutorial, I chose Black (with no stroke).

Hold down the Shift key and draw out a circle. The Shift key keeps the aspect ratio 1:1. I chose 154px, but again choose whatever size circle you want. With the Move tool (shortcut V on the keyboard) place the circle in the very top left corner of the new document file. Have the Info Panel open. Go to Window>Info.

Duplicating your shape

Pressing CMD/CNTL+T on your keyboard brings up the Free Transform Tool. But instead, hold down the Alt key as well so: CMD/CNTL+Alt+T. This is the important step, move the cursor over the circle shape. The cursor becomes a black arrow head. Hold down the Shift key and move the duplicated circle shape over by 154px, or equal to the width of your circle or shape. Look at your info panel when moving the circle shape. Release and click on the commit transform button or press Enter. That is the “Step” part of this technique.

To repeat this shape, hold down CMD/CNTL+Alt+Shift+T again. Keep holding down CMD/CNTL+Alt+Shift while pressing T multiple times, to create a line of circles across the document. Make sure the last circle goes beyond the document boundary (off the edge).

In your layers panel, you’ll notice that we have only the one layer and not duplicated layers for each circle. To create a new line of circles. Hold down the Shift+Alt keys and drag down by 154px. Continue all the way down the document until you have a document full of circles. Now go over to the Layers panel and select all the layers and put them into a group folder.

Creating a custom pattern image using the Step and Repeat technique in Photoshop.

Creating a custom pattern image using the Step and Repeat technique in Photoshop.

select-layers

Select all your shape layers

select-layers-into-group

Make a group of all the shape layers

You can now use the Free Transform tool to hold to scale the shapes (CMD/CNTL+T ), so that they are all contained within the document boundaries to create a seamless pattern effect.

Go to File>Save for the Web. Choose PNG-8 for the file format and click Save. Another pop dialog box appears. Name your file and select the location on your computer and click Save.

save-as-a-png-8

You now have a pattern preset image to transfer to your iPad or tablet.

If you haven’t got Photoshop, feel free to download the preset images by downloading the ones I made below, enjoy (just right-click and choose “open link in new tab”, then right click and choose “Save Image As”).

green-circles

diamonds

blue-stars

Summary

Can an iPad be used for photography? Well not in the professional world. If you a beginner to photography and experimenting with artificial light for the first time, give it a try if you have an iPad or tablet. But I wouldn’t suggest going out to purchase an iPad for this reason only.

I am great believer in using whatever light source(s) are available, to explore different shooting techniques and styles. So if you don’t have an iPad/tablet or photography lights, why not experiment with just a flashlight or LED light!

Do you have an iPad/tablet? If so what photography apps have you used? Please leave your comments below.

Let's block ads! (Why?)


Digital Photography School http://ift.tt/2byIPCO

Sourced by Time Trap Photography sharing the best photography tips, news and tricks throughout the industry. Time Trap Photography is dedicated to freezing those special moments in life that can be revisited and admired for generations to come. - Shannon Bourque
Please visit our main site for booking availability and rates.


"Time


Receive valuable industry knowledge delivered free to your email each day.


"Time

Tips for Photographing at High Altitudes – Part 2

6:42:00 AM

Continued from… Tips for Photographing Birds at High Altitudes – Part 1

Canon IDX / 600mm + 1.4X / 1/50 sec @ F/5.6 / Common Magpie

Canon IDX / 600mm + 1.4X / 1/50 sec @ F/5.6 / Common Magpie

Composition and Background

Birds in the mountain forests come out into the open for very short durations and then dive back into thick foliage; and when they do perch, they may have branches of trees behind and around them. It’s a goal to always get birds with clean backgrounds behind them, so this can be discouraging. In such situations, think about going wide or shooting a bird perched from afar and showing its habitat. Such images give good insight into how a bird lives.

Canon 7D Mark II / 600mm + 1.4X / 1/125 sec @ F/5.6 / Green-tailed Sunbird

Canon 7D Mark II /600mm + 1.4X /1/125 sec @ F/5.6 / Green-tailed Sunbird

Camera Settings

Make sure that your camera is set to shoot in RAW mode and Adobe RGB color space; these modes give you maximum control over processing your images and provide the widest available color gamut. I mostly shoot in aperture priority or manual mode; however, I prefer aperture priority mode for small and skittish birds as there are fewer settings to fiddle with and I can dial in exposure compensation quickly with a single dial. Set the drive mode on your camera to AI Servo/Continues mode; this allows you to maintain focus on moving subjects. When you look through the viewfinder, you see a grid of squares spread around, often referred to as a “cluster of points”. These are the focus points that assist in locking onto the subject. Today’s cameras offer up to seven auto-focus area selections, I recommend selecting the Single Point or Spot AF for locking focus when shooting perched birds. For tracking a moving bird, the AF point expansion mode is very effective. Start at ISO 800 and increase if light gets worse.

Canon 7D Mark II / 600mm + 1.4X / 1/400 @ F/8.0/ Fire-tailed Myzornis

Canon 7D Mark II /600mm + 1.4X /1/400 @ F/8.0/ Fire-tailed Myzornis

At the End, it’s Your Passion

Whether you are shooting birds, other wildlife, or landscapes, it’s dedication and focus that determines how far you’ll go in succeeding as a photographer. My goal is to consistently push myself to enhance my photography skills, to explore new locations, and to learn about new birds. Always remember to respect nature and your subject; if a situation arises that makes you feel uncertain or leads you or your subject to sense danger, leave it alone. Come back to it again tomorrow with a fresh mind and a different approach.

About Author Gaurav Mittal

Gaurav Mittal is a professional bird photographer and a blogger who grew up with a passion for nature and wildlife in his native birthplace of New Delhi, India. Gaurav migrated to the U.S. at the age of fifteen. After completing his college, he pursued a career in tax consulting in the Washington D.C. area. It was, however the love for the birds that eventually brought the focus back in his life and a determination to follow his heart, to be a bird photographer. Gaurav’s passion for photographing birds began in 2011 in Bosque Del Apache, New Mexico where observing the Sandhill Cranes brought a sense of harmony and a new vision to him. A moment he captured and fondly calls, “Kissed in The Mist” left him with a vision to continue on further and explore and learn about birds and how he can present their beauty through photography. His desire to be a top class bird photographer has led him to places such as Bharatpur, Bosque, Alaska, New York, Costa Rica and Florida.

Landscape

Free Landscape Photography eBooks

Build a stunning portfolio with Free eBooks, Photo Tips, Inspirational Stories, & Discounts from InFocus Newsletter.

Please check your email to confirm your subscription

Let's block ads! (Why?)


Visual Wilderness http://ift.tt/2bSJltJ

Sourced by Time Trap Photography sharing the best photography tips, news and tricks throughout the industry. Time Trap Photography is dedicated to freezing those special moments in life that can be revisited and admired for generations to come. - Shannon Bourque
Please visit our main site for booking availability and rates.


"Time


Receive valuable industry knowledge delivered free to your email each day.


"Time

About Us

Time Trap Photography is dedicated to freezing those special moments in life that can be revisited and admired for generations to come. - Shannon Bourque

The lens in focus

“Life is like a camera. Just focus on what’s important and capture the good times, develop from the negatives and if things don’t work out, just take another shot.” — Unknown

TIME TRAP PHOTOGRAPHY COPYRIGHT 2016