Light is integral to all genre of photography; travel and landscape photography are no different. However, what makes travel and landscape photography challenging is the fact that, unlike some other forms of photography, you cannot control the light in landscape photography. To overcome this challenge, I recommend that you learn to see the light and develop a workflow that allows you to capture stunning photos in any light condition. To get you started, here are a few mistakes to avoid when working with light at your next bucket list location.
Using the Wrong Equipment
Light enters your camera through the lens. This makes your lens a great tool to control the light entering your camera. Choosing the wrong type of lens can be the difference between a great photo and just another tourist snap shot.
While filming our Illuminated Course in New Zealand, I wanted to capture the storms that were creating breathtaking and moody scenes. So I decided to restrict the light entering the camera by using a long lens and magnify the storm clouds behind the famous Wanka Tree.
Similarly, a cheap UV filter on my lens left me with diffraction pattern in the “greens” while photographing the Northern Lights. Make sure that you are familiar with the limitations of your equipment and develop a workflow to choose the right equipment to get the job done.
Not Returning to a Location
We often get this question: Why would you want to return to the same location if you have already photographed it before?
My answer is always the same: Because light is is always different giving a different mood and feeling to the image.
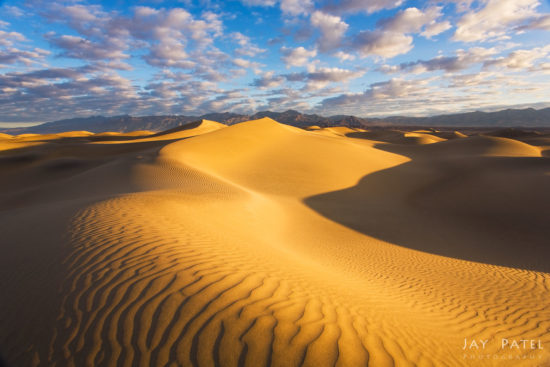
I have visited Mesquite Dunes in Death Valley National Park several times. Each time I have been able to capture these magnificent dunes in a different kind of light.
Sometimes you arrive at the location and find that the light is not ideal for photographing the subject you are trying to capture. In this case, you either have to go find another subject tor return to the location when the light conditions are just right. My first attempt to photograph Sol Duc falls under harsh light resulted in less then spectacular shots (as you can see in the image below). My second attempt in the right kind of light produced a more pleasing image.
Not Knowing When and How to Bracket
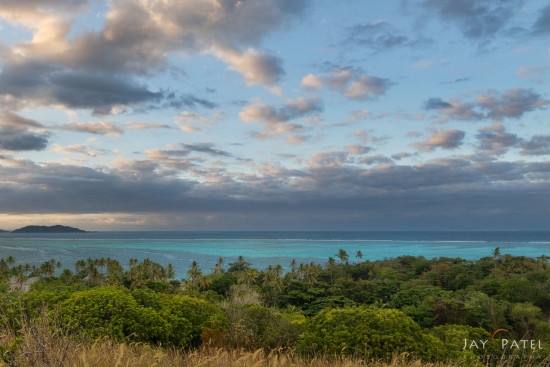
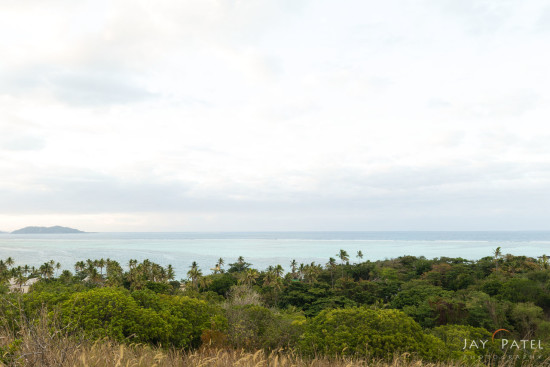
One of the biggest challenges facing landscape and travel photographers is high dynamic range. Not knowing when or how to bracket produces images with blown highlights, clipped shadows, or both. While it is easy to imagine why back-lit images require bracketing, even front-lit images sometimes require it.
Here is a side-lit image from Fiji that required bracketing.
In the Skaftafell case study from our Illuminated Course, Varina shows us why she decided to bracket a relatively even front-lit image. Our Illuminated Course gives you a first-hand look at how to capture great travel and landscape photos in any type of light. Working with Light uses the cases studies from our Illuminated Course and shows you how the choose the post processing based workflow depending on the type of light.
To be continued: 3 More Mistakes to Avoid When Working with Light
Visual Wilderness https://ift.tt/2H36nft
Sourced by Time Trap Photography sharing the best photography tips, news and tricks throughout the industry. Time Trap Photography is dedicated to freezing those special moments in life that can be revisited and admired for generations to come. - Shannon Bourque
Please visit our main site for booking availability and rates.

Receive valuable industry knowledge delivered free to your email each day.


No comments:
Post a Comment
Thank you so much for your comment. A moderator will review and approve all relevant posts. We appreciate your support and encourage you to stay with us by subscribing to our email updates. Where you can easily pick and choose what photography subjects interests you. Subscription link: http://bit.ly/photo-sub