All that expensive landscape photography gear sure makes for a great gift idea this holiday season. But the knobs and dials on the brand new DSLR can be pretty overwhelming. If you are an aspiring beginner landscape photographer, you may find yourself thumbing through the camera manual to learn more about how to capture stunning photos. While this is a good place to learn about the controls on your camera, it’s not a place to find out how to take landscape photos.
The field of landscape photography can be difficult to master because it involves both creativity and technical skills. The following are some essential skills a beginner landscape photographer should master.
Step 1: Learn to Expose Properly
One of the first things you should learn as a beginner landscape photographer is how to go beyond shooting in auto mode. Learn how to take control of the exposure rather than simply relying on the camera’s auto settings. One of the best tools to control your exposure is the histogram on the back of your camera.
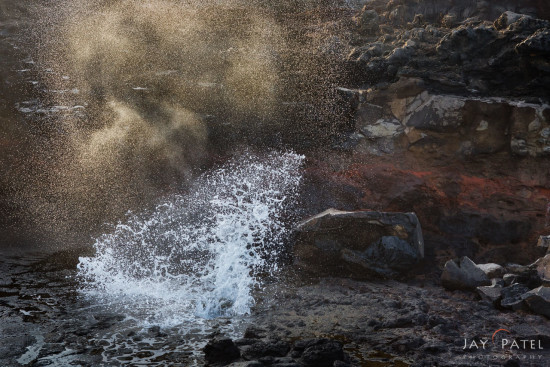
Sometimes an image needs to be under or over exposed to get the proper colors. In this image from Maui, I had to under expose the dark rocks to my right to get the proper throughout the image.
Here is a sample lesson from our SPOT ON EXPOSURE COURSE where Jay shoots in both manual exposure mode and aperture priority mode to capture the striking turquoise water in the foreground.
Step 2 – Master Focusing
A common struggle that new (and even some experienced) photographers often have is understanding how to get every important aspect of an image sharply in focus. We recommend that you start by learning your camera’s focusing mechanism and what options or modes are available. As a beginner landscape photographer, you also must know about hyperfocal distance. Although the concept of hyperfocal distance is easy to understand, implementing it is much more complicated and takes a great deal of practice. We recommend that you read up on this topic and practice applying it.
Here is a case study from our IN SHARP FOCUS COURSE where Varina captures waves as they crash against rocks and explode into the air.
Step 3 – Get to Know Your Equipment
As a landscape photographer, you must be able to recognize the variety of light conditions you’ll encounter in the field. Knowing that your camera alone cannot capture thee landscape photos properly, you must be proficient with different types of camera lenses, photography filters, tripods, focusing rails, and more. You also must know what techniques to use with what equipment to manipulate or control the light effectively. For example, if you are shooting during golden hours with a wide angle lens, you may have to use a GND filter or rely on high-speed bracketing to get your exposure right.
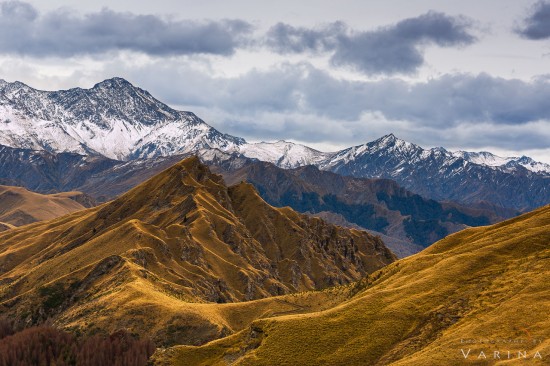
Skippers Canyon is a landscape photographers dreamscape… but there’s a lot going on out there! Here’s how Varina chooses the best lens for the job in our IN BEHIND THE LENS COURSE .
Step 4 – Learn to Create Visual Impact
At its core, landscape photography is about determining and developing your workflow. Not only does a solid workflow include photography skills, but it often also requires out-of-the box thinking to overcome challenges you may face because of local elements. You must think outside the box and use your camera skills to be able to create impact.
For example, I decided to use a wide angle lens and timed my shot to coincide with the morning light shining in the lava cave to create this breath taking scene (above image).
Here is a sample case study from our CREATING IMPACT COURSE that shows you how a solid workflow can be used to create visual impact.
Step 5 – Setup your Post Processing environment
One of the first steps a beginner landscape photographer should take is to calibrate your monitor. Monitor calibration ensures vibrant, high-quality images across all devices and not just the computer on which you are processing your photos. Here is a lesson from our TRUE COLORS TUTORIALS where Alan Winslow explains why monitor calibration is essential.
Step 6 – Embrace RAW Processing
Most cameras today, except maybe some smart phones and low-end point-and-shoot types, have RAW file capabilities. A RAW file is like having a digital negative. It’s not yet in a viewable format but it maintains most of the image’s original information. In this format, a beginner landscape photographer can manipulate the image file ‘after the fact’ to create the best image.
As you can see from the image above, the unprocessed RAW image looks dull and colorless because it was created using camera default settings. The processed RAW image contains stunning details and vibrant colors.
Here is a case study from our PRACTICAL LIGHTROOM TUTORIAL where Anne McKinnell shows you how to process a RAW image to bring out exceptional colors and details in your waterfalls photos.
Step 7 – Develop a Post Processing Workflow
Once you’ve finished processing with a RAW converter, you may feel that they are still not processed exactly as you want. Your processing knowledge should include, for example, how to make targeted or localized adjustments to specific parts of your images. You should also know how to fine-tune settings such as contrast.
The extreme dynamic range in this landscape photos from Ozud, Morocco required Varina to bracket the photos. The bracketed photos were then combined in Photoshop using the BLENDING WITH LIGHT workflow to create the final image that you see here.
One of the most expensive parts of landscape photography is traveling to those breathtaking locations that you dream of photographing. If you travel without knowing how to use your equipment, you may come away with photos that don’t do justice to the beautiful location.
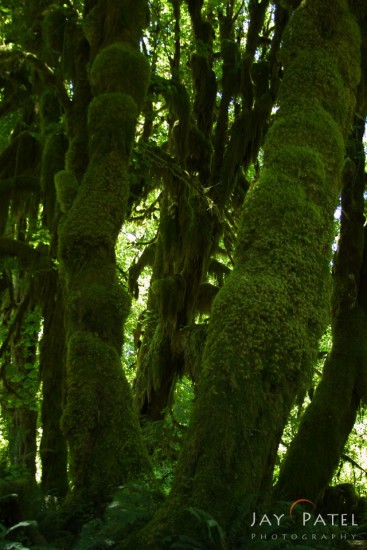
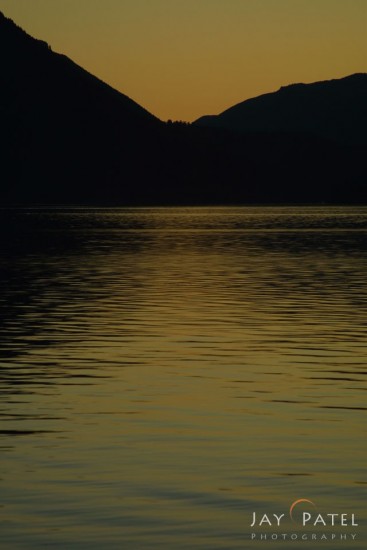
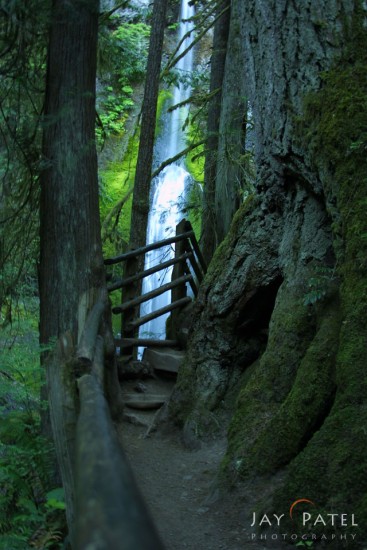
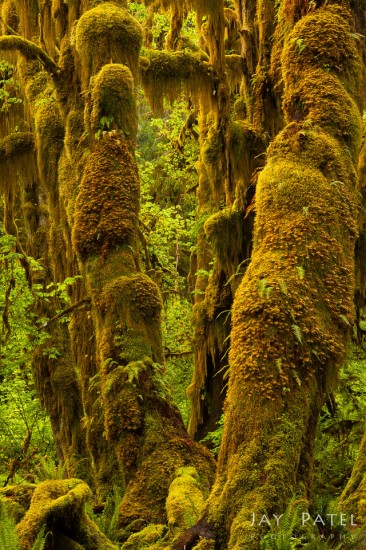
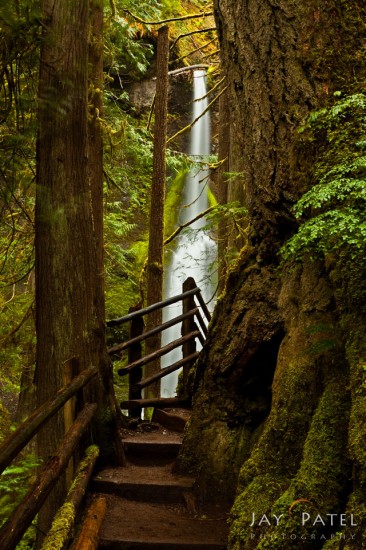
This is exactly what happened to me. The first time I went to photograph Olympic National Park, I didn’t know how to use my new DSLR camera. I came away with the photos that you see above. My second trip results (after I went through the seven steps) showed dramatic improvements.
Feel free to share you own experiences as beginner landscape photographer in the comments below.
Visual Wilderness http://bit.ly/2C4oOA8
Sourced by Time Trap Photography sharing the best photography tips, news and tricks throughout the industry. Time Trap Photography is dedicated to freezing those special moments in life that can be revisited and admired for generations to come. - Shannon Bourque
Please visit our main site for booking availability and rates.

Receive valuable industry knowledge delivered free to your email each day.











No comments:
Post a Comment
Thank you so much for your comment. A moderator will review and approve all relevant posts. We appreciate your support and encourage you to stay with us by subscribing to our email updates. Where you can easily pick and choose what photography subjects interests you. Subscription link: http://bit.ly/photo-sub