Saturday, February 29, 2020

browserfruits 09.2020
10:22:00 PM

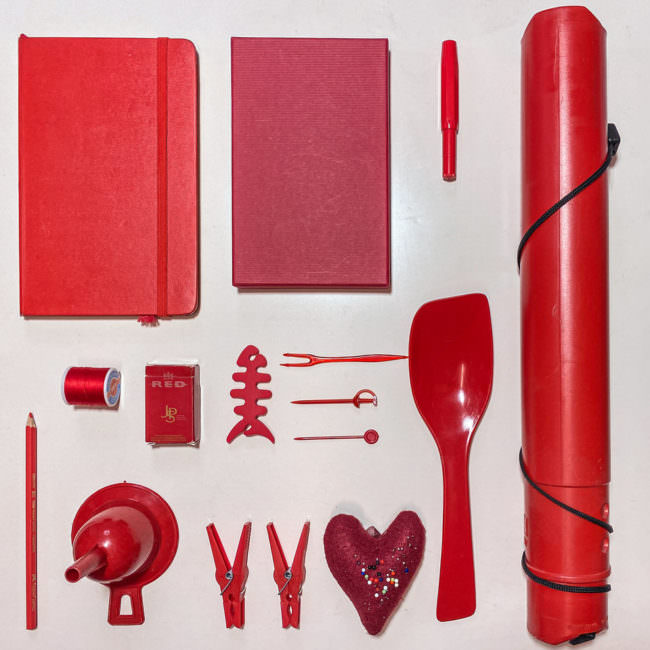
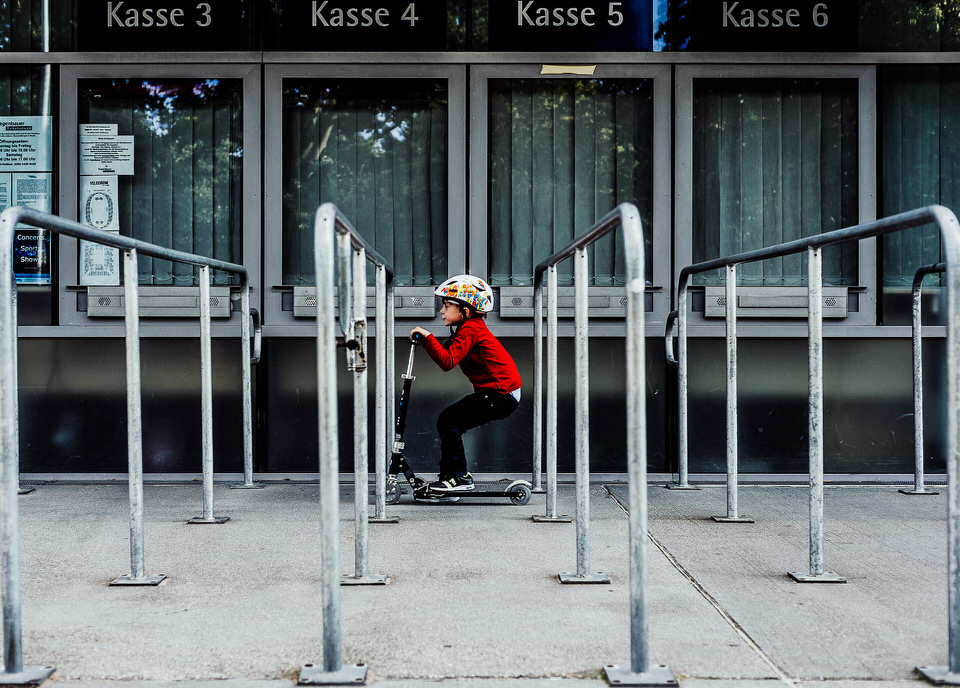
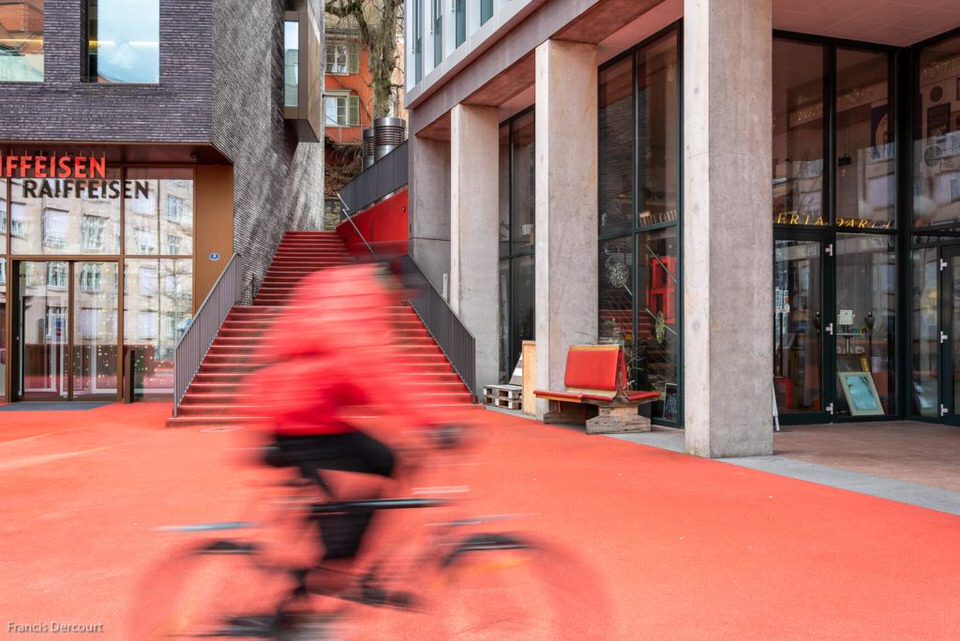
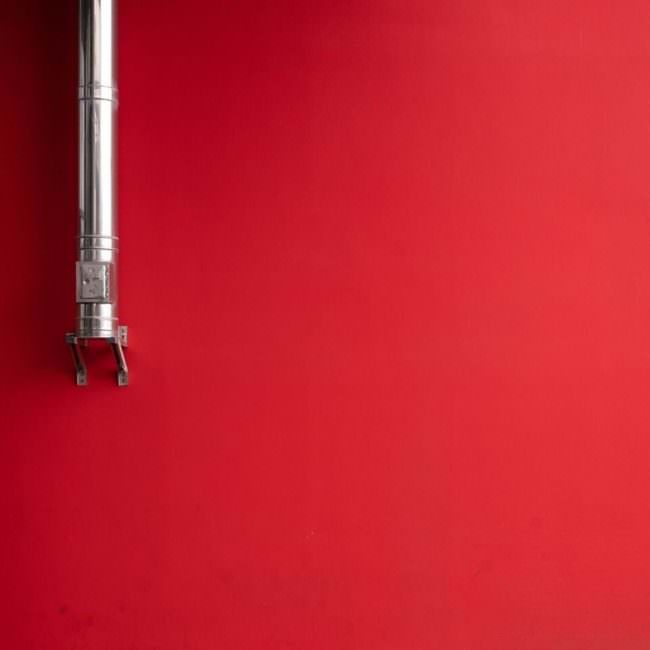
Habt Ihr schon mit unseren Presets gearbeitet? Wir sind sehr neugierig und freuen uns, Eure Ergebnisse zu sehen! Markiert sie gern in den sozialen Medien mit #kwerfeldeinxfriends oder schickt sie uns direkt per E-Mail. Wir sind gespannt! Und nun viel Spaß mit den browserfruits.


Linktipps

• Fotos von Fans mit ihren Idolen sind wohl ziemlich langweilig. In Serie ist es jedoch erstaunlich spannend und wirkt wie eine kleine Studie. → ansehen

• Die nominierten Bilder des World Press Photo Awards stehen fest. → ansehen

• Der einzige Weg, aus ihrer missbräuchlichen Ehe zu kommen, war für diese afghanischen Frauen der Mord an ihren Ehemännern. Hinter Gittern finden sie Freiheit. Die New York Times zeigt ein strakes Fotoessay von Kiana Hayeri. → ansehen

• Das neue Buch „Midcentury Memories“ zeigt Amateurfotos aus den 50er und 60er Jahren. Das Monopolmagazin stellt es kurz vor und erklärt die Besonderheit der farbenfrohen Privatbilder. → ansehen

• Nach einer schweren Kriegsverletzung wurden Karl Heinz Mai beide Beine amputiert. Er wurde „Reporter auf drei Rädern“ und fotografierte die Ruinen und den Neuanfang Leipzigs. → ansehen

• Von jemandem gegen dessen Willen Bilder zu machen, ist ein Akt von Gewalt. Eine spannende Kolumne von Tillmann Prüfer hat die Zeit. → ansehen

• Die Rate der Menschen, die mit Albinismus innerhalb der Guna-Bevölkerung in Panama leben, gehört zu den höchsten der Welt. Der Fotograf Bienvenido Velasco Blanco besuchte vor Ort Menschen, die von Albinismus betroffen sind. → ansehen

• Im Magazin Jetzt berichten Menschen verschiedener Berufszweige, wie viel sie verdienen. Mit dabei auch Auftragsfotografin Caren. → ansehen

• Benedek Lampert fotografiert Spielzeugautos in real wirkenden Szenen. → ansehen

• My Modern Met zeigt die beeindruckenden Gewinnerfotos des Wettbewerbs „Underwater Photographer of the Year“. → ansehen


Buchempfehlungen

„Das Mädchen mit der Leica“ : Ein Roman über die Fotojournalistin Gerda Taro. Aus den Splittern der Erinnerung dreier alter Freund*innen setzt die Autorin ein Bild zusammen und erzählt das Leben der Fotografin, die während ihrer Arbeit im Spanischen Bürgerkrieg starb. Das Buch erscheint im Verlag Berlin und kostet 22 €.

„Sofort Bilder“ : Als fotographische „Notizen“ oder „Sofort Bilder“ bezeichnet Wim Wenders (geb. 1945) seine Polaroids aus den 1970er und 80er Jahren. Portraits von Freund*innen, Schauspieler*innen, Impressionen von USA-Reisen, Dreharbeiten und der Kinolandschaft der deutschen Provinz verwebt Wenders hier mit eigenen Erzählungen. 2017 erschienen, wird das Buch nun etwas kleiner und zum Preis von 19,80 € kostengünstiger neu aufgelegt.


Ausstellungen

1990. Fotografische Positionen aus einem Jahr, über ein Jahr
Zeit: 29. Februar – 17. Mai 2020
Ort: Dieselkraftwerk Uferstraße, Am Amtsteich 15, 03046 Cottbus

All Art is Photography
Zeit: 29. Februar – 26. April 2020
Ort: Kunstverein Ludwigshafen am Rhein, Bismarckstr. 44-48, 67059 Ludwigshafen

Biennale für aktuelle Fotografie – Walker Evans Revisited
Zeit: 29. Februar – 26. April 2020
Ort: Kunsthalle Mannheim, Friedrichsplatz 4, 68165 Mannheim


Drüben auf Instagram

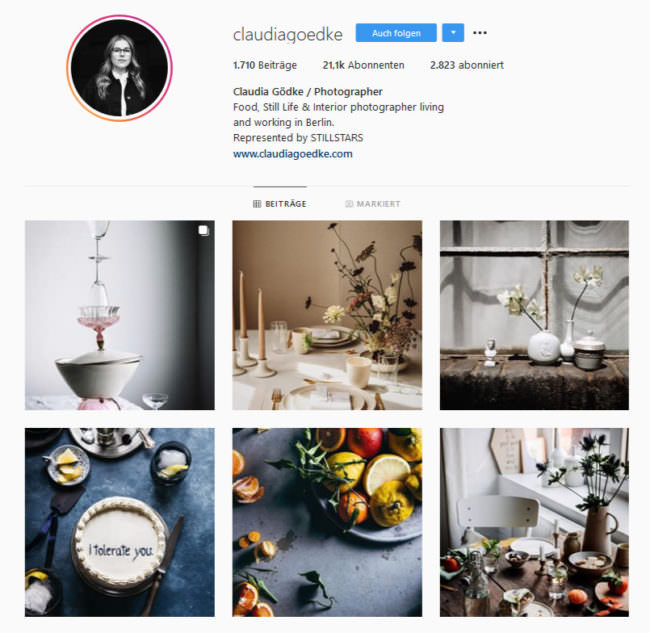
@claudiagoedke – Claudia Gödke ist Fotografin aus Berlin und spezialisiert auf Food, Stilllife und Interior.


Videos

Camille Seaman fotografiert Eisberge und berichtet in ihrem Ted-Talk über die komplexe Schönheit dieser massiven, alten Eisbrocken.


Mathieu Stern entwickelt ein 120 Jahre altes Negativ aus einer Zeitkapsel.


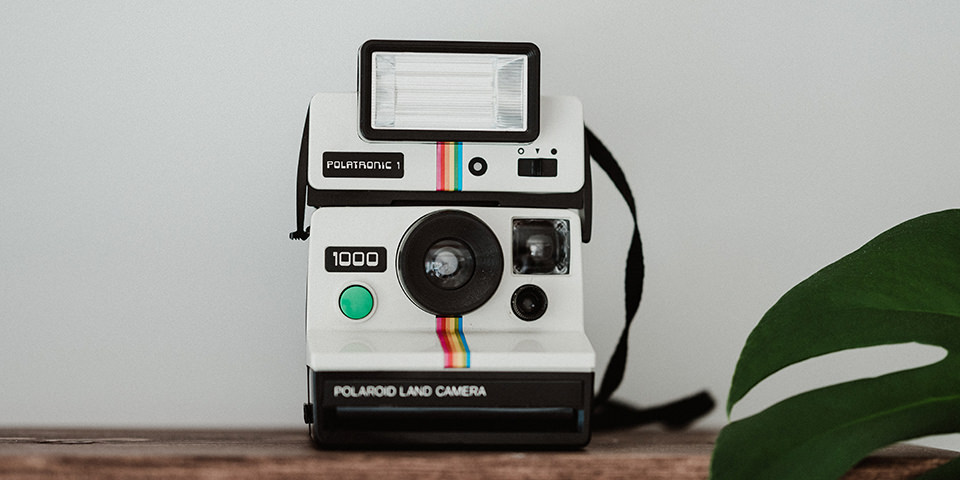
Das Titelbild stammt von Annie Spratt. Vielen Dank!


kwerfeldein – Magazin für Fotografie https://ift.tt/2VB4T7k

Sourced by Time Trap Photography sharing the best photography tips, news and tricks throughout the industry. Time Trap Photography is dedicated to freezing those special moments in life that can be revisited and admired for generations to come. - Shannon Bourque
Please visit our main site for booking availability and rates.


"Time


Receive valuable industry knowledge delivered free to your email each day.


"Time

Instagram Makes It Way Easier to Curate Who You Follow

7:19:00 PM

Power users of Instagram can let out a cheer of victory as the service has finally bowed to long-held user requests for a more efficient way to cull who you follow without having to do it one by one.

As many people are pointing out, this is especially useful in helping you eliminate bots from your list of people you follow. How does this work?

There are a couple of lists that Instagram generates for you to review including people you rarely interact with on the platform as well as those “most shown in feed,” aka, people who post endlessly.

All of this is about optimizing the user experience and making sure you get the content that is most valuable to you.

FREE: 3 Camera Craft Cheat Sheets! Click Here

But there’s also the undercurrent of managing all of the fake accounts on your list.

One caveat is that some people you don’t really interact with might not use Instagram that much.

This could include family and friends.

Prior to this, you would have to do a little bit of research to figure out what accounts to unfollow.

Interestingly, these features come as Instagram’s hidden likes count change is meant to incentivize people to post more to the service.

It would seem that Instagram’s new emphasis is on activity of almost any type as the curating your newsfeed and giving you reasons to post more are bound to achieve that ultimately.

Do you use Instagram? What do you think of this new feature?

What about all of the other new features the platform has introduced over the past several months?

Let us know your thoughts on this news story in the comments section below if you like.

Also, there are a bunch of other photography news articles on Light Stalking for you to check out. You can do that by clicking here.

[Pop Photo]

Let's block ads! (Why?)


Light Stalking https://ift.tt/3870yLr

Sourced by Time Trap Photography sharing the best photography tips, news and tricks throughout the industry. Time Trap Photography is dedicated to freezing those special moments in life that can be revisited and admired for generations to come. - Shannon Bourque
Please visit our main site for booking availability and rates.


"Time


Receive valuable industry knowledge delivered free to your email each day.


"Time

How to Set Your White Balance Manually

8:07:00 AM

Co-authored by Dahlia Ambrose

Most recent cameras, whether DSLRs or mirrorless, come with a feature called white balance that can be set manually depending on the light conditions that one is shooting. Some compact cameras may have that feature too if they have a manual mode for shooting photographs. White balance is important because we don't want a warm, cheerful scene to look cold and bleak. Nor do we want a cold scene to look artificially tinted with warm colours.

Markus Spiske

In this article, we'll cover how to properly set a custom white balance manually in your digital camera.  Before we begin, let's look at what white balance is in photography and why you need it set it up correctly. 

Here Is A Brief, Easy To Digest Explanation.  

White balance is how warm or how cool the colours look in your photographs. Usually, the camera reproduces colours the same way they look in real life. 

FREE: 3 Camera Craft Cheat Sheets! Click Here

For example, even on a bright day, the light is a bit blue when your subject is in the shade. Our eyes don't register this because our brain is very good at dealing with colour casts, processing the information and making it look white to us. But our camera will pick up on this colour cast

Similarly, indoors under fluorescent or incandescent lights, we don't see much difference in white colour, but the camera sees it. This is what is called the colour temperature and balancing these colours to make the white look natural is adjusting white balance.

Note: Balancing the white colour means, adding warmer tones to cooler light and adding cooler tones to warmer light to make the white look natural.

Light sources emit colour in different temperature ranges, and it is measured in units of Kelvin.  For example, the direct light from the sun has a different temperature than light in the shade. Similarly, light from a fluorescent lamp will have a different temperature compared to tungsten or incandescent lights, and so on. So, natural light is cooler, while tungsten and candlelight are warmer. Fluorescent light can give a green colour cast. 

Note: Warmer lights have low Kelvin values, whereas cooler lights have higher Kelvin values. 

Here Is A Direct Example To Explain Kelvin:

Street lights typically emit an orange colour to them, when you take photographs with your digital camera in auto mode, the orange gets exaggerated, and the result isn't so pleasing. This is typically considered warm lighting.

On the other end of the spectrum is cool lighting and favours the blue/white Kelvin spectrum.  The new Lexus, BMW, Mercedes headlights all have this white/blue light to them.

In both examples, light is the final result, but the colour is different.  

Similar to the above examples, indoor incandescent bulbs cast an orange colour while candles cast an orangish-red glow. Likewise, when the sun is not up in the sky, the blue sky looks very blue and photographs taken in the shade look blue too. 

The reason for this is, different light sources emit different amounts of red, blue, green colours and the scattering of different wavelengths of light is the reason for the colours – for example, the reason why the sky is blue is due to the diffusion of blue light off air molecules more than any other wavelengths of light.

In days gone past when film ruled, it was much more lenient towards these particular colour shifts, and two main types of colour film existed, regular and tungsten.  While you could use gels in extreme cases, these two film types satisfied the needs of most everyone; digital sensors, however completely changed the game.

Aleksandar Pasaric

So, What Does Setting White Balance Do, And Why Should You Do It?

Setting white balance helps the camera to establish what is white in the scene and then set the colours more accurately for the photos taken in that scene, under that lighting situation. Setting white balance is very important when shooting in tricky light conditions, such as a mixed lighting scenario. Your shot might have artificial light indoors combined with natural light from a door or windows. Setting your white balance in this scenario will ensure you get accurate colours in your images. 

Cameras come with inbuilt white balance presets that are good to go most of the time, for a single type of light in a scene, but in situations where there are multiple light sources, the camera gets confused, and that is when you need to set the custom white balance. 

Moreover, if you are shooting jpegs for some reason, custom white balance is the way to go as fixing white balance when post-processing is not always possible with jpegs. Even if you are shooting RAW, it is best practice to get the white balance correct in camera.

Almost all digital cameras come with a handful of presets for white balance, each usually has an indicator to get you in the round-about territory of where you should be, plus auto which isn't great all the time. 

Here are the most common camera presets for white balance:

  • AWB – Auto White Balance, where the camera sets the white balance based on the light in the scene. Most of the time, it is accurate, but there are times when the camera gets confused. So using auto white balance should be limited to situations when you do not have enough time to set the auto white balance for specific shots or lighting conditions. Examples include event and wedding photography where you cannot spend time adjusting the white balance for all the different lighting conditions as it will lead to the photographer missing the most critical moments of the event or wedding.
  • Daylight – the camera usually adds warm tones when this preset is selected. So it is best to use this preset when the sun is bright enough as otherwise, it can cast a blue colour in your photographs. 
  • Cloudy – the camera adds slight warm tones to the images when the sky is completely covered with clouds because the light on overcast days is a bit cooler. There are times when shooting sunset or sunrise may not reproduce the vibrant colours in your pictures, similar to what you see at the location. You can use this preset, so it adds warm reddish tones to your photographs.
  • Shade – the camera adds warm tones to the images as otherwise, photographs shot in the shade using auto white balance may end up having blue tones. Also, if you are looking for warmer colours in daylight, you can use this white balance preset.
  • Tungsten – the camera adds cool tones to the images as the tungsten light usually adds warm tones. So using this preset adds cool tones to bring down the bright yellow or orange colour casts these lights create in a scene.
  • Fluorescent – the camera adds warm reddish tones to the photographs since these lights emit cool light.
  • Flash – the camera adds warm tones to the image as the light from a flash is cool. Use this preset only if the flash is your only source of light. If not, you will need to use custom white balance settings.
White Balance Preset Menu for Nikon
White Balance Preset Menu for Canon

Here are some sample images shot under various white balance settings to get an understanding of how different white balance values affect colours in the image:

Thomas Steiner
Vassia Atanassova 

Before going on to custom white balance, you could always try the different presets to see if these work for the light conditions that you are shooting in. 

If one preset does not work for a particular light condition, depending on whether you are looking for warmer or cooler tones, you can use the white balance preset above or below to adjust the colours. The preset modes are great when you are 100% sure of your lighting, but how often can that be?  

Setting your preset to Sun mode or daylight, for example, doesn't account for the light change from the early morning, high noon and late afternoon.  Likewise, most homes have multiple different temperature bulbs, that makes it near impossible to use a preset to get an accurate white balance. Especially with portraits and when shooting people under other light conditions, we want the skin tones to appear natural unless you are going for a creative look or feel in the image. 

The goal for white balance is to achieve a neutral and accurate portrayal of what the naked eye sees and to represent that in your photography. Most of the time, auto white balance or one of the presets works fine, but there will be times when the camera gets confused by the light conditions, and you will need to instruct it to see what is white in the scene. 

Setting a manual white balance, often called a custom white balance is way easier than most people could ever hope it to be.  

You'll want to shoot using custom white balance in any situation that you cannot control the light sources you are using. This will also be helpful in scenarios where there is more than one light source, and you have to use them both while photographing.

  • Custom White Balance – the photographer sets the white balance depending on the light in the scene. You tell the camera what is white in the scene so the camera can adjust all the colours in the scene and reproduce the correct colours.

How Do You Set Custom White Balance?

Setting up custom white balance involves taking a photo of something white or mid-grey in the same light where you will be shooting your subject. You then select the camera's custom white balance mode and set it to use the photo of the white or mid-grey thing as reference. Follow the steps below on how to set this up, and this applies for any image.

Note: Refer to the camera's manual if you need help with getting into the white balance menu for your specific camera. Also, most cameras will have a WB button at the top or back of the camera, if not there, then at least white balance menu in the shooting menu.

This is what you see when you press the WB button on a Nikon. Rotate the front or back wheel for custom white balance presets or inbuilt camera's white balance presets.

  • Take a photograph of something white in the same location under the same light you intend to shoot. Make sure it is shot at the right exposure, and it covers a large area of the frame or completely. This could be a wall or ceiling, fabric, paper, card or anything white or grey, and it will be used as the reference photo to set white balance manually.
  • Then go to your camera's shooting menu, choose white balance settings and select custom white balance or, press the WB button on your camera and turn the dial until the custom white balance icon is displayed. 
  • Select the image you just photographed (something white or grey under the shooting light) by pressing the set button. The “Set” button is usually the “OK” button; if not, you will be guided on the screen.
  • Set your camera's White Balance setting to Custom.
  • Now the white balance for the light you will be shooting under is set for your camera and you should get good results for that lighting situation. All the images shot in this lighting scenario in this location should turn out neutral with natural colours and should not have a colour cast. If anything in the scene changes, for example, a background, more light sources or colour of light, you will then need to set the white balance again following the steps above.
  • If you move to a different lighting scenario, repeat the same steps above.

Set Custom White Balance – Nikon

  1. Go to the shooting menu

  2. Choose “Preset Manual” to set custom white balance

  3. Select one of these

  4. Select the image shot with grey to set for custom white balance

Set Custom White Balance – Canon

  1. Choose custom white balance

2. Select the image with the white or grey area

3. Choose OK to use white balance data from this image

4. Click set again

There's no magic; it's that easy! 

There is one secret, though. You want your white or grey area to be where your focal point is.  That is to say, the model above is holding it directly over their face; that's what is important.  If you, the photographer, are standing 15 yards away and hold the grey card in one hand, camera in the other and shoot it, the light falling on the grey card for which you make your custom white balance setting could differ from what falls on your subject.  You must get the grey card into the frame with the subject!

Note: The bonus to doing a custom white balance, resulting in more neutral and natural colours is the total decrease in post-production work you'll have adjusting for improper white balance settings.

What If I Don't Have A Neutral Scene?

If you do not have a grey card or anything white or neutral in the scene, you can go the trial and error route. Use the Kelvin scale and depending on the light used, use manual values to increase or decrease the values in the Kelvin scale to set the white balance manually. Take test shots to get the most accurate white balance values. You can also use this as a way to creatively use white balance to add mood to your images. 

Choosing Kelvin values for setting white balance:

For Nikon: 

In the Shooting Menu -> Choose White Balance -> Choose colour temp. 

Adjust the temperature according to your lighting situation

For Canon: 

In the shooting menu, choose Kelvin scale adjustment

Here is a rough idea of the values to look out for:

Bhutajata

And here is a handy table to use as a guide:

Candlelight

 1000 – 2000 K

Tungsten Bulbs

 2500 – 3500 K

Sunset and Sunrise

 3000 – 4000 K

Fluorescent Lamps

 4000 – 5000 K

Flash

 5000 – 5500 K

Daylight

 5500 – 6500 K

Midday

 6000 – 7000 K

Overcast Day

 6500 – 8000 K

Shade or Cloudy

 9000 – 10000 K

We hope that this overview of white balance and how to set custom white balance has been helpful. If you want to know more about white balance, take a look at these articles:

Further Reading:

Further Learning:

While this tutorial on how to set custom white balance will help you get it right in camera, our images will always need editing. Editing is a huge part of photography, and if you are interested in learning more about it, then take a look at Kent DuFault's Ultimate Guide To Fundamental Editing.   

Let's block ads! (Why?)


Light Stalking https://ift.tt/2ZuRSKB

Sourced by Time Trap Photography sharing the best photography tips, news and tricks throughout the industry. Time Trap Photography is dedicated to freezing those special moments in life that can be revisited and admired for generations to come. - Shannon Bourque
Please visit our main site for booking availability and rates.


"Time


Receive valuable industry knowledge delivered free to your email each day.


"Time

29. Februar 2020

4:22:00 AM

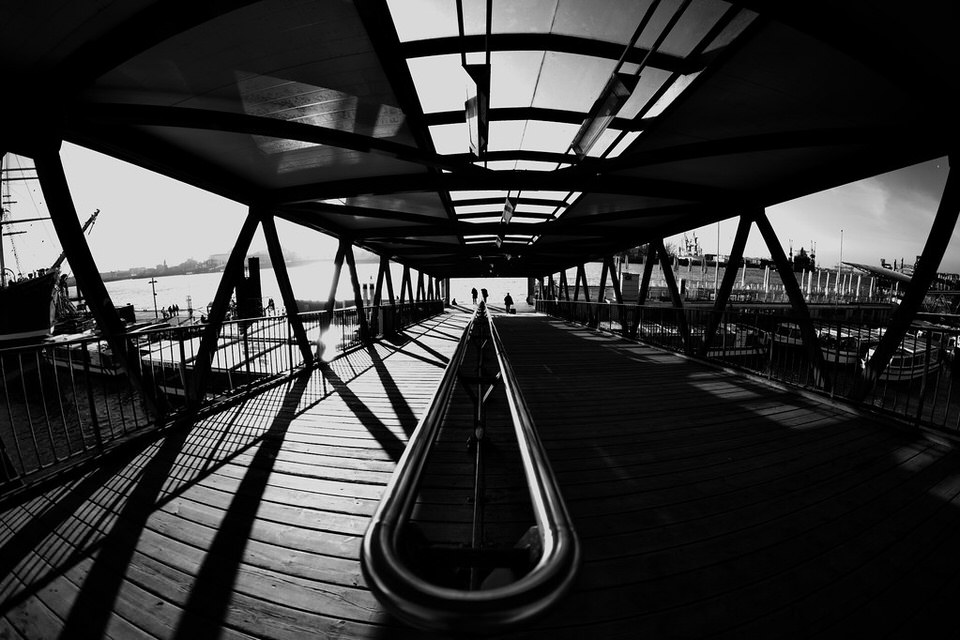
Das Bild des Tages von: Gabi


kwerfeldein – Magazin für Fotografie https://ift.tt/32zOAJk

Sourced by Time Trap Photography sharing the best photography tips, news and tricks throughout the industry. Time Trap Photography is dedicated to freezing those special moments in life that can be revisited and admired for generations to come. - Shannon Bourque
Please visit our main site for booking availability and rates.


"Time


Receive valuable industry knowledge delivered free to your email each day.


"Time

Friday, February 28, 2020

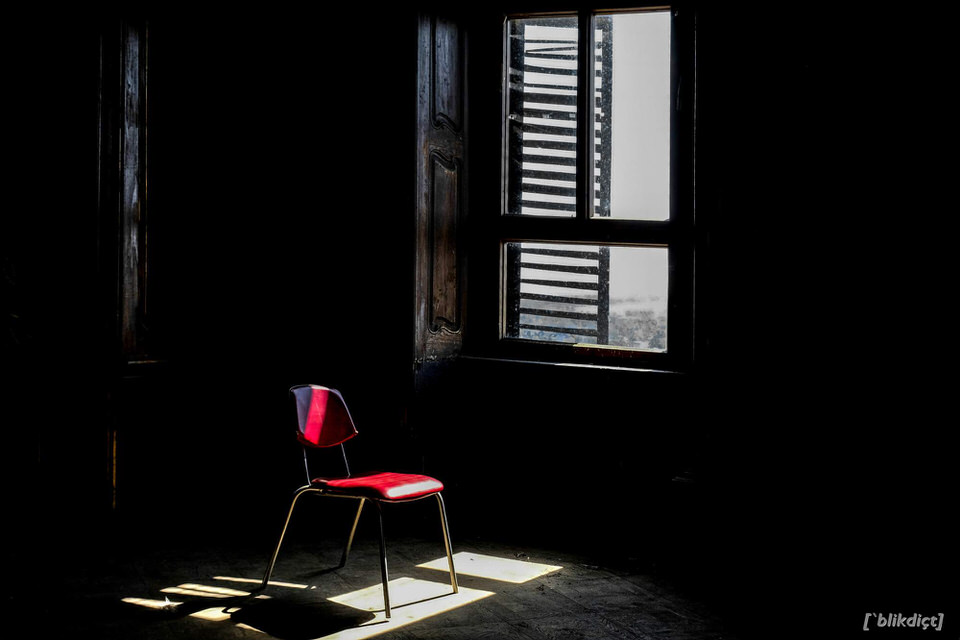
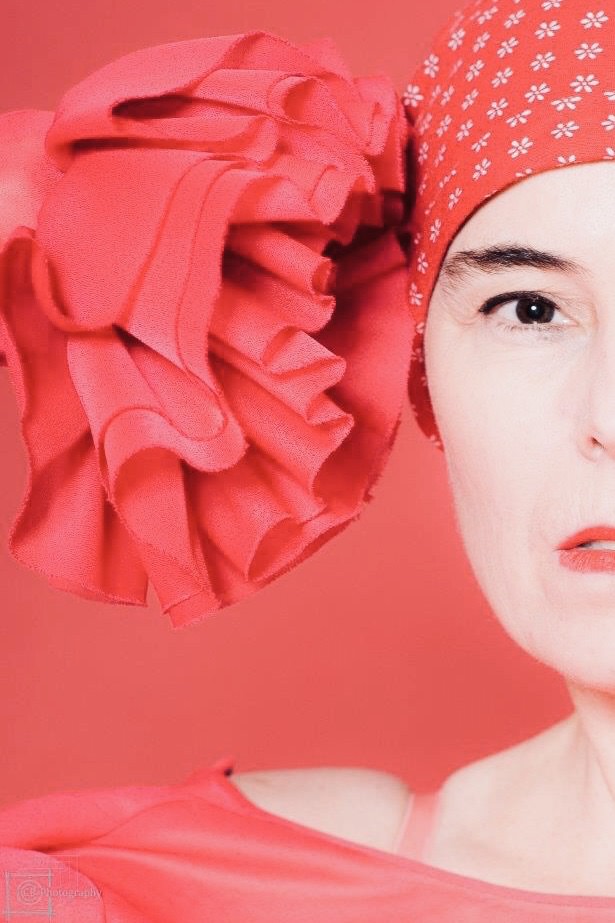
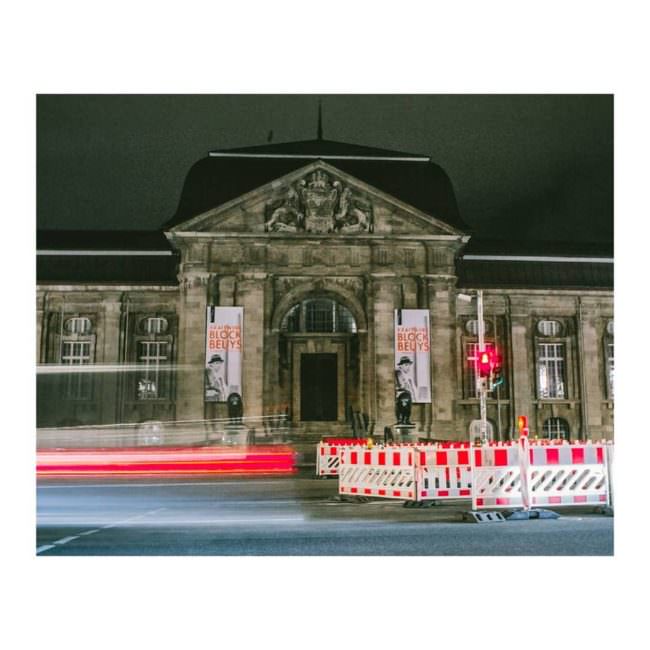
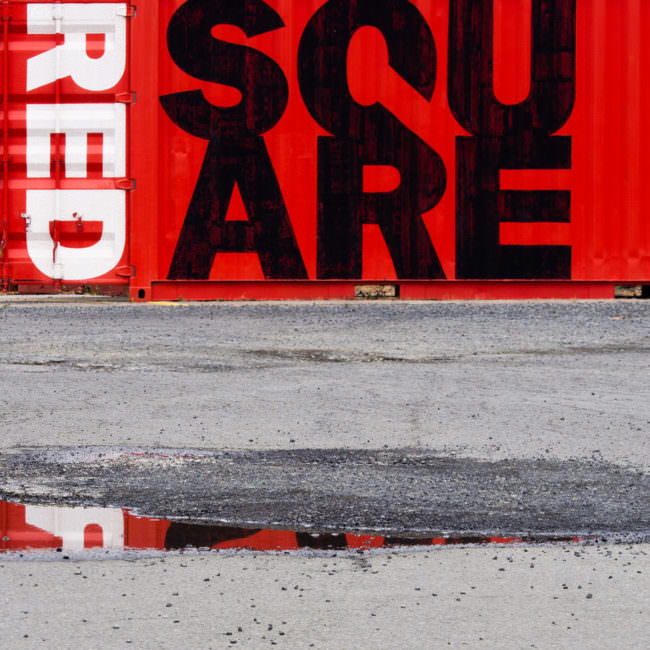
52 Wochen – Ergebnisse: Rot

10:26:00 PM

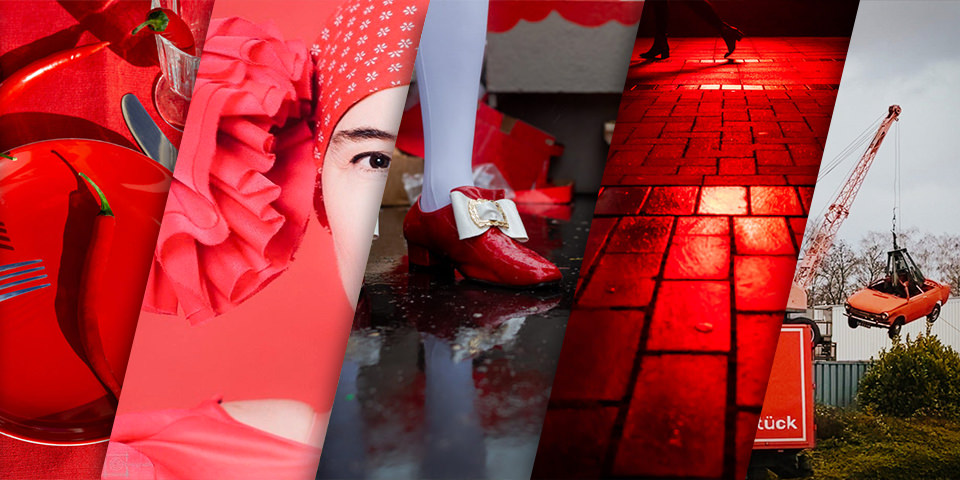
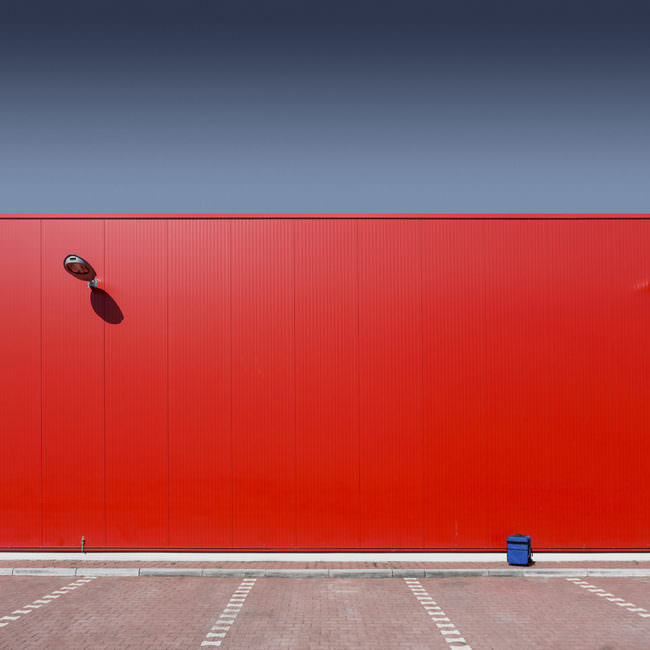
Noch während ich all Eure Ergebnisse zum Wochenthema Rot ansehe, überlege ich, ob die Beiträge bei anderen Farben wohl anders ausgefallen wären. Gäbe es bei Blau, Grün oder Orange vielleicht weniger Straßenszenen und Küchendekorationen? Dafür mehr Natur oder Portraits?

Vielleicht müssen wir das im Laufe des Jahres ganz einfach mal ausprobieren. Bis dahin gibt’s aber erstmal eine kleine Auswahl aller Einreichungen zum Thema Rot. Und wie gewohnt findet Ihr die neuen Themen jeden Montag im Magazin. Viel Spaß!

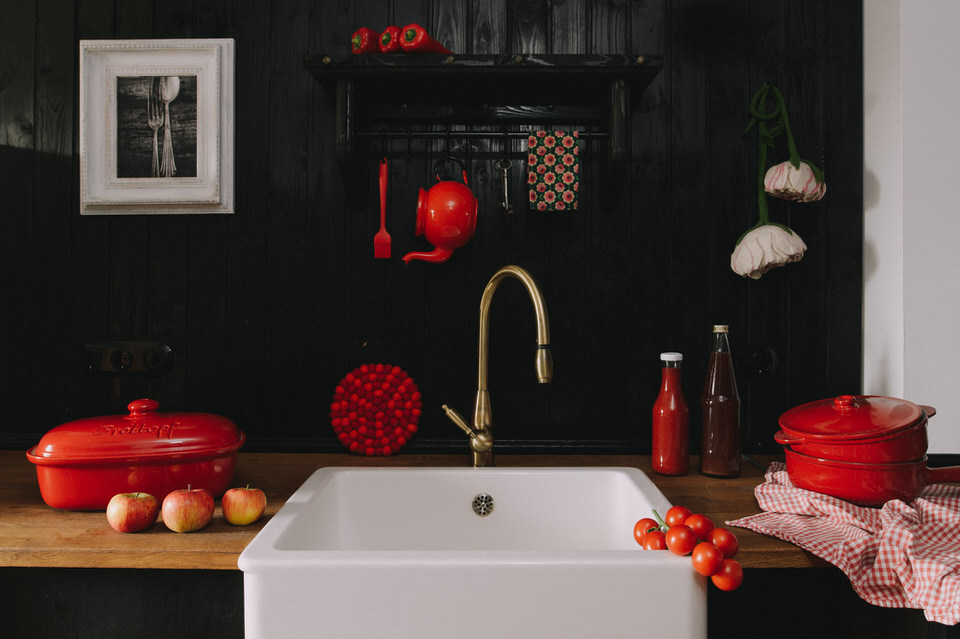
Ich mag die Farbe Rot sehr, vielleicht weil ich ein Feuerzeichen bin. In meiner Küche finden sich einige rote Utensilien und Lebensmittel, mit denen ich den halben Vormittag verbracht habe, um das Bild zu fotografieren. Ein willkommener Kontrast zu meiner sonstigen dokumentarischen Arbeitsweise.

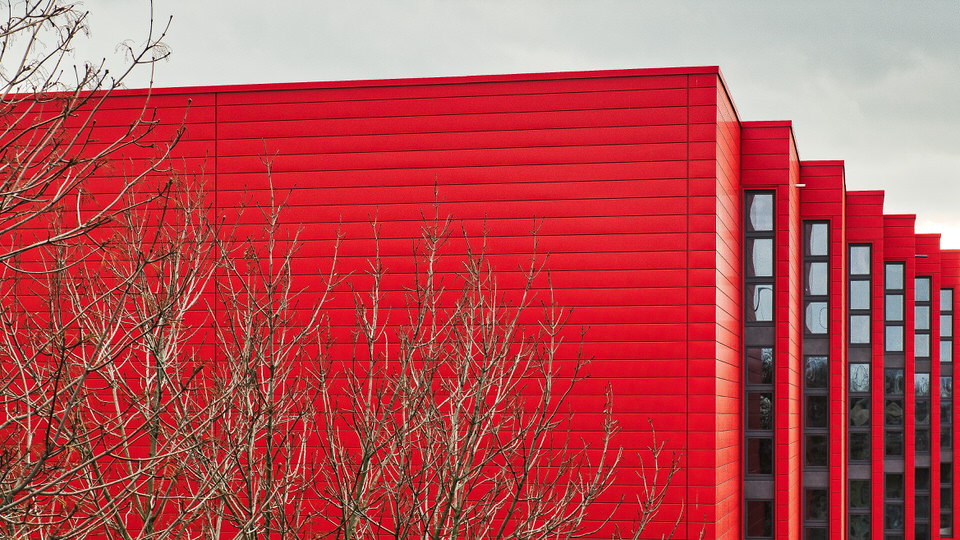
Rotes Haus

© Heiko Gappa

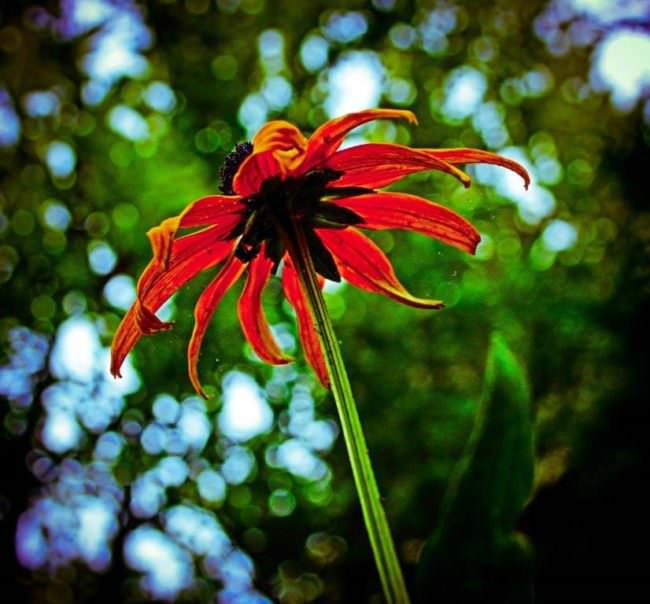
Rote Blume

© Wolfgang Biller

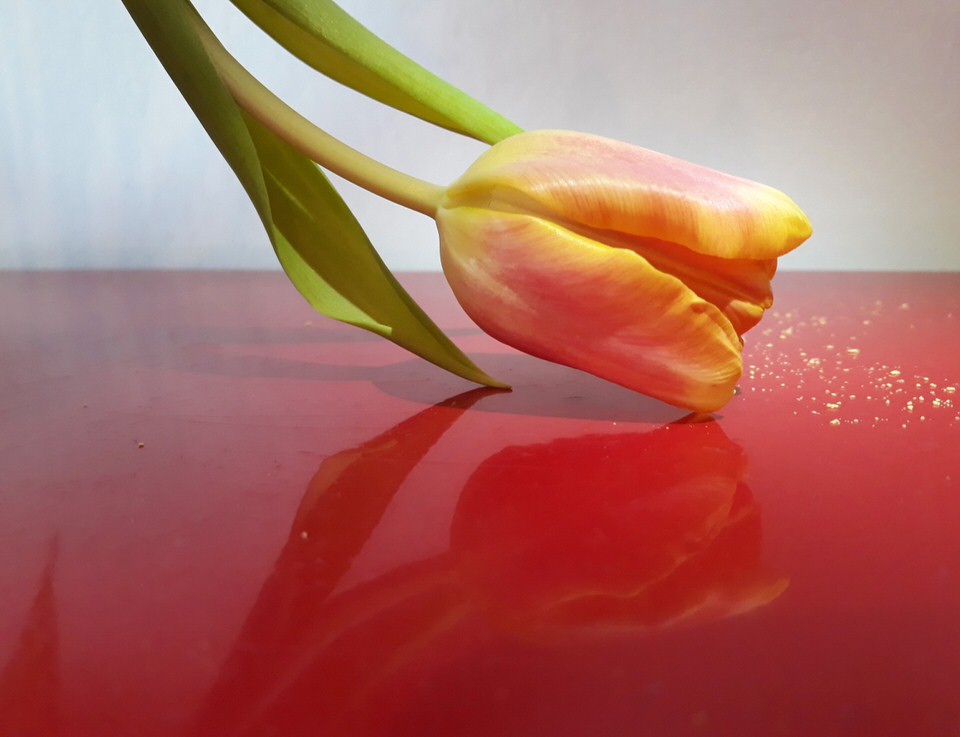
Tulpe auf rot

© Claudia Rempel

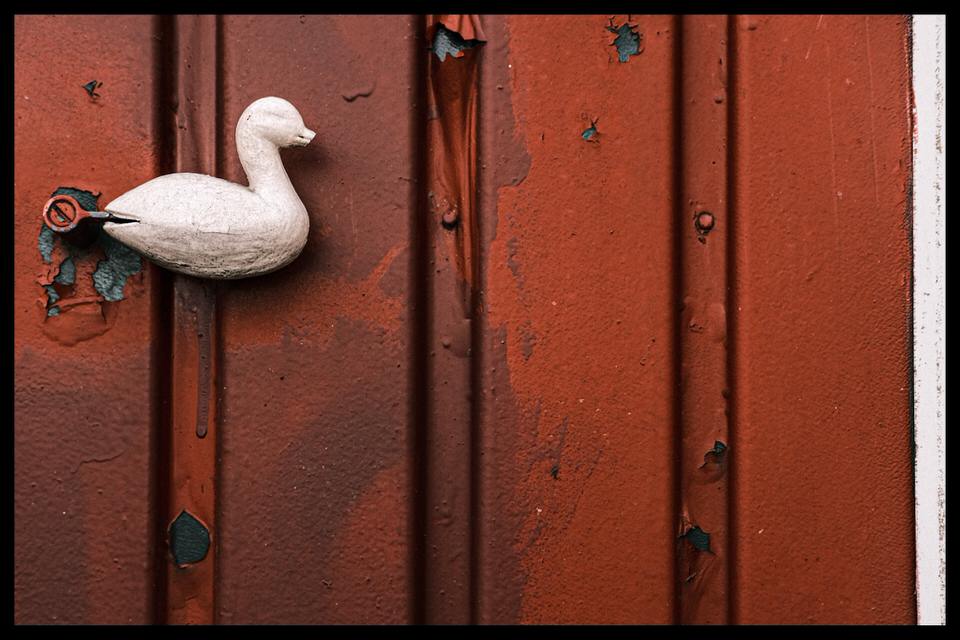
Entenfigur an einem alten Tor

© Marc Oliver Gutzeit

© Andrea Epstein

Rote Gegenstände

© Micaela Lucas

Chilli auf einem roten Teller

© Doro

Genug rot gesehen? Auch wenn das hier kein Wettbewerb werden soll, schreibt gern in die Kommentare, welches Bild Euch am meisten überrascht hat oder Euch am besten gefällt.


kwerfeldein – Magazin für Fotografie https://ift.tt/2I1YfPg

Sourced by Time Trap Photography sharing the best photography tips, news and tricks throughout the industry. Time Trap Photography is dedicated to freezing those special moments in life that can be revisited and admired for generations to come. - Shannon Bourque
Please visit our main site for booking availability and rates.


"Time


Receive valuable industry knowledge delivered free to your email each day.

"Time

About Us

Time Trap Photography is dedicated to freezing those special moments in life that can be revisited and admired for generations to come. - Shannon Bourque

The lens in focus

“Life is like a camera. Just focus on what’s important and capture the good times, develop from the negatives and if things don’t work out, just take another shot.” — Unknown

TIME TRAP PHOTOGRAPHY COPYRIGHT 2016