
One of the first things you should learn as nature photographer is how to go beyond shooting in auto mode. Learn how to take control of the exposure rather than simply relying on the camera’s auto settings. But just how does go about mastering exposure in photography to create images that look like these?

Landscape photography from Bruarfoss, Iceland
#1: Go beyond Exposure Triangle
A quick internet search about mastering exposure in photography will yield plenty of explanations as to how exposure in photography works. Probably one of the most common- and most helpful- ways to understand exposure is to use the “Exposure Triangle”. Put simply, the exposure triangle shows us the relationship between the three variables that determine exposure in photography: shutter speed, aperture and ISO. When these three variables are balanced, you get a perfect exposure. But changing one variable means you’ll have to change at least one of the others to make sure that you’re maintaining the exposure you want. And that’s where the triangle gets tricky.
-

Intent: Capture the intricate details of the water by freezing the motion
-

Intent: Produce a soft look by capturing smooth flow lines


As you can see by looking at the images above, two images of the same scene can be exposed properly and produce completely different results. My intent was very different for each image. For the image #1, I wanted to freeze the motion of the spray. In image #2, I wanted to preserve the beautiful flow lines of the water. Although I had a clear vision for what I wanted to accomplish, I faced some specific challenges when it came time to go about shooting the images. I needed to:
- Determine the right shutter speed to create the desired effect.
- Capture the details in every part of the image, including the dark rocks, the bright water and the backlit mist.
- Make sure everything is sharply in focus.
To complicate the matter, the water spray from the blowhole lasted for only a fraction of a second. It may have seemed easier to just put the camera into auto mode and hope that its intelligent algorithm would get me a good photo rather than tinker with my settings and risk missing the spray. The problem with that approach is that it’s always a hit-or-miss game. While auto mode might give me an images that is technically exposed properly, it won’t necessarily look like what I had in mind.
Knowing about the exposure triangle in theory was not enough to realize my creative vision or overcome the unique challenges I faced while shooting in the field. More than theoretical knowledge, I needed a process that would help me to determine which variables to prioritize based on my ultimate goals. By using a simple, four-step workflow and my camera’s spot meter, I was able to do just that. Here is how I did it:
- I prioritized the value of the Shutter Speed over Aperture and ISO
- And then I used Camera’s Spot Meter to set the exposure using the dark rocks in the background.
With the help of these tools, I was able to determine the right combination of parameters to capture the images I had in mind – with perfect detail and sharp focus throughout.
This is just one of the case studies featured in our Spot on Exposure landscape photography tutorials.This tutorial was designed to put you in control of your exposure settings with the help of a four-step workflow and a collection of practical, on-location case studies. You can expect a straight-forward, real-world approach that brings theories like the exposure triangle into living color.
While spot metering tool was worked perfectly in for this case study, it does not always work in landscape photography. This is because your camera’s spot meter ONLY takes an exposure reading from a single point. More often than not, you may end blown highlights or clipped shadows when you rely only spot meter to set your exposure in photography. Pro landscape photographer often rely on histogram in photography to set their exposure.
#2: Learn to use Histograms in Photography
Imagine this scenario: Awestruck, you are looking out over absolutely stunning rays of light in Redwood Forest National Park. You are about to press the shutter release in hopes of immortalizing all the grandeur of this location at this very moment. However to complicate matters, there is a slight breeze that is moving the vegetation. Ideally, you would like to use a high enough shutter speed to get everything sharp for the perfect exposure.
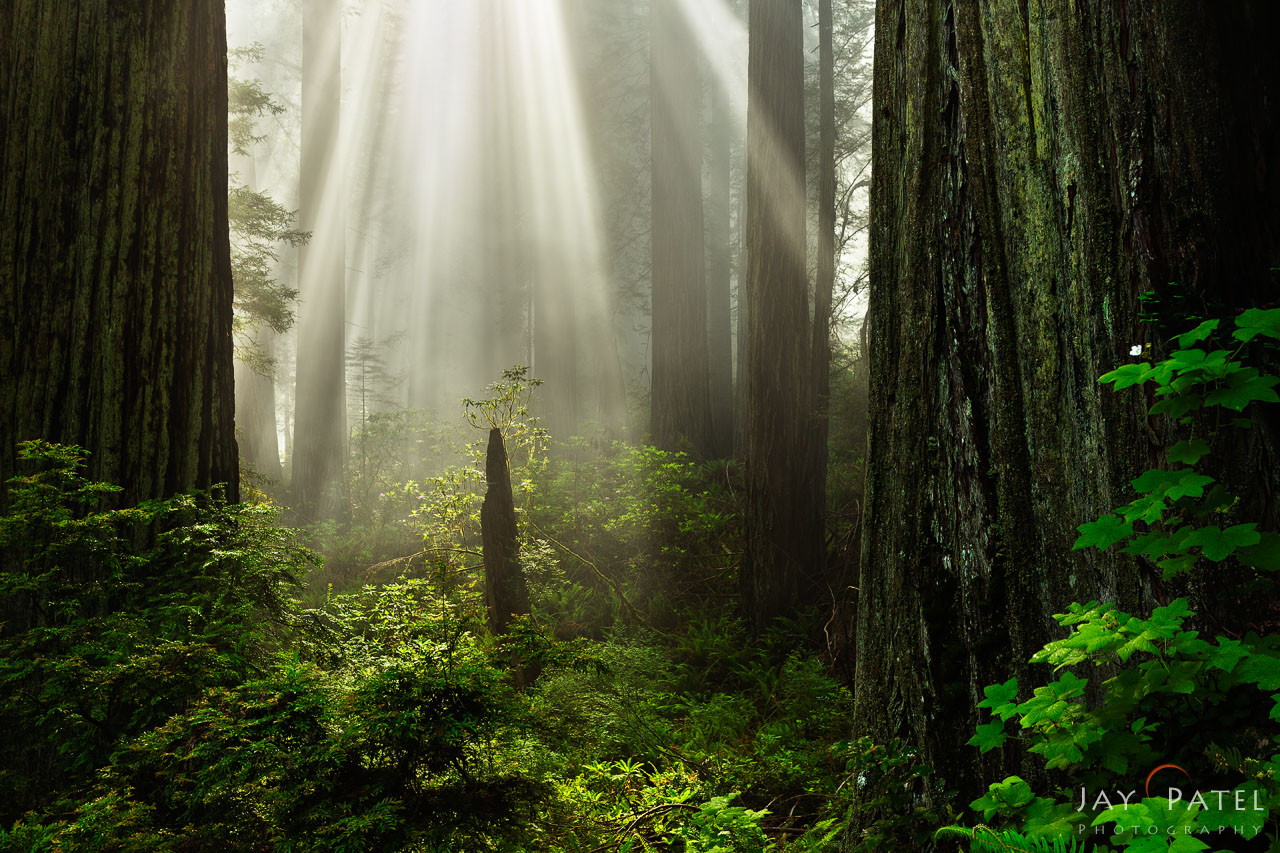
Redwood Forest National Park, California (CA), USA
How do you know if you have the correct exposure with a high enough shutter speed so that when you get back home, you’ll have all the data you need to recreate the scene? Have you faced this situation before?
We use a simple 4-step workflow when using the histogram on the back of the camera to set exposure for landscape photography. This workflow allows us to select the three elements (ISO, aperture, and shutter speed) of the exposure triangle to determine the exact exposure. First, this workflow allows us to pick the correct exposure. In addition, it allows us to pick the exact shutter speed, aperture, and ISO values required to produce the desired effects.
For this particular shot, I used F8 @ ISO 400 and bracketed the shutter speed between 1/40s – 1/10s to capture enough details in the highlights and shadows. How did I know that exposure bracketing was needed? Because the histogram on back of my camera told me that there was no way I could capture this landscape photo using a single camera exposure due to clipped shadow and blow highlights.

Loss of Shadow and Highlight Details indicated by Histograms – Exposure: 1/[email protected] ISO 400 – Redwood Forest National Park, California
Using the histogram in photography, I was able to determine just how much bracketing was needed. Moreover, it allowed me to optimize noise levels and lens performance. At the same time, it still kept the shutter speed high enough to produce a sharp image.
-

Image #1: Exposure: 1/[email protected] ISO 400 – Redwood Forest National Park, California
-

Image #2 – Exposure: 1/[email protected] ISO 400 – Redwood Forest National Park, California


Image #1 above is exposed for the shadows as you can see from the histograms and contains blow highlights. Image #2 is exposed to give all the details in the highlights, but the shadows are clipped. You can combined these images together in Photoshop to create the final image with incredible details in both shadows and highlights.
As you can see that understanding the exposure triangle is a great jumping off point. Afterwards you can use either a camera’s spot meter or your camera’s histograms to get proper exposure in photography. Do you use histograms or spot meter as part of your landscape photography workflow? If so feel free to share your own experiences in comments below.
About Author Jay Patel
I could startoff like this – “Seeds of Jay Patel’s appreciation for beautiful places were planted early in his childhood….” but it would get boring really fast. I will just sum it up and say that I am a Landscape and Wilderness Photographer who loves to capture dramatic light. My photographs have been published in various magazines, calendars and advertising materials throughout the world.
Patience is a virtue...unless you are chasing your dreams
Visual Wilderness https://ift.tt/2vbK736
Sourced by Time Trap Photography sharing the best photography tips, news and tricks throughout the industry. Time Trap Photography is dedicated to freezing those special moments in life that can be revisited and admired for generations to come. - Shannon Bourque
Please visit our main site for booking availability and rates.

Receive valuable industry knowledge delivered free to your email each day.


No comments:
Post a Comment
Thank you so much for your comment. A moderator will review and approve all relevant posts. We appreciate your support and encourage you to stay with us by subscribing to our email updates. Where you can easily pick and choose what photography subjects interests you. Subscription link: http://bit.ly/photo-sub