Whether you’ve just purchased the Nikon D750 or you’re still in the research phase, you likely already know this is a DSLR with an amazing price point. It’s still one of the top rated cameras, even after more than 5 years on the market.
Lightweight and extremely reliable, with excellent dynamic range, the Nikon D750 is a full frame DSLR camera that takes great photos and video. With the majority of my work in lifestyle photography, its performance at high ISOs is one of my favorite features. Once you’re actually using the camera though, you’re likely left with a few more questions about how to get the most out of the D750.
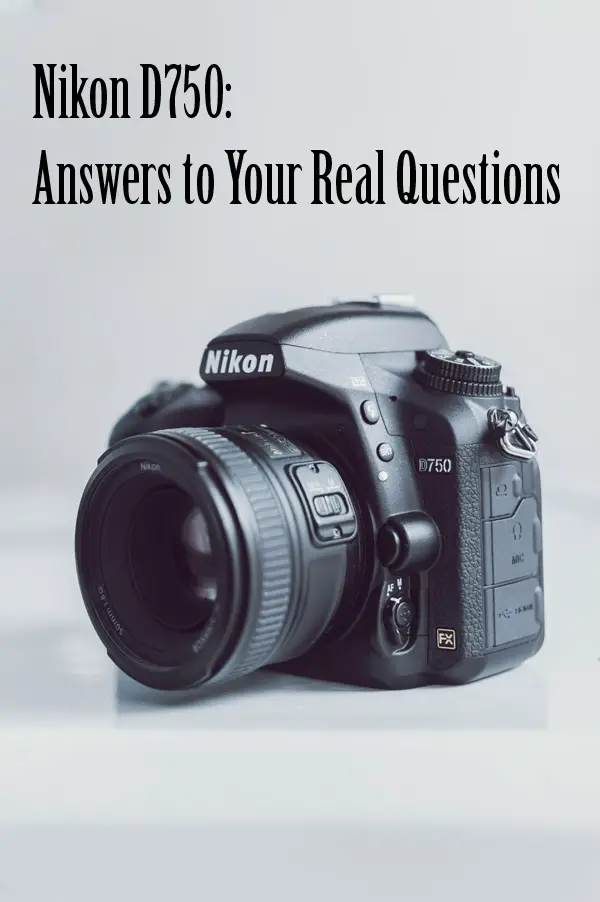
As professional photographer who has shot with this incredible camera for more than 5 years, I have answers to your real questions about the Nikon D750.
Throughout this article, I’ll walk you through how to update firmware to the most recent version, reset your camera to factory settings, focus your D750 and check the shutter count. I’ll also give you my top recommendations for Nikon D750 lenses and accessories to help you meet your photography goals.
Updating Firmware
Just as we need to regularly update the apps on our smart phones, it’s important to update firmware for your Nikon D750 to fix issues, add support, and improve usability for your camera.
To find out the most recent firmware update, go to the Nikon D750 Firmware page on the Nikon website. You are looking for the “C” firmware version, and the most current version available will be listed in the first bullet point on the page. Once you have that information, check it against your camera’s firmware version.
You can view your D750’s current firmware version by going to your camera’s Menu, navigating to the Setup Menu (the one with the wrench), and scrolling to the last item, “Firmware Version.”
If you find that the “C” numbers don’t match and your D750 isn’t operating with the most recent firmware update, updating your camera’s firmware is simple. You only need:
- your D750 camera
- a fully charged battery
- a memory card
- a computer with internet capability and a card reader
Once you’ve gathered everything you need to update your D750’s firmware, you’re ready to start.
- Format the memory card in your camera. Make sure you’ve backed up all of the images on your card onto your computer. This is super important – formatting will erase all the images on the card. To format the card, insert the memory card into slot 1 in your camera, navigate to the Setup Menu, and choose, “Format Memory Card.”
- Download the most current firmware for the camera. This is found at the bottom of the Nikon D750 Firmware page on the Nikon website in the “End User License Agreement” section. Simply check the box to indicate agreement, the click to download the firmware to your computer.
- Extract the firmware files. Open the downloaded file, named with both D750 and the current firmware version. Next, open the folder inside, named “D750 Update.” You should find a single file, with a “.bin” extension.
- Insert the formatted memory card into your computer and copy the “.bin” file to the card. Be sure to copy it into the root directory and not into a folder. Your camera will only be able to recognize the firmware update file if it’s copied to the root directory without being hidden in folder. When the copying is complete, remove your memory card and delete the firmware files from your computer. (You won’t need those anymore.)
Before we continue with these instructions, please know that operating your camera in any way in the middle of the firmware update can seriously damage your camera. “Operating” includes: changing lenses, taking out the memory card, turning the camera off, removing the battery or unplugging it from the power source, or touching any of the camera controls – so definitely don’t do any of those things!
- From there, insert the memory card with the firmware update file into slot 1 of your D750.
- Turn your camera on, press Menu, and navigate to “Firmware Version” inside the Setup Menu.
- Click “Update,” then choose “Yes” to finalize the update to the most current firmware version, following the instructions on the screen throughout the update. It will take several minutes to complete the update.
- Once the update has finished, check that the firmware update was successful by removing the memory card and viewing the “Firmware Version” inside the Setup Menu.
- Finally, format the memory card again to remove the firmware update file.
Once you’ve completed all nine steps, your D750’s firmware is updated, and you’re ready to start shooting again with the latest improvements in usability and function!
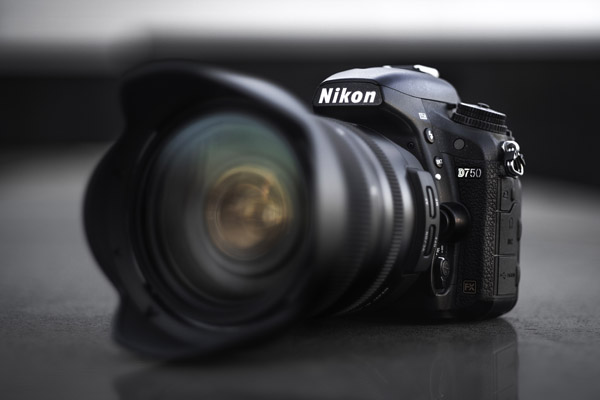
Resetting Your Nikon D750
Like all Nikon cameras, the D750 has a nifty “2 Button Reset” function to reset all of the camera’s settings to the factory default settings.
If you are purchasing a used D750, the previous owner has likely changed the settings to his or her shooting preferences. Resetting brings your D750’s settings back to what they would be, coming directly from Nikon.
Knowing how to reset your camera also gives you the ability to tinker and try out different setting options, without worrying that you’ll never be able to find your way back to the default settings.
The Nikon 2 Button Reset is simple.
Just turn your camera on, then press and hold the two buttons that have green dots beside them until the control panel blinks off and back on.
On the D750, one of those buttons is the ISO button. It’s found on the left of the display screen, the fourth button down, and it’s marked with a tiny checkerboard and magnifying glass with a minus sign inside it. The other button is the exposure compensation button, found near the shutter button and marked with the +/- symbol.
When you press those two buttons at the same time and the control panel blinks, your D750 has been reset to the default settings.

Checking Shutter Count
According to Nikon, the average shutter lifespan for a D750 has been tested up to 150,000 clicks. This should allow for many years of photography, but sometimes it’s nice to know your exact shutter count.
As your shutter count rises through the years, your camera will start to slow down and not work quite as well as it did when it was brand new. (A bit like all of us, I’d say!) It’s also one of the most common questions a buyer will ask, if you ever decide to sell your Nikon D750, as it gives an idea of the age of your camera – as well as how much life it likely has left.
Although there’s nowhere to find a specific counter on your D750, it is possible to check your shutter count quite easily.
1. Simply type “Nikon Shutter Counter” into a Google search and choose one of the shutter counter websites that come up. (My favorite is Shutter Counter.)
2. From there, upload your most recent RAW image file.
3. Once your file upload is complete, the Shutter Counter website will show your camera’s shutter count.
Here’s a great video that walks you through exactly how to check your Nikon D750’s shutter count and details a few of the minor issues that can come up when a camera reaches a higher shutter count. I have to say, I was completely blown away by how high this photographer’s shutter count was! I’m even more impressed with the D750 than ever.
Recommended Accessories
There are a few accessories you’ll likely want to add to your camera bag to make the most of your Nikon D750. I’m going to share my favorite flash, lenses, apps, batteries, and memory card to help you on your way.
Flash
Although there are certainly cheaper speedlight flashes that are compatible with the D750, none compare to the Nikon SB-700 AF Speedlight Flash.
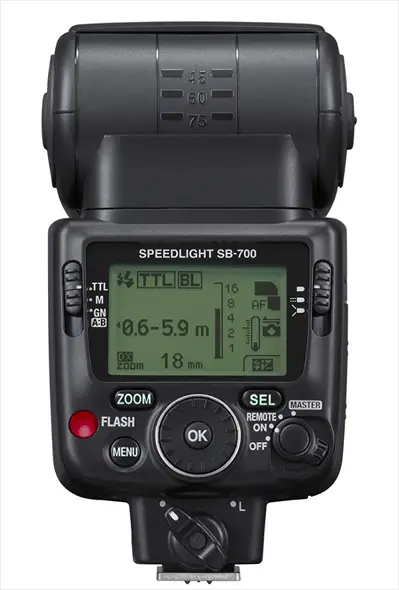
My favorite thing about the Nikon SB-700 AF Speedlight is that it’s quick to recycle, allowing you to take several shots with flash in succession fairly quickly. This can be an important feature for a variety of different situations – from family events, like a child’s birthday party or holiday celebrations, to wildlife photography.

I also love that it offers both TTL (an automatic flash mode that determines the amount of flash needed based on the lens and camera settings) and manual flash modes, adjustable to 1/3 or 1 stop.
The Nikon SB-700 Speedlight has a moveable head and can attach to the hot shoe to work directly with the camera or operate wirelessly. A diffusion dome, incandescent filter, and fluorescent filter are also included.
Many cheaper speedlights don’t offer both TTL and manual modes, and I personally enjoy the option of using TTL. They also are less likely to offer graduated, 1/3 stop flash power for those times you only need a little flash. In all honesty, though, the quick recycle feature alone makes the Nikon SB-700 worth the investment for me.
Mount
The D750 uses Nikon F-mount lenses. When purchasing a non-Nikon lens (like Sigma or Tamron, for example), make sure to double check and choose the Nikon version of the lens to ensure it will fit your D750’s F-mount.
Lenses
There are so many incredible lenses out there, and different photography styles will lend themselves to different lenses. For ease – and so you can determine which lenses are most important for your photography interests – I’ve separated my recommendations into different photography categories.
Basic Lenses
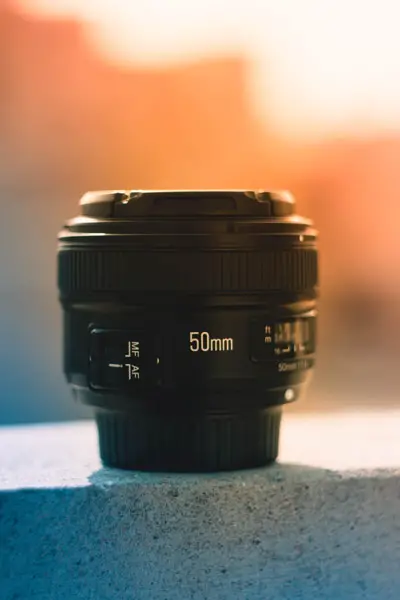
Nikon AF-S FX NIKKOR 50mm f/1.4 G – The Nikon 50mm is the first lens I bought, and I still love it years later. It’s perfect for portraits and everyday use, and is an all-around great lens, with sharp focus, shallow depth of field, and a normal angle of view (meaning, similar to what we see with the natural eye).
Tamron SP 24-70mm f/2.8 Di VC USD G2 for Nikon – This is actually the second lens I purchased, and I love the zoom capability combined with a fast aperture. The Tamron 24-70mm f/2.8 is a great multi-purpose lens, perfect for indoor and outdoor shooting.
Portrait Lenses
Nikon AF-S FX NIKKOR 85mm f/1.4 G – The 85mm is one of the classic portrait lenses and another of my favorites. It’s super sharp and creates beautiful background blur for your portraiture.
Nikon AF FX DC-NIKKOR 135mm f/2D – I absolutely love this lens for the creamy background blur and sharp focus. It creates really special outdoor portraits and is great for headshots, too.
Indoor Lifestyle Lenses
Sigma 35mm f/1.4 Art DG HSM – The Sigma Art 35mm is by far my favorite lens and lives on my camera 95% of the time, thanks to my work in lifestyle photography. It’s sharp, quick, and absolutely perfect for low light when combined with the Nikon D750.
Sigma 24mm f/1.4 Art DG HSM – This lens is similar in style to the Sigma Art 35mm, but gives you a slightly wider angle. It’s helpful for architectural interiors, real estate, or capturing smaller rooms, in addition to lifestyle photography.
I want to note here that the 50mm lens can also be used for indoor lifestyle photography, it’s just much tighter than the 35mm or 24mm lenses, and you’ll be able to include less of the setting in your shots.
Telephoto Lens
Nikon AF-S NIKKOR 70-200mm f/2.8E FL ED VR – This lens is fast and creates beautiful quality images. It’s perfect for weddings, wildlife, sports, and even portraits.
Regardless of the type of photography you love most, there are
Battery
The Nikon D750 uses an EN-EL 15b Rechargeable Lithium-ion battery.
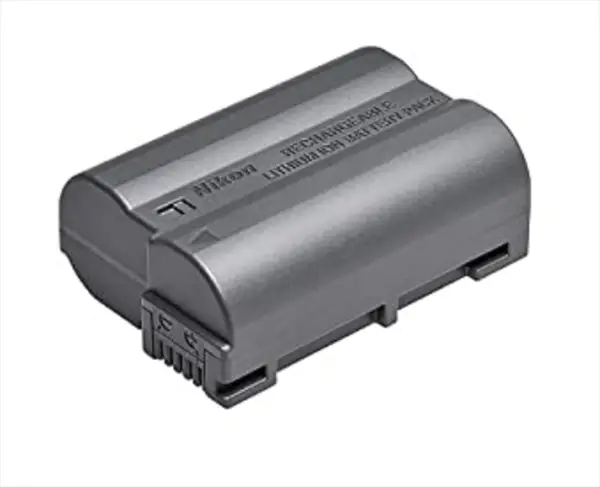
Although several manufacturers make a cheaper version, the Nikon EN-EL 15b Rechargeable Li-ion battery is by far the best in my experience. Its battery life is far superior – and extremely useful when you’re planning to shoot for several hours or you’re using the video features on the D750, which use a ton of battery power.
I always recommend having at least 1-2 back up batteries on hand in your camera bag, in addition to one for your camera.
Battery Charger
Although the D750 comes with a battery charger, if you find yourself needing a replacement or a second charger, I recommend picking up the Nikon MH-25 Quick Charger. I’ve found that the Nikon MH-25 charges the Nikon EN-EL 15b batteries quicker than other brands and is extremely reliable.
Apps
Wireless Mobile Utility
Nikon offers multiple apps for its cameras with helpful features. The one developed for the Nikon D750 is called Wireless Mobile Utility.
I’ve been using this app for more than five years – both for shooting occasional self-portraits and for photographing my entire family together.
The Wireless Mobile Utility app is much more than a remote trigger for your D750. By connecting to your camera through your D750’s WiFi, you’re able to access Live View, adjust your focal point, and shoot images through the app on your phone or tablet. It’s pretty incredible!
In addition, the app gives you the ability to see the images on your memory card and even download the photos to your phone to share through email or social media.
Nikon’s Wireless Mobility Utility app for the D750 is available on Google Play and in Apple’s App Store.
Wireless Mobile Utility on Google Play
Wireless Mobile Utility on the App Store
Manual Viewer 2
Nikon also offers the manual for the D750 through the Manual Viewer 2 app.
I’m a big fan of D750 User Manual and find it can be helpful to have nearby to answer any additional questions that come up as I’m working with my camera. The app is a great way to have the manual digitally.
Nikon’s Manual Viewer 2 app for the D750 is available on Google Play and in Apple’s App Store
Manual Viewer 2 on Google Play
Manual Viewer 2 on the App Store
Memory Card
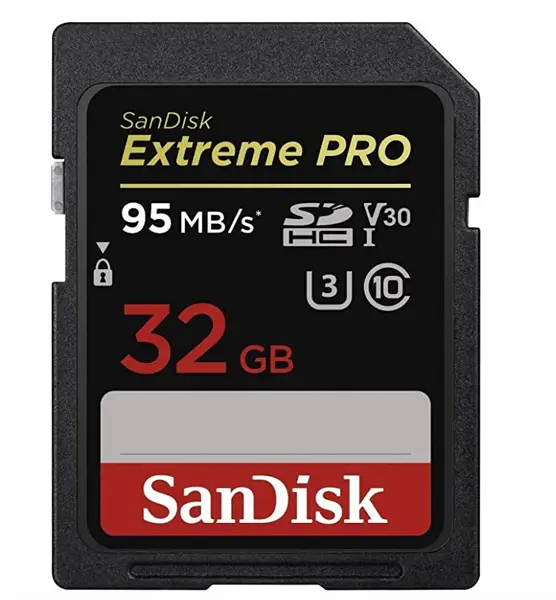
Nikon recommends a few different brands of memory cards, my favorite of which is SanDisk. I typically shoot with the SanDisk 32GB Extreme Pro or SanDisk 64GB Extreme Pro.
Nikon-Recommended Memory Cards

The SanDisk cards are high quality memory cards with long lifespans and fast read and write speeds for both recording images and image playback. They are waterproof, temperature-proof, shock-proof, and x-ray-proof.
There are two memory card slots in the Nikon D750. While it’s only necessary to put a memory card in the first slot, it’s nice to have a second memory card for back up and overflow, once you fill the first card. In addition to those two cards, I like to have 1-2 additional SanDisk memory cards on hand to make sure I always have a clean, empty card on hand.
How to Focus the Nikon D750
Focus Modes
The Nikon D750 offers 3 different focus modes for focusing through the viewfinder.
- Auto-Servo AutoFocus (AF-A) is complete auto-focus, where the camera automatically chooses your focal point for you, making it a less desirable option for most photographers.
- Single-Servo AutoFocus (AF-S) allows the photographer to choose the focal point and is best for stationary subjects, like landscapes or still life.
- Continuous-Servo AutoFocus (AF-C) also allows the photographer to choose the focal point and is perfect for moving subjects, like people (especially children) and wildlife, as it continuously refocuses as the subject moves.
I, personally, prefer to use AF-C in all situations because even if my subject is completely still, slight movements on my part, can impact the focus at wide apertures.
To change the focus mode on your D750:
- Press the AF-Mode button. This button, found near the lens attachment, is labeled with “AF” and “M” for switching between auto focus and manual focus.
- Rotate the main command dial at the same time. The main command dial is the wheel dial in the top right corner of the back of your camera.
As you rotate the dial, while pressing the AF-Mode button, the screen on the top of your D750 will switch between AF-A, AF-S, and AF-C.
Once you choose either AF-S or AF-C for your focus mode, the next step is to set your camera for one single focus point.
To do this,
- Rotate the subcommand dial to “S” while pressing the AF-Mode button again. The subcommand dial is the wheel dial at the front of your camera, near the shutter button.
Although there are many options to rotate through, the “S” indicates a single focal point, and is what will give you the greatest control in selecting the focus for your images.
Focusing the D750 with a Single Focal Point
- Look through the viewfinder.
- Use the multi selector (the black circle button with “OK” in the center) to move your single focal point left, right, up, or down to the exact location you want your focal point to be.
- Press the shutter button half-way to engage focus.
- Press the shutter button fully to take the photo.
Manual Focus
It’s also possible to use manual focus on the D750. Simply turn the switch on the AF-Mode button from AF to M for manual mode or just turn the focus ring on your lens. (You don’t actually have to switch modes to turn the focus ring and focus manually!) I find manual focus especially useful when shooting video, even when using auto focus lenses.
Whether you’ve already made the leap to investing in the Nikon D750 or you’re still in the research stage, I hope these answers and recommendations help you reach your photography goals.
Check out Understanding Exposure: Shutter Speed, Aperture, and ISO for tips on how to shoot your Nikon D750 in manual mode.
Photodoto https://ift.tt/3adjSYH
Sourced by Time Trap Photography sharing the best photography tips, news and tricks throughout the industry.

Sourced by the Time Trap Photography guys https://ift.tt/1LW7xnO
Time Trap Photography is dedicated to freezing those special moments in life that can be revisited and admired for generations to come.


No comments:
Post a Comment
Thank you so much for your comment. A moderator will review and approve all relevant posts. We appreciate your support and encourage you to stay with us by subscribing to our email updates. Where you can easily pick and choose what photography subjects interests you. Subscription link: http://bit.ly/photo-sub