Lightroom Classic is by far the most popular image management and editing tool out there. Its abilities to both catalog our images and carry out complex post production make it the go to tool for many photographers.
No matter how good Lightroom is, it does have a number of serious issues. Performance is one of them. Even photographers with high end machines have complained that Lightroom can be sluggish. On lower end equipment it can be a disastrous experience. There are a few things that you can do to speed up Lightroom – we are going to look at some of them.
What Are The Performance Issues?
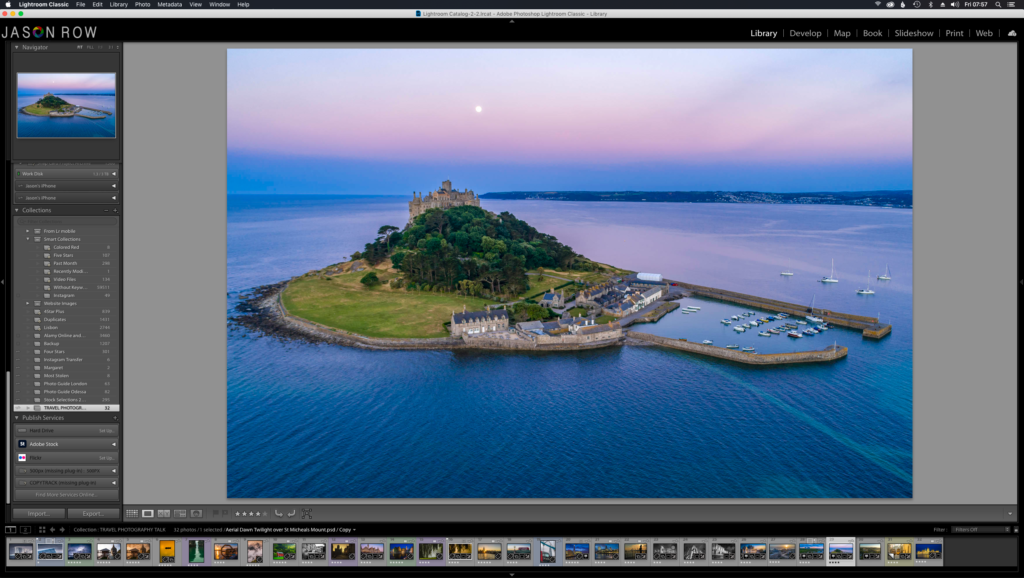
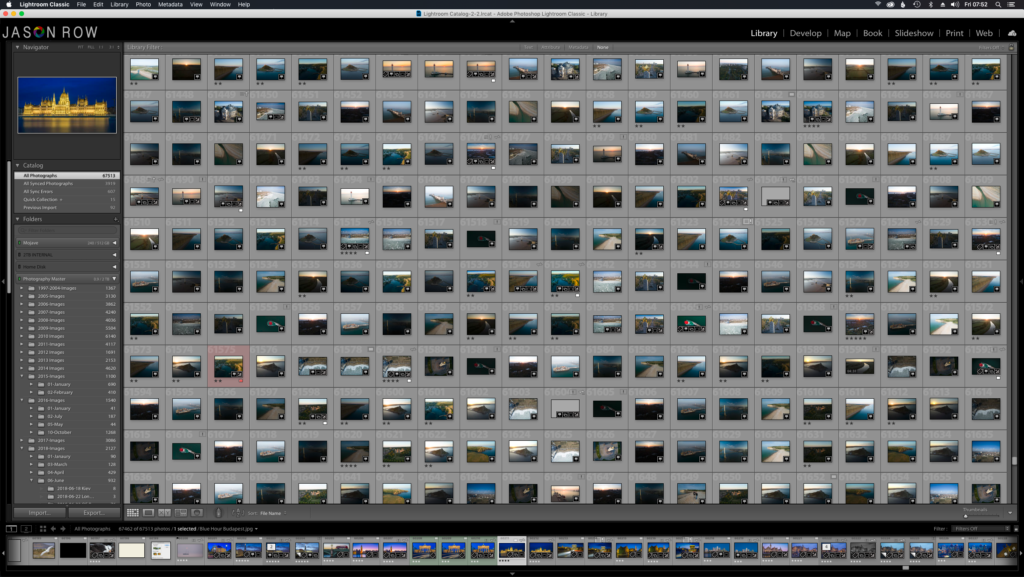
It might not always be apparent that Lightroom is not running as well as it should. How can you identify performance issues? The key ways performance issues manifest themselves are scrolling and editing in the develop module. When scrolling through a large collection of images, you will often find that the scroll “sticks”. This is Lightroom failing to load the next batch of images quickly.
When editing, there are various issues you can encounter. The first is the time it takes for the image to “pop”. When you open a full resolution image and it takes time to go from low res to higher res, then you are witnessing a performance issue.
If you have these issues then you will also see other performance problems when editing. They often manifest themselves as a general sluggishness when using brush or healing tools, especially when you have multiple edits on the same image. So how can we improve these issues?
Stay Up To Date
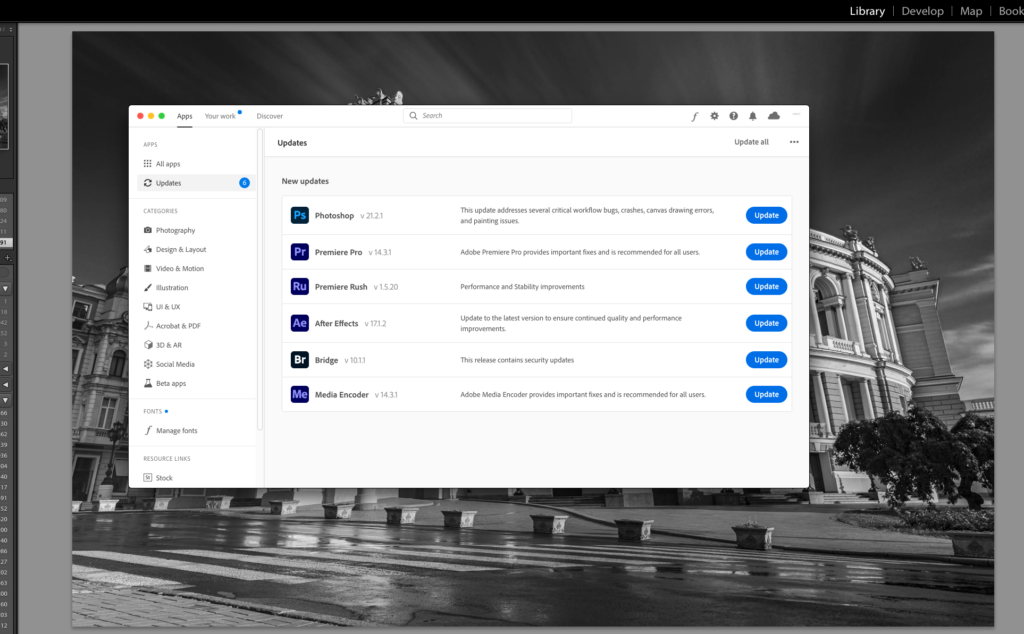
The first thing to do is to make sure both your operating system and Lightroom are using the most recent versions. With Adobe’s subscription version, Lightroom is now updated much more often and it is possible that you are not updating it automatically.
To check for updates, open your Creative Cloud, click on the Apps tab at the top, then select Updates from the left side. You will be able to see and update all your Adobe apps.
Move The Catalog To An SSD
In our recent article 10 Lightroom Hacks we explained how to move your catalog. One of the prime reasons for this is performance. Because Lightroom works off of previews and not full size images, you can use a smaller yet much faster SSD drive to host your catalog. The SSD does not have to be huge, 120GB is fine for most users. It also does not have to be internal. If you have USB 3 or Thunderbolt, you can use an external SSD and still see significant gains. To learn how to move your catalog, check out the first hack in this article.
Preview Render Size
When you work on an image in Lightroom, you are not working directly on the RAW or Jpeg file – you are working on a preview file instead! Lightroom creates those previews when you import the images.
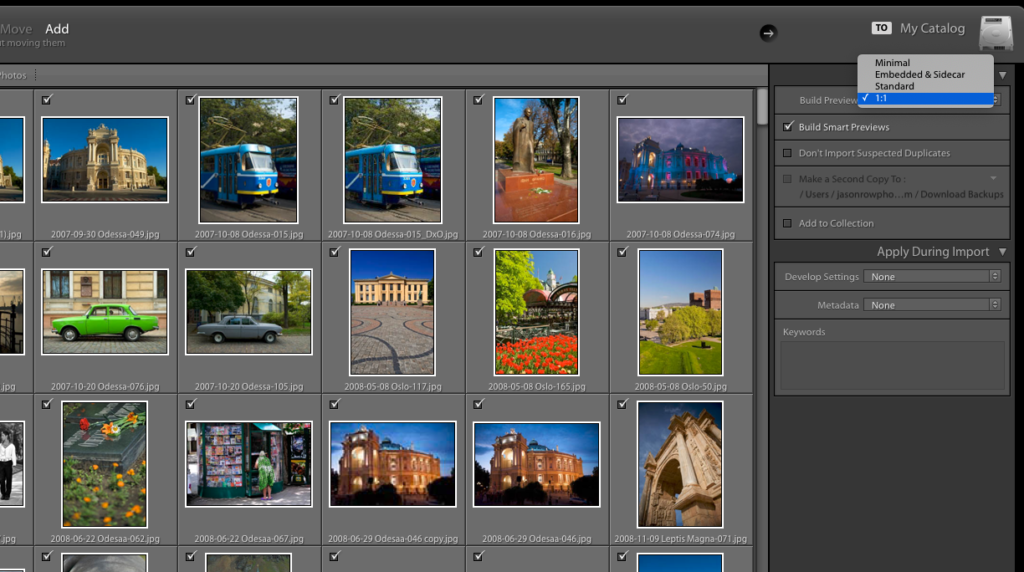
By default the preview size is set to minimal. This is to speed up the import process. However, when you go to work on the image in the Develop module, Lightroom needs to create a full size preview. This can slow your editing down. A better option is to import with previews set to 1:1.
To do this, when are in the import module, go to the right side and under file handling select build previews 1:1. The caveats to using this are that import time will be longer and it will take more space in your catalog.
Utilize Your GPU Power
For the last few years Lightroom has had the ability to push more processing to your graphics card. This is a good way to get more responsiveness from Lightroom even with relatively low end graphics cards. In a recent update Adobe added the ability for Lightroom to detect your GPU and work out whether it can utilize its power.
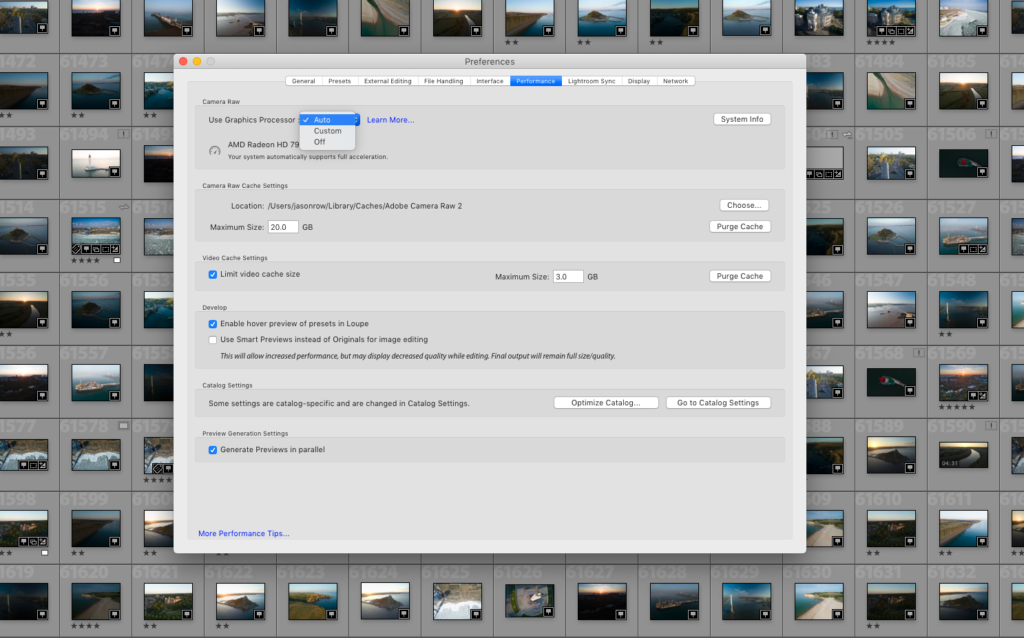
To set up GPU processing, go to Lightroom Preferences and select the Performance tab. Under Use Graphics Processor, choose Auto. If, for some reason you find that Lightroom runs worse under GPU, then turn the selection to off.
Increase Your Raw Cache Size
If you shoot a lot of RAW, then increasing the Raw Cache size can help improve Lightroom’s performance significantly. The setting for this is again found in the Performance tab just under the Graphics Processor setting.
There are two useful settings you can change here. The first is to move the cache to a different drive. It’s best to move it to a fast drive, preferably an SSD. Avoid putting the cache on the same drive as your operating system, if possible.
The second setting is the Maximum Size. The optimum size is around 20GB but if you shoot and edit a lot of RAW files in one sitting you might want to increase this. If you have finished a major edit then purging the cache may also help performance.
Optimize Catalog
While we are in the Performance Tab it’s worth running Optimize Catalog found near the bottom. As with any database, information can get spread all over the place, slowing down the performance. When you select Optimize Performance Lightroom will analyse the database and attempt to reorganize the information to run more quickly.
Splitting/New Catalogs
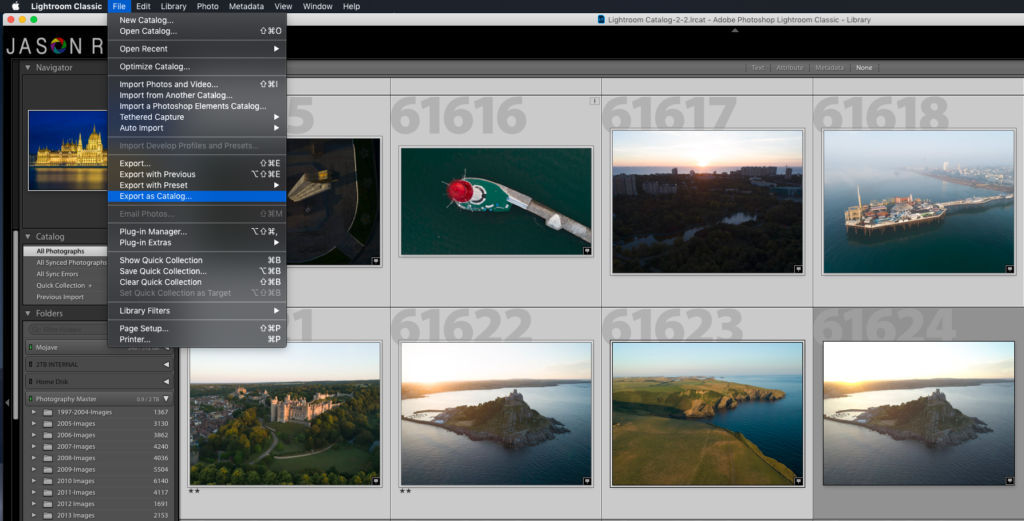
As mentioned above, catalogs are effectively databases. As they get bigger and bigger they can slow down dramatically. One way to counter this is to have multiple catalogs rather than one large one. You can create a new catalog for each year or for different genres.
You can also split off folders from one catalog to create a new one. To do this, select the folder in the Navigator panel of the Library. Right click on it and select Export This Folder As A New Catalog.
Turn Off Face Detection And Location Look Up
One of the biggest performance killers is Face Detection. While running, Face Detection will be scanning and analyzing your entire collection for faces. To switch it off, select Catalog Settings and then the Metadata tab. In the third section, switch off Automatically Detect Faces.
You can also switch off the Address Lookup checkboxes. They can slow down your Lightroom especially when shooting images with embedded GPS coordinates such as those from drones or smartphones.
Lightroom Classic is an incredibly powerful tool but it might not always run as smoothly as we expect. Before investing in computer upgrades or even a new computer, try out some of the tips mentioned above. There’s a very good chance that they will significantly improve your Lightroom experience.
Further Reading:
Light Stalking https://ift.tt/31fNBib
Sourced by Time Trap Photography sharing the best photography tips, news and tricks throughout the industry. Time Trap Photography is dedicated to freezing those special moments in life that can be revisited and admired for generations to come. - Shannon Bourque
Please visit our main site for booking availability and rates.

Receive valuable industry knowledge delivered free to your email each day.


No comments:
Post a Comment
Thank you so much for your comment. A moderator will review and approve all relevant posts. We appreciate your support and encourage you to stay with us by subscribing to our email updates. Where you can easily pick and choose what photography subjects interests you. Subscription link: http://bit.ly/photo-sub