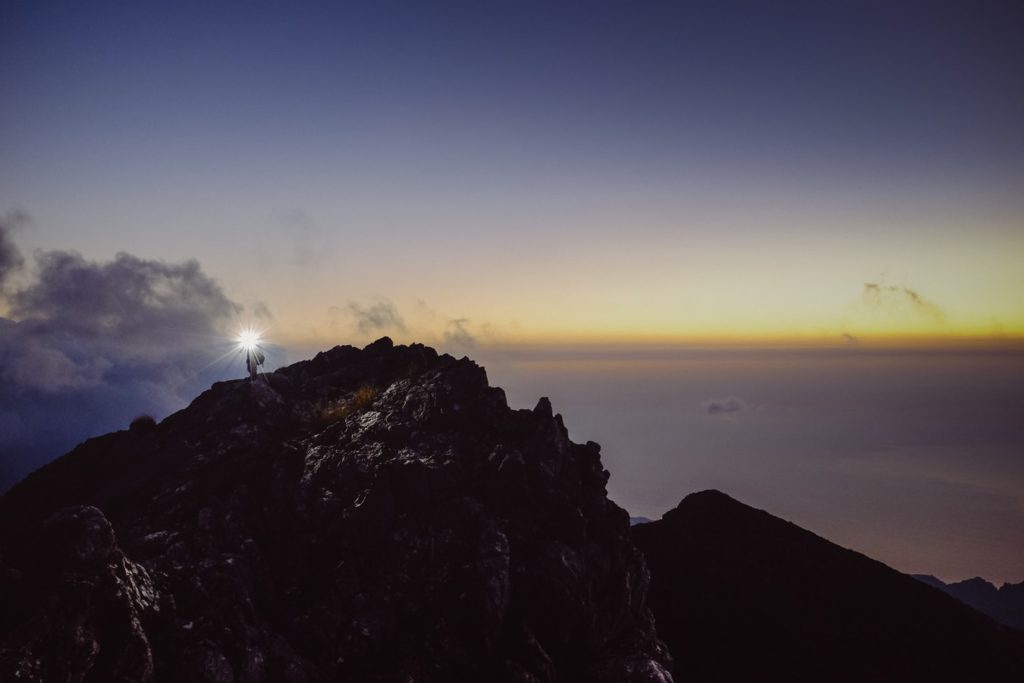
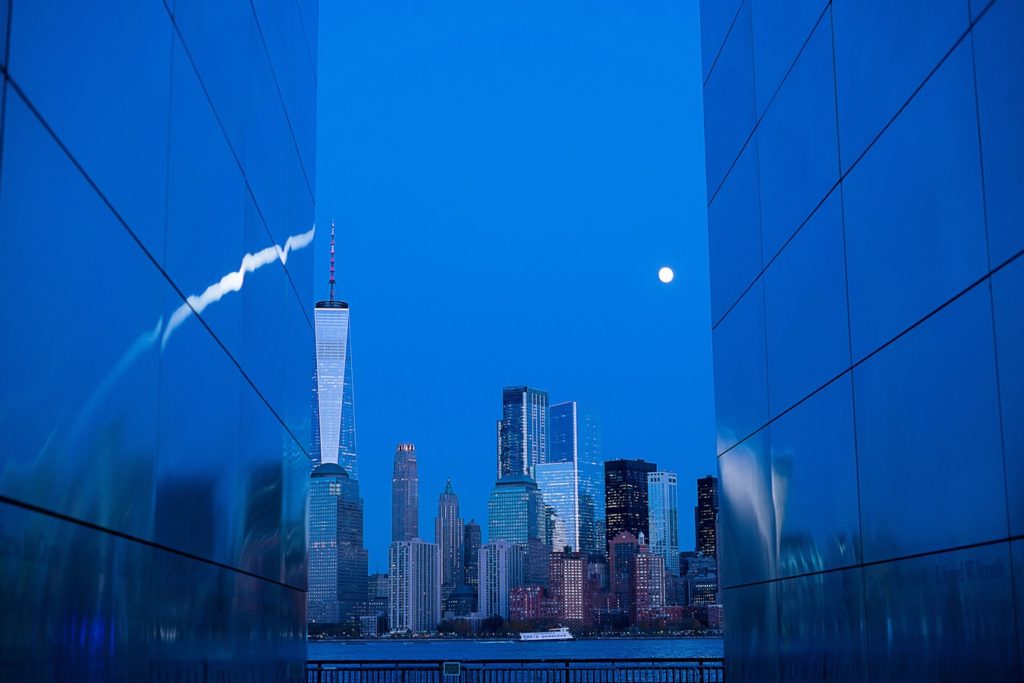
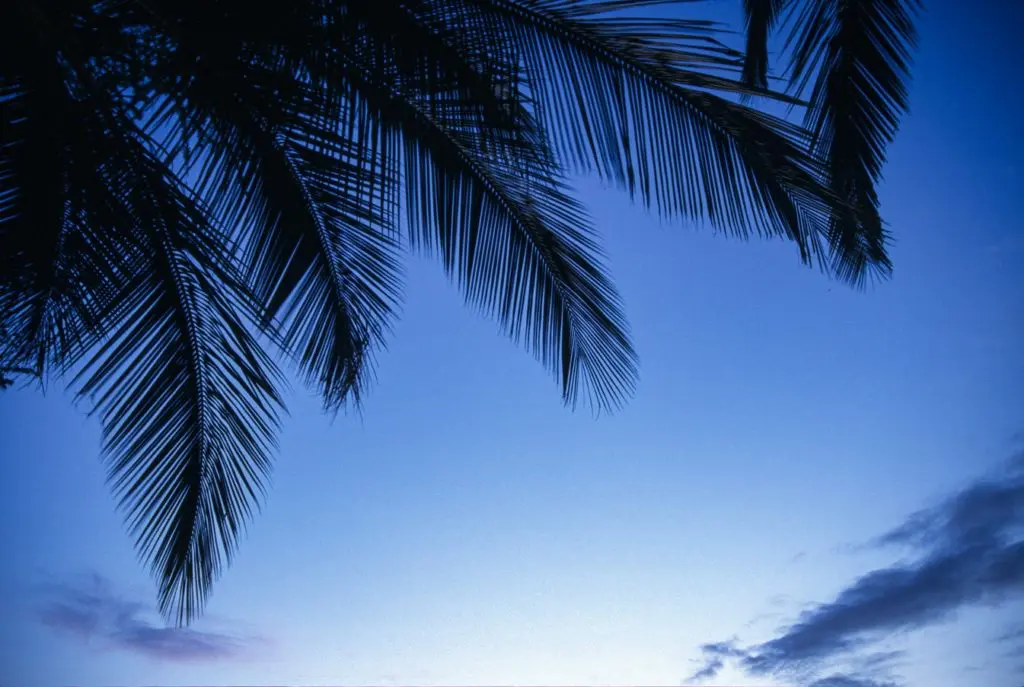
While you've most likely heard of the golden hours – that time right after sunrise or before sunset where the outdoors turn into a golden paradise – the blue hours are also a fantastic time to photograph under dramatic lighting.
If you want to be notified of the blue hour course where we dive very deep on the topic and show you how to get some spectacular results, then make sure you’re signed up here.
Chances are you’ve seen examples of blue hour photography but didn’t realize that they were anything more than well-timed night shots. To get that blue/purple quality to your images, there’s a specific window of opportunity during the twilight times (just before sunrise and after sunset) where your image is flooded with a stunning overcast light, illuminating your scene in an otherworldly fashion.
Often – especially with longer exposures – what you see in real life isn’t always what you see on your LCD screen. The camera has the ability to pick up tones and colors that you don’t normally see – nature's way of creative lighting.
So now that you know what the blue hours are, the more important question remains:
How do you capture blue hour photos?

Choosing A Subject
While the basic guidelines and principles of photography apply to blue hour photography, there are still common subjects that seem to work very well under this light – three are the most prominent in my mind.
Cityscapes – Photos of urban areas – especially skylines – benefit greatly from the blue hour. As opposed to night shots where the sky is darkened, the blue hour provides much interest in the backdrop in addition to bathing your scene with that fantastic blue/purple hue. Combine this with lighting from artificial sources (windows, streetlamps, bridge lights, etc.) and you can have a truly outstanding image.
Portraits – Another popular subject to capture during the blue hours is portraits. The soft lighting of the sky (not to mention the incredible color) creates a surreal environment for truly exceptional portraits – the perfect setting to get creative.

Landscapes – Whether you're photographing the rocky coastline or the middle of the desert, the twilight hours are an exceptional, unique way to capture a landscape.
If you want to be notified of the blue hour course where we dive very deep on the topic and show you how to get some spectacular results, then make sure you’re signed up here.

Judging Your Exposure
A huge concern with photographing the blue hours is your exposure time since you’re working with limited light. This translates to longer than normal shutter speeds, meaning motion blur and camera shake come into play.
While you’re not working in complete darkness, there is a substantially lower amount of light to work with – slow enough to blur your image. With this in mind, a tripod is absolutely necessary to not only stabilize your camera, but to help you frame your image more accurately.
This is especially true when photographing cityscapes as you’ll be using a shallow aperture (f/11 -f/16 range) to get great depth of field and detail – it wouldn’t be out of the question to have a shutter speed of 1 full second or more while working in this aperture range.
Smaller apertures also give that starburst quality to light sources – another reason why it works so well for cityscapes.

When working with a tripod, make sure to shut off any image stabilization/vibration reduction for your lens – this can actually be counterproductive when your camera is mounted properly.
If you’re working with a wider aperture, you may not need a tripod for stabilization (depending on your focal length) since wider apertures = faster shutter speeds – this method works well for portraits taken during the blue hours since you need some kind of flexibility with your movement that the tripod doesn't provide.
A common technique with blue hour portraits is to compose your image where the skyline is your backdrop – whether it be a city or coastal scene – and use a gentle fill light for your model’s face (as seen in the portrait above). When you combine this with a wide aperture, your portraits can be a stunning show of colors – with fantastic bokeh as well.
Your fill light can be anything from a remote strobe to an adjacent street lamp – as long as some light source is hitting your model’s face, you can create a stunning portrait.
The best way to judge your exposure is to take test shots – making sure to read your histogram to check for distracting blown highlights or blocked shadows (over and/or underexposed areas of your photo).
If you’re close enough to a stable shutter speed, you may be able to turn on your IS/VR (if that’s an option) to salvage a photo – this is a good idea only when handheld is preferable, such as with portraits. Landscapes, cityscapes, and other photos where you have a stationary subject should always be done with a tripod.
Another reason to use a tripod would be to autobracket (also known as HDR, exposure blending, or tone mapping). While you would generally autobracket during sunsets and sunrises for the great disparity in sky/ground exposures, it’s a bit different for the blue hours. Generally your light will be overcast providing an even exposure all around – except for light sources such as lamps and windows. When these are blown, they can be very distracting – autobracketing will allow you to blend two different exposures in order to recover the overexposed areas. For this to be a seamless blend, you’ll need a tripod to make sure all your shots are uniform in composition.

Planning Your Blue Hour Shoot
Much like the golden hour, the blue hour is a small window of opportunity – perhaps even shorter. In order to plan properly, you can visit bluehoursite.com where they have a handy calculator, allowing you to figure out exactly when the blue hour will occur – this works for both morning and evening twilight.
Another smart idea would be to scout your location before the blue hour starts, paying attention to compositions and perspectives. Since the blue hour is a very short time, anything you can do beforehand to make your shoot go smoother would be ideal.
Additional Tips:
To sum this up, here's the list of most important things to consider when it comes to blue hour photograhy:
- Plan your shoot – The blue hour is very short and you have to arrive at the location of your choice at the right time. You also have to know what settings you're supposed to use (approximately) and just fine tune them.
- Use a tripod – If you don't bring a tripod, you will have many limitations and you won't be able to play around with shutter speed. A tripod and a slow shutter speed will expand your possibilities – you'll be able to capture various lights from your surroundings (especially if you're in the city) against the dark blue sky.
- Experiment with aperture – Wide apertures will make street lights soft and magical, while small apertures will allow you to capture interesting details in the nature or starburst in the city.
- Bring your smartphone too – Smartphones are getting better and better these days when it comes to shooting challenging lighting conditions such as the blue hour. You might be really happy with the results!
- Don't forget to shoot in RAW – Blue hour images certainly require post processing, sometimes even heavy edits. You will want to enhance the blue tones and to optimize the exposure. The largest version of a JPEG file might be enough for that, but to stay on the safe side it's better to shoot in raw.
If you want to be notified of the blue hour course where we dive very deep on the topic and show you how to get some spectacular results, then make sure you’re signed up here.
Further Reading:
- Why You Should Be Photographing Your City At Blue Hour
- How To Shoot A Stunning Blue Hour Photograph And Edit It In Lightroom
- 3 Strong Composition Ideas For Blue Hour Photography
- 27 Inspiring Photos Of Architecture In The Blue Hour
- How To Focus In Low Light For Impressive Blue Hour, Night, And Astrophotography
Beautiful shots, and a very useful tutorial. Thanks!
awesome shot
wonderful shots and nice tutorials. Good carry on.
Beautiful pictures and Very informative.
Nice to see someone talking about the blue hour. In the past people have talked about a colour cast when I have shown photos taken at this hour. What I love is that between one frame and the next it vanishes – gone from blue to grey. It is magical.
One of my favourite times. I’m working on a project photographing cityscapes and the blue hour, or minutes in many cases, totally changes the feel and atmosphere, often making the ugly and mundane resonate.
Christopher Thanks for the tip. Perfect timing for me as my next task on the photography course I’m attending is to get a night time portrait image. Can’t use flash (or photoshop) though.
Great article! I think the blue hour is much better than the golden hour in the desert. It’s my favorite for evening photography.
Absolutely stunning! I love to have a camera that could give me the result of this tutorial. i am gonna have to start saving
Link to Christopher’s twitter account (in the Author bio below the article) is wrong. the correct one is http://twitter.com/#/mainescapes
or
http://twitter.com/mainescapes
please fix.
Yes, I just love this site
um I don’t see my image. Did I do something wrong?
Great article!
Light Stalking https://ift.tt/2nPYUuJ
Sourced by Time Trap Photography sharing the best photography tips, news and tricks throughout the industry. Time Trap Photography is dedicated to freezing those special moments in life that can be revisited and admired for generations to come. - Shannon Bourque
Please visit our main site for booking availability and rates.

Receive valuable industry knowledge delivered free to your email each day.


Stunning shots and a good read. Thanks.