Bird photography is a fascinating and rewarding hobby that combines the joys of photography with the beauty and diversity of birds. It involves capturing images of birds in their natural habitats, showcasing their unique behaviors, vibrant plumage, and intricate details.
If you're delving into bird photography, then it's really worthwhile to download the Photzy Bird Photography Snap Cards for specific ideas, settings and inspiration. Take a look at them here.
In this article, we’re going to cover the best bird photography settings, which will be helpful, especially for beginner photographers who aren’t that confident about camera settings yet.
Read on to learn more about how to photograph birds in the best possible way!
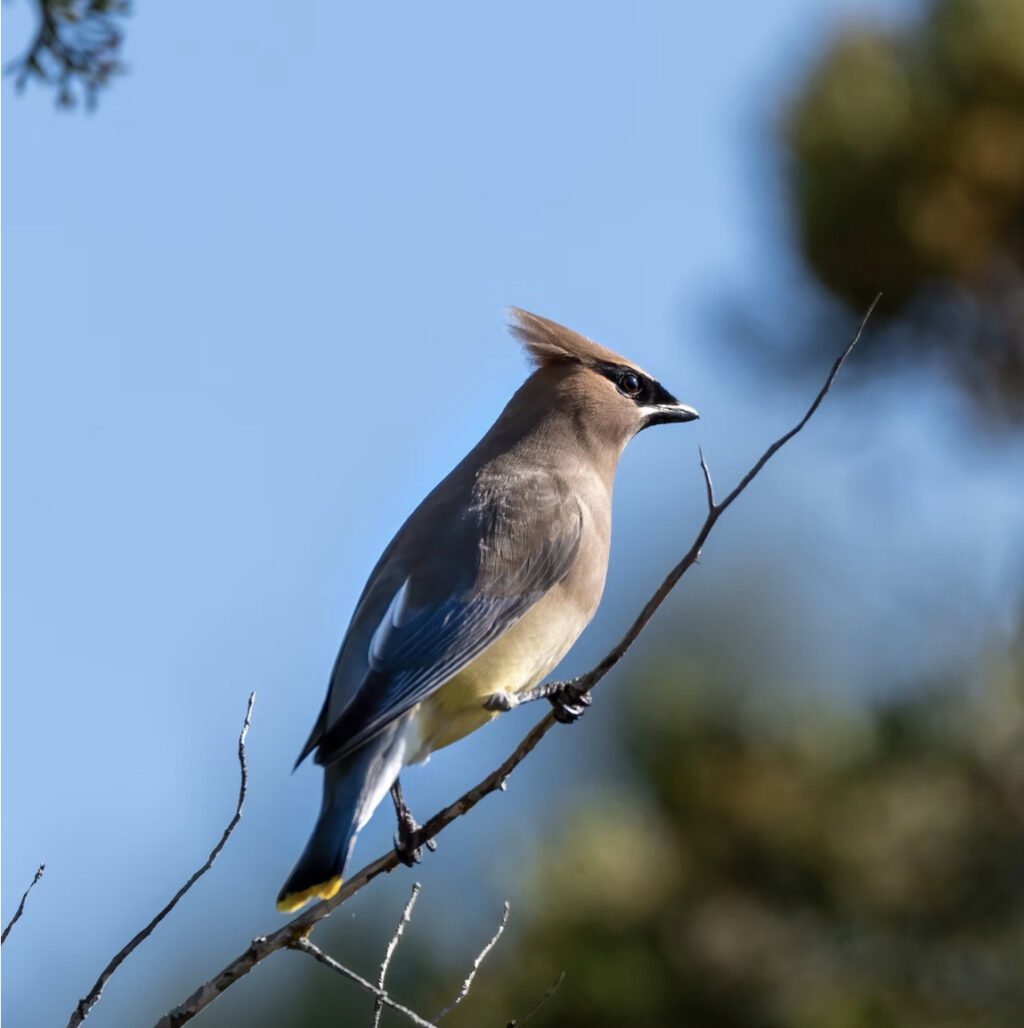
The Best Camera Settings for Bird Photography
The best camera settings for bird photography can vary depending on the specific situation, lighting conditions, and the desired outcome. However, here are some general camera settings that can help you capture great bird photographs:
How To Determine Shutter Speed
Determining the appropriate speed in bird photography depends on several factors, including the behavior of the bird, its speed, and the desired outcome of your shot. Here are some considerations to help you determine the right shutter speed:
Bird Behavior: Observe the behavior of the bird you are photographing. Different birds have different movement patterns. Some birds may be relatively still or move slowly, while others may be more active or have rapid flight patterns. The behavior of the bird will influence the required shutter speed.
Freezing Motion: If you want to freeze the motion of a bird, especially during flight or fast movements, you need a fast shutter speed. A general guideline is to use a minimum speed of 1/1000th of a second or faster to ensure sharp images of birds in motion. However, for birds with slower movement, you may be able to use a slightly slower shutter speed.
Wing Position: Consider the position of the bird's wings when determining the shutter speed. If you want to freeze the motion of a bird with its wings extended, you may need a faster shutter speed compared to a bird with its wings partially or fully folded. Birds in flight generally require faster shutter speeds to capture their wings in sharp detail.
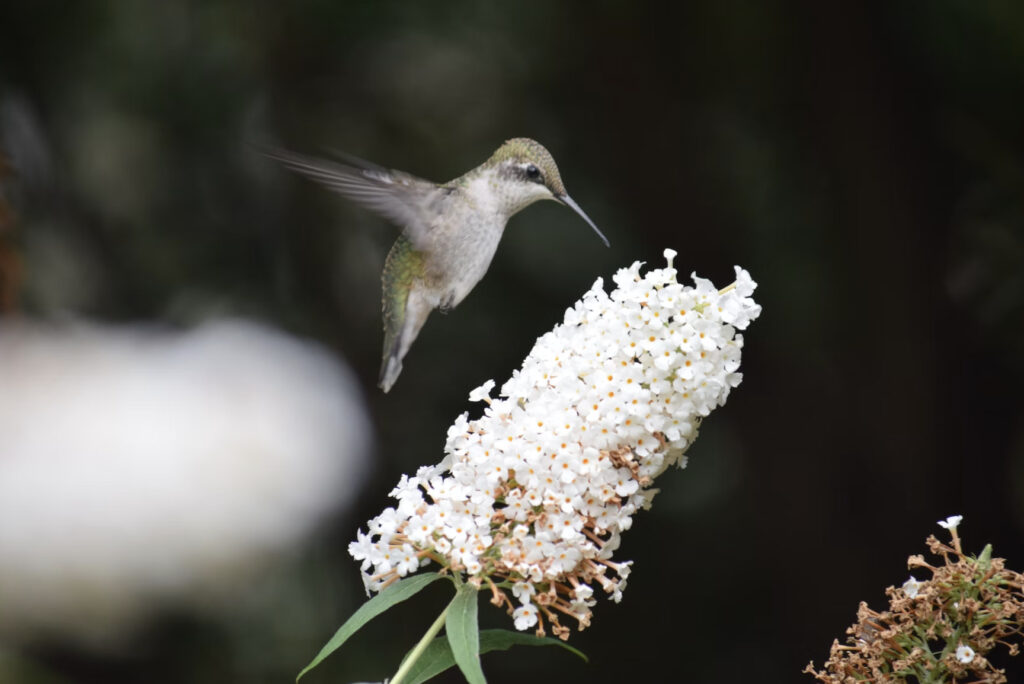
Lens Focal Length: The focal length of your lens can also influence the required shutter speed. Longer focal lengths tend to magnify camera movement and require faster shutter speeds to compensate for potential blur. If you're using a telephoto lens with a long focal length, you may need to increase the shutter speed accordingly.
Stability: Consider whether you are handholding the camera or using a tripod or monopod. Handholding can introduce some degree of camera shake, so using a faster shutter speed can help counteract that and produce sharper images. If you're using stable support like a tripod, you can use slightly slower shutter speeds while maintaining stability.
Lighting Conditions: The available light also affects the choice of shutter speed. In low-light situations, you may need to increase the shutter speed to maintain proper exposure. However, keep in mind that increasing the shutter speed will require wider apertures or higher ISO settings to compensate for the reduced amount of light.
How To Nail Aperture In Bird Photography
Choosing the right aperture depends on the desired depth of field. A wider aperture (smaller f-number) like f/4 or f/5.6 can help create a shallow depth of field, blurring the background and emphasizing the bird as the main subject. This can be particularly useful for isolating the bird and making it stand out. However, if you want to ensure more of the bird is in focus, you can use a narrower aperture (higher f-number) like f/8 or f/11.
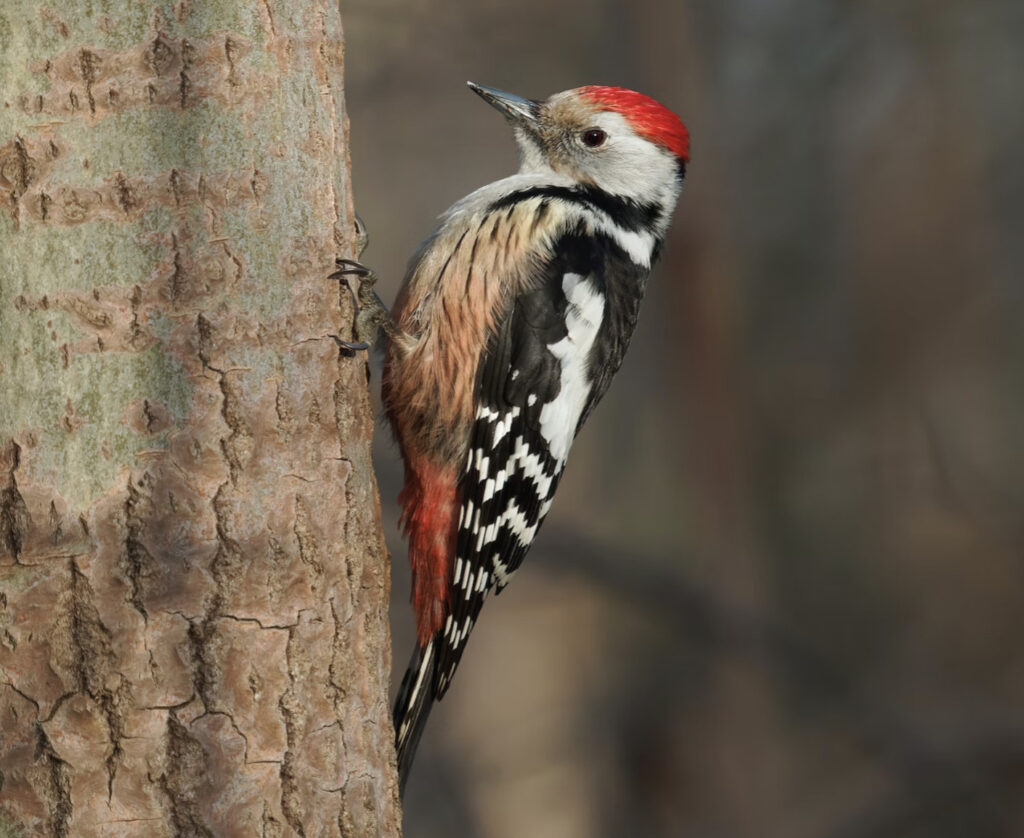
What You Need To Know About ISO When Photographing Birds
The ISO setting determines the camera's sensitivity to light. Start with a low ISO setting (e.g., ISO 100 or 200) to maintain image quality and reduce noise. However, if you're shooting in low-light conditions or need a faster shutter speed, you may need to increase the ISO to maintain proper exposure. Keep in mind that higher ISO values can introduce more noise, so find a balance between ISO and shutter speed based on the available light.
Proper Metering In Bird Photography
Evaluative or matrix metering mode is commonly used in bird photography. It measures the overall light in the scene and helps provide a well-balanced exposure. However, in challenging lighting situations or with high contrast, you may need to use spot metering to meter off the bird itself and ensure proper exposure.
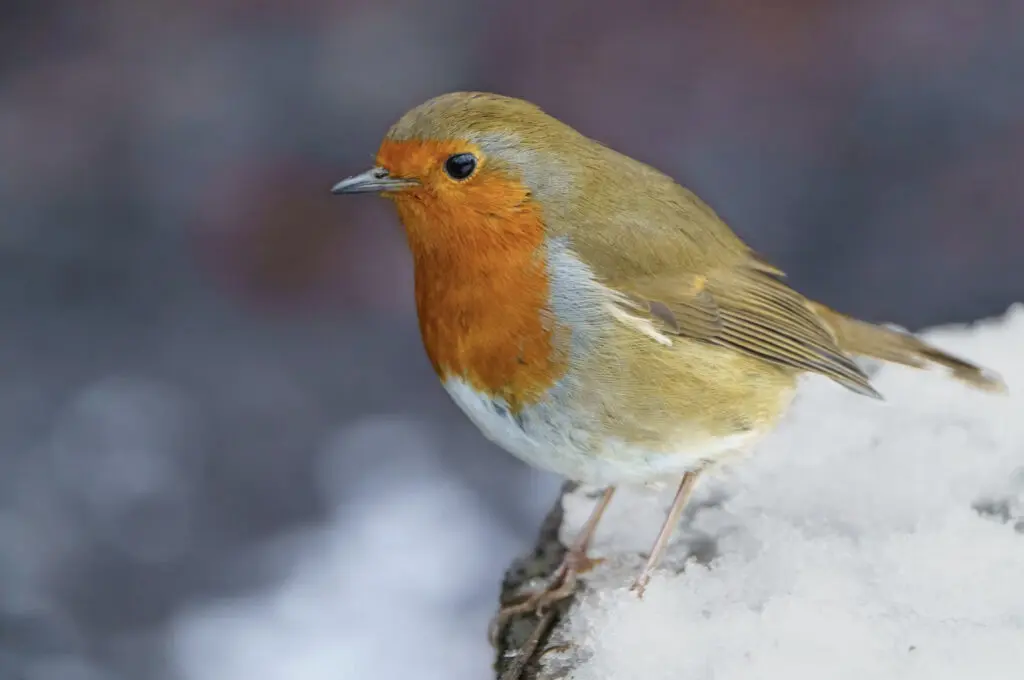
The Keys To Focal Length In Bird Photography
Picking the proper focal length is one of the key elements regarding bird photography settings.
Here are the important aspects of focal length to consider in bird photography:
Reach and Magnification: Birds are often small and can be difficult to approach closely without causing them distress or causing them to fly away. A longer focal length provides greater reach, allowing you to photograph birds from a distance while still capturing them in significant detail. Telephoto lenses with focal lengths of 300mm, 400mm, 500mm, or even longer are commonly used for bird photography. The longer the focal length, the closer you can make the bird appear in the frame.
Compression and Background Separation: Longer focal lengths have a tendency to compress the distance between the subject (the bird) and the background, creating a pleasing effect where the bird appears more isolated and separated from the surroundings. This can help draw attention to the bird and make it stand out more prominently in the image.
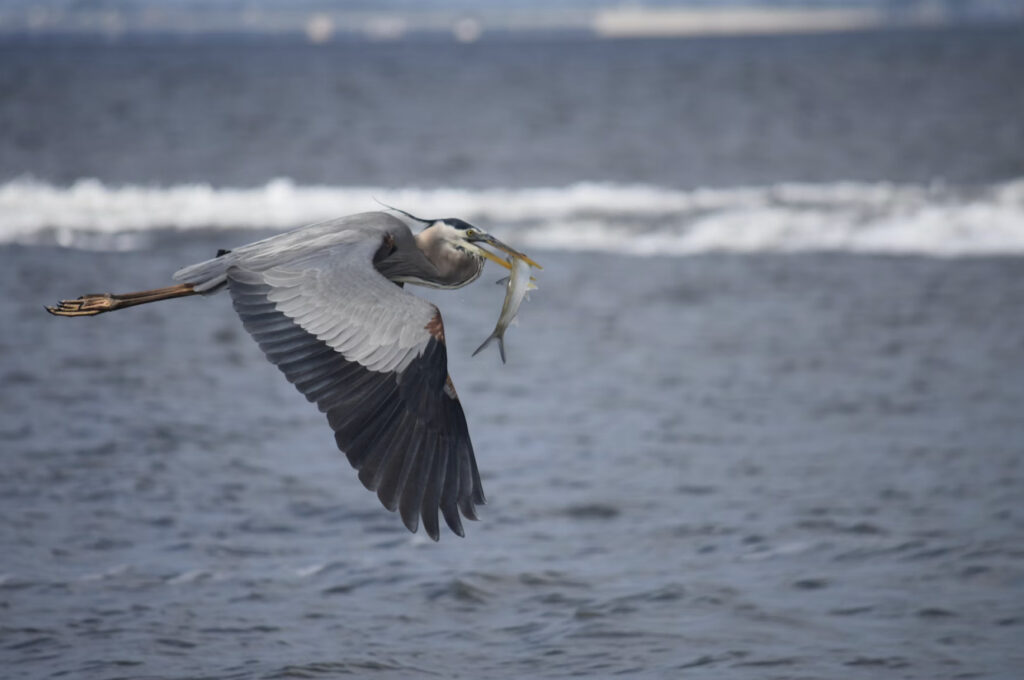
Field of View: A longer focal length narrows the field of view, allowing you to focus specifically on the bird and exclude unwanted elements from the frame. This is particularly useful when there are distractions in the background or when you want to emphasize the bird as the main subject.
If you're delving into bird photography, then it's really worthwhile to download the Photzy Bird Photography Snap Cards for specific ideas, settings and inspiration. Take a look at them here.
Stability and Handholding: Longer focal lengths can be heavy, making it challenging to handhold the camera steady for extended periods. Using a tripod or a monopod can provide stability and help prevent camera shake, especially when using telephoto lenses with focal lengths of 400mm or longer. Alternatively, you can utilize image stabilization technology available in some lenses to compensate for small movements and achieve sharper images while handholding.
Flexibility and Versatility: It's worth noting that bird photography can involve a range of scenarios and distances. While longer focal lengths are advantageous for distant or small birds, shorter focal lengths (around 200mm to 300mm) can be useful for photographing larger birds or capturing birds in wider environmental contexts, such as birds in flight or during behavioral interactions.
Let’s Talk About Continuous Shooting Mode
Use continuous autofocus (AI Servo or AF-C) to track moving birds effectively. This mode continuously adjusts focus as the bird moves, ensuring sharp images. Set your camera to use multiple autofocus points or select a single autofocus point to track the bird's movement accurately.
Since birds can be unpredictable, shooting in continuous or burst mode allows you to capture a series of images in quick succession. This increases your chances of getting a perfectly timed shot, especially when birds are in flight or engaged in dynamic behaviors.
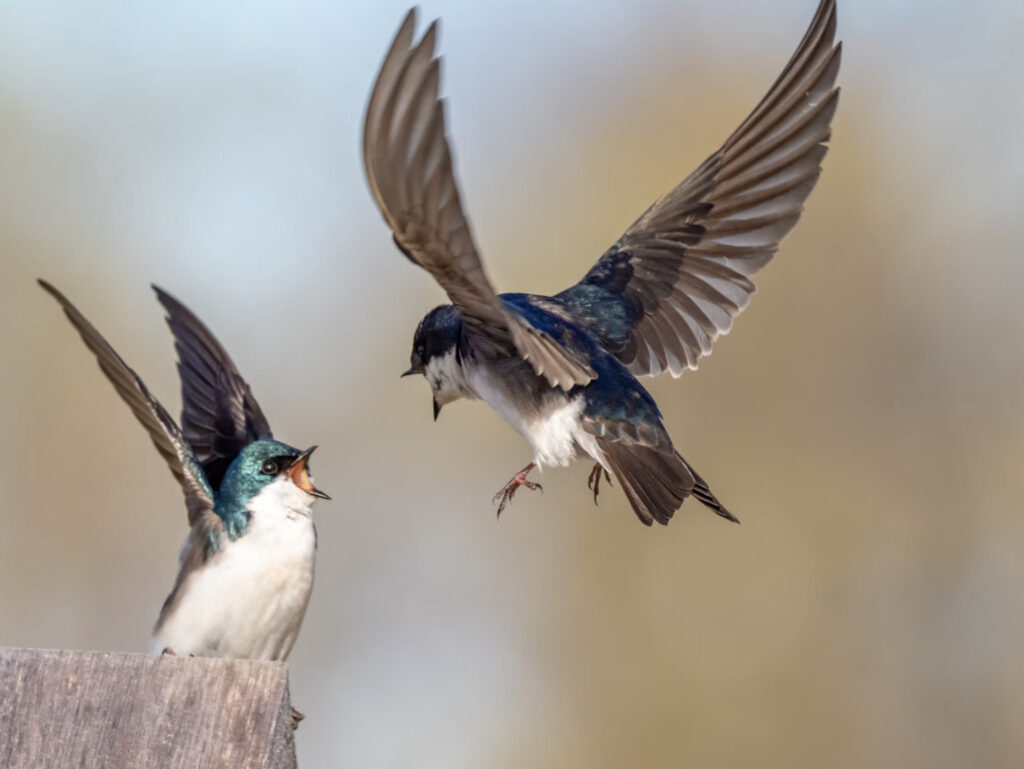
Considering Aperture Priority Mode
While you can shoot birds in manual mode, it’s also quite helpful to consider shooting in aperture priority or shutter priority mode.
Aperture priority mode can be a valuable tool in bird photography, offering control over depth of field while allowing the camera to adjust the shutter speed for proper exposure automatically. Here are some considerations for using aperture priority mode in bird photography:
Depth of Field: The aperture controls the depth of field, which determines how much of the image is in focus. In bird photography, you may want to isolate the bird from the background by using a wide aperture to create a shallow depth of field. This blurs the background, making the bird stand out more prominently. Aperture priority mode enables you to set the desired aperture, ensuring the depth of field matches your creative vision.
Automatic Shutter Speed: When using aperture priority mode, the camera adjusts the shutter speed automatically to maintain proper exposure based on the lighting conditions and the aperture you set. This can be advantageous in bird photography as lighting conditions can change quickly, especially when shooting outdoors. The camera's automatic adjustment of the shutter speed allows you to focus on capturing the bird while ensuring proper exposure.
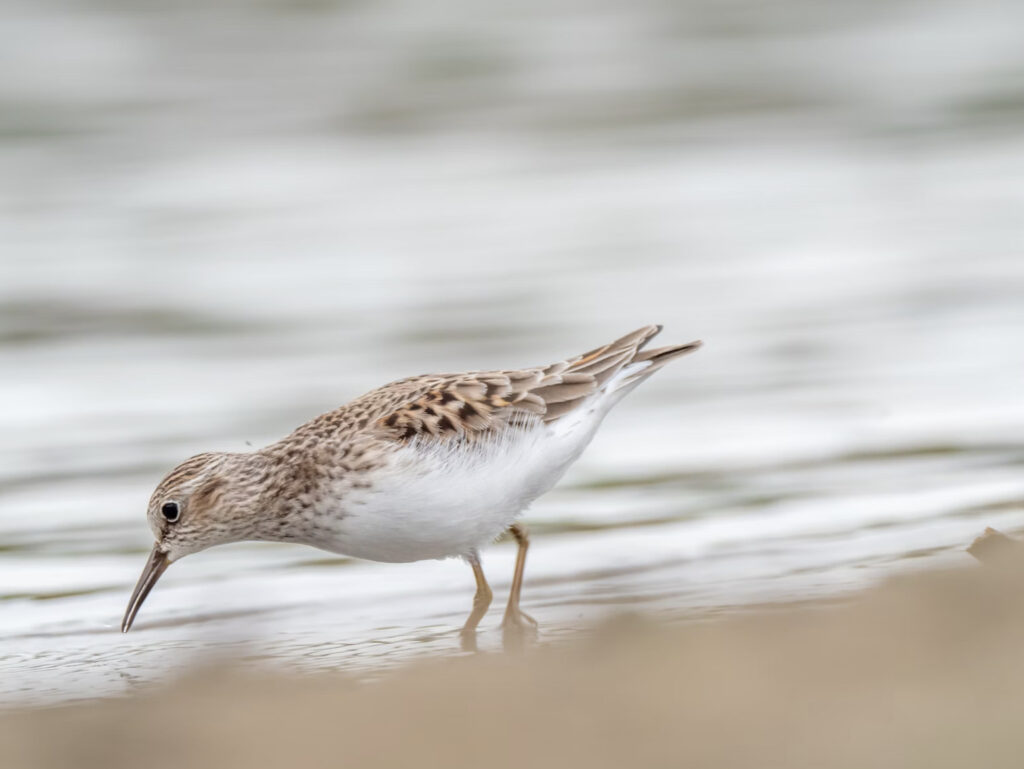
Exposure Compensation: In aperture priority mode, you can also use exposure compensation to make adjustments to the overall exposure. This can be particularly useful in challenging lighting situations where the camera's metering may not accurately expose the bird. For example, if the bird is against a bright sky, you may need to use negative exposure compensation to prevent the bird from being underexposed.
Limitations with Moving Birds: While aperture priority mode is useful for static or slow-moving birds, it may have limitations when photographing birds in flight or engaging in rapid movements. The camera's automatic adjustment of the shutter speed may not always result in a fast enough speed to freeze the bird's motion. In such cases, you may need to switch to Shutter Priority mode or Manual mode to have more control over the shutter speed.
Flexibility and Creativity: Aperture priority mode allows you to focus on the creative aspects of bird photography by controlling the depth of field. You can experiment with different apertures to achieve different effects and adapt to various shooting scenarios, such as perched birds, close-ups, or environmental portraits.

Should You Also Consider Shutter Priority Mode?
Shutter priority mode can be a valuable shooting mode to consider in bird photography, especially when you want precise control over the shutter speed to capture birds in motion. Here are some reasons to consider using shutter priority mode:
Freezing Motion: Birds are often quick and agile creatures, and capturing them in sharp detail while in flight or engaged in rapid movements requires using a fast shutter speed. Shutter priority mode allows you to set a specific shutter speed, ensuring that the camera selects an aperture that maintains proper exposure while freezing the bird's motion. A general guideline is to use a minimum shutter speed of 1/1000th of a second or faster to capture birds in flight.
Minimizing Motion Blur: Using a fast shutter speed helps minimize motion blur caused by both camera shake and subject movement. When photographing birds handheld, it's important to choose a shutter speed that compensates for any camera movement to achieve sharp images. Additionally, even small movements by the bird, such as flapping wings or quick head turns, can introduce blur if the shutter speed is too slow.
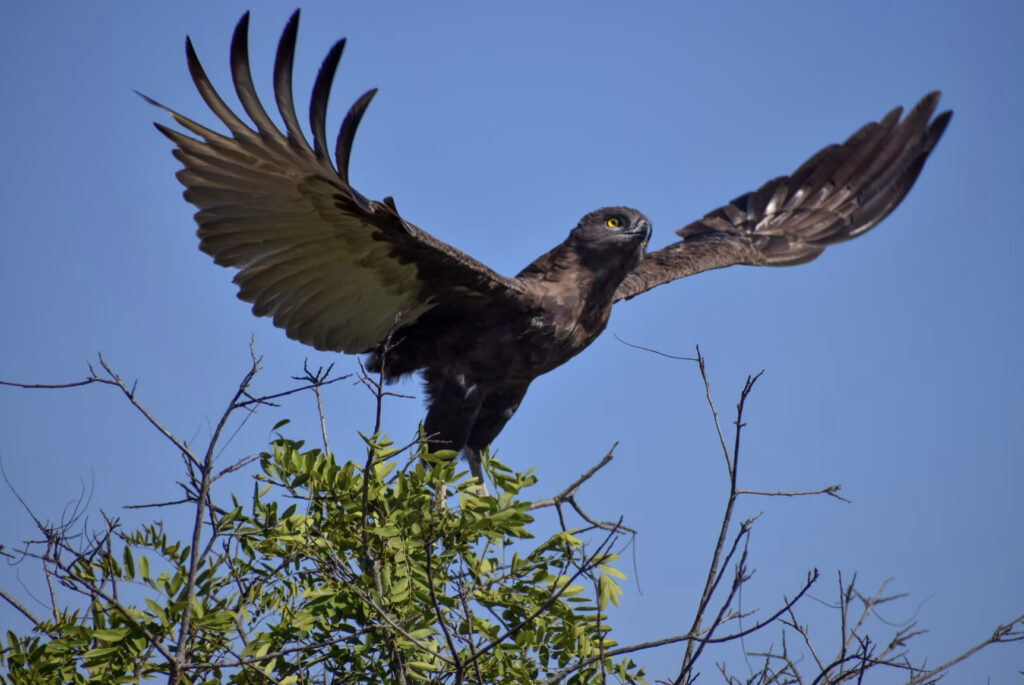
Panning Technique: Shutter priority mode is also useful when employing the panning technique, which involves tracking a moving bird while using a slower shutter speed. By setting a specific shutter speed, you can experiment with different settings to achieve the desired effect, such as creating a sense of motion while keeping the bird relatively sharp against a blurred background.
Balancing Exposure: Shutter priority mode allows you to prioritize the shutter speed while the camera automatically adjusts the aperture to maintain proper exposure. This is particularly useful in situations where lighting conditions may vary or when you need to maintain consistent exposure while capturing birds in different locations or backgrounds.
Auto ISO: Many modern cameras offer the option to use auto ISO in conjunction with shutter priority mode. This feature automatically adjusts the ISO sensitivity to maintain proper exposure while adhering to the set shutter speed and aperture. It can be beneficial in rapidly changing lighting conditions, allowing you to concentrate on capturing the moment without worrying about exposure adjustments.
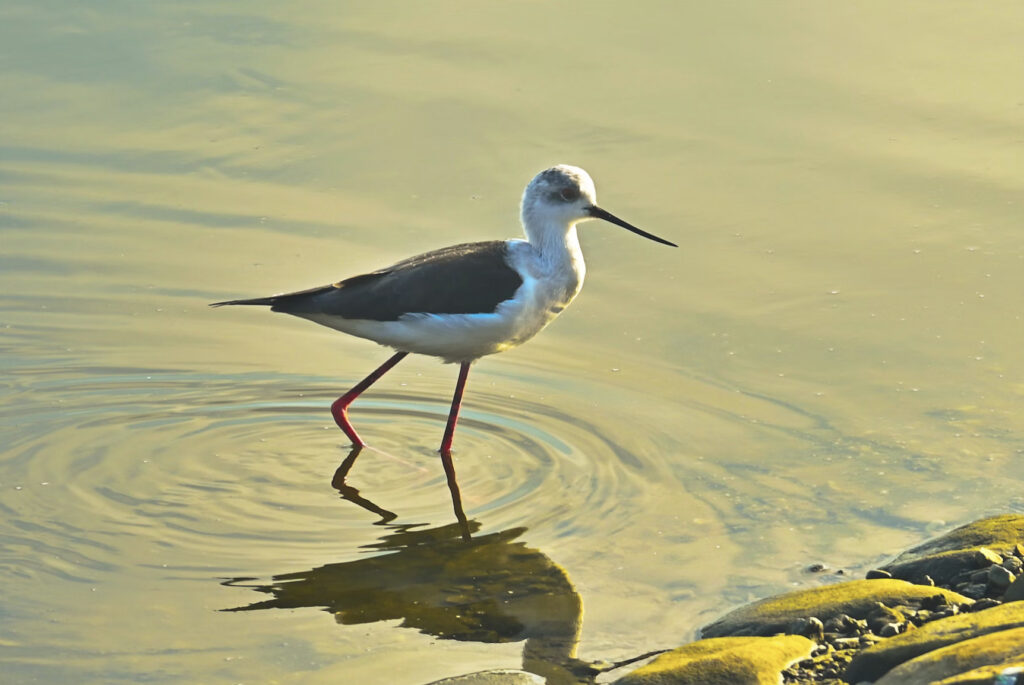
Mastering Camera Settings In Bird Photography
If you're delving into bird photography, then it's really worthwhile to download the Photzy Bird Photography Snap Cards for specific ideas, settings and inspiration. Take a look at them here.
Remember that these settings serve as a starting point, and you may need to adjust them based on the specific conditions and desired creative effect. Experimenting with different settings and reviewing your images on the camera's screen will help you refine your technique and achieve the best results.
Further Reading:
Light Stalking https://ift.tt/gpd7n8h
Sourced by Time Trap Photography sharing the best photography tips, news and tricks throughout the industry. Time Trap Photography is dedicated to freezing those special moments in life that can be revisited and admired for generations to come. - Shannon Bourque
Please visit our main site for booking availability and rates.

Receive valuable industry knowledge delivered free to your email each day.


No comments:
Post a Comment
Thank you so much for your comment. A moderator will review and approve all relevant posts. We appreciate your support and encourage you to stay with us by subscribing to our email updates. Where you can easily pick and choose what photography subjects interests you. Subscription link: http://bit.ly/photo-sub