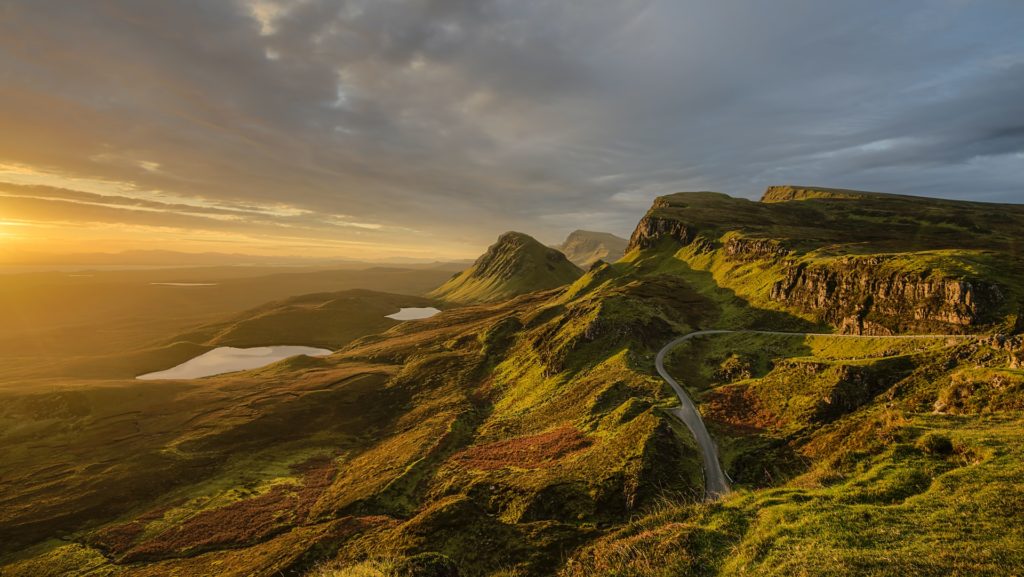
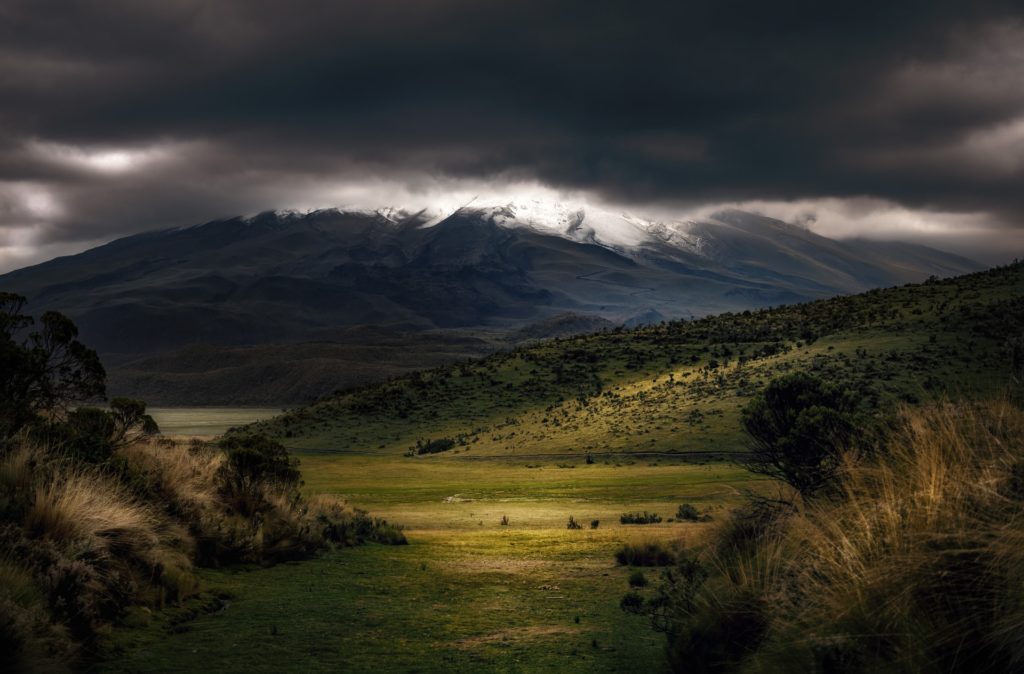
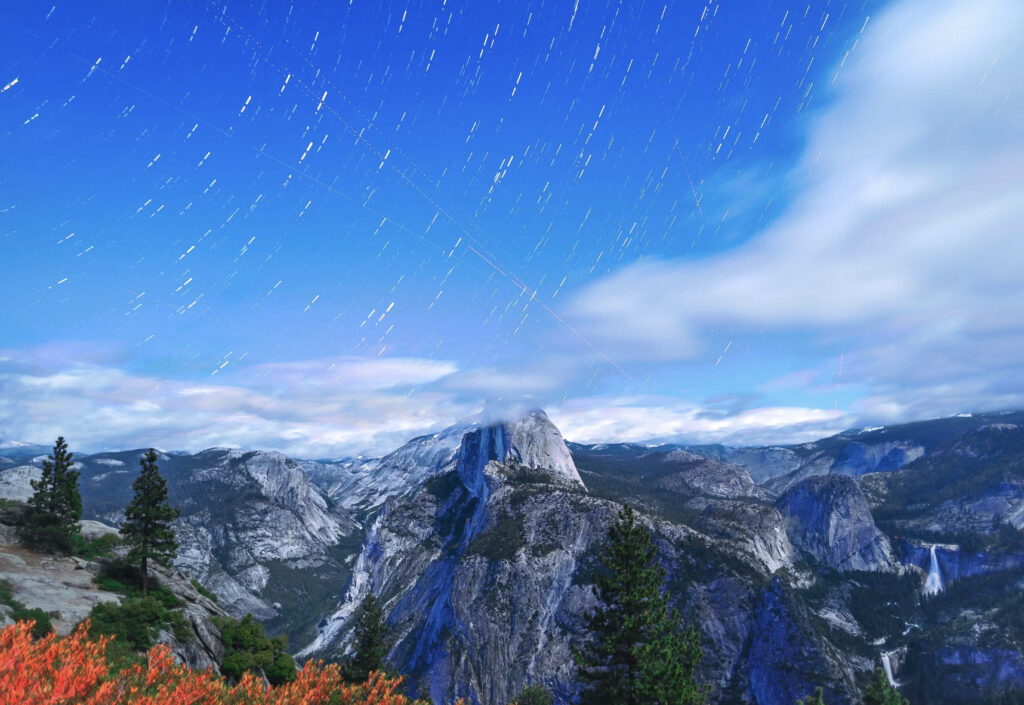
There aren’t many sure things in life. No matter how diligently we plan, regardless of how much effort we put forth, there are simply going to be times when the outcome of whatever we are involved with is going to be the exact opposite of what we wanted. It stinks, I know; it can be frustrating. But that’s just the way life goes sometimes, what are you going to do? When it comes to photography, however, there’s actually a practical answer to that. Yes, there’s a way to ensure that you get a good exposure every time. It’s called exposure bracketing.
Trick Photography is the theme of this month's Projects, but that ends on Saturday! So grab 4 detailed trick photography projects before they're gone.

Three Times A Charm: Bracketed Images
Exposure bracketing is a technique that produces a series of (typically) 3 images, one of which is captured at the “proper” exposure setting as determined by the camera, while the other images are captured at a fixed interval both above and below that of the original exposure. Essentially, you will have one underexposed shot, one overexposed shot, and one perfectly exposed shot. If it has not become obvious by now, you will find bracketing most useful in tricky lighting situations that tend to give your camera’s metering systems fits. Landscape shots, for instance, where the foreground and the sky require different exposure settings; or shots where an overabundance of light accompanies your main subject; or winter scenes so uniformly dressed in snow. Of course, you can only choose one exposure level for any given shot, so you might determine that taking multiple shots at varying exposures would be a great idea.
Let The Camera Handle It: Automatic Exposure Bracketing
Bracketing does pose one apparent problem, however: to make 3 different exposures of the same subject, you will have to move your camera to change settings, thus foiling your pursuit of an identical shot. Sure, you could grab your tripod and employ it as a personal assistant of sorts, but there are plenty of times when a tripod is just going to be more of a hassle than a help. If you’re shooting film, this may be your only viable option. But for those of you with a dSLR, the solution is built into your camera.
Typically referred to as automatic exposure bracketing (AEB), you will need to dial in the desired intervals (the number of stops above and below the baseline exposure) and let the camera take over from there. Some cameras will take all 3 exposures with just one press of the the shutter button, while others will require you to press the shutter button for each shot. *FYI: Most dSLRs also allow you to auto bracket white balance, flash exposure, focus, and other parameters

What's Next? HDR Photography?
So, AEB has given you 3 different exposures of the same thing — now what? Well, it’s possible that one of the non-standard exposures actually suits your needs or creative preferences better than the standard one; go with whatever you like. That’s what freedom of choice is all about. Or you may want to blend your bracketed photos into a high dynamic range (HDR) image. For more on HDR processing, see Jason Row’s tutorial.
Another option available for your trio of photographs — and an increasingly popular alternative to HDR processing — is exposure fusion. Exposure fusion software assess a series of images for contrast, luminosity, and saturation, then assigns a “weight” to each pixel of every image in the series based on this criteria. The weight of a pixel is then used to determine whether that pixel is retained in or discarded from the final image. In more simple terms, exposure fusion takes only the properly exposed bits of each image in a series to produce a final photo that represents the original scene exceptionally well. While exposure fusion is a more basic post-processing technique than HDR, it avoids the drastic visual transitions often associated with HDR images.

Exposure Bracketing Photography: The Beauty Of High Dynamic Range
There was a time when cameras didn’t have built-in exposure meters. Crazy, right? Back then, photographers were forced to sometimes guess at their exposure settings. I can only assume that with enough practice, some photographers became rather proficient at being able to recognize by the lighting conditions around them precisely how much to adjust their shutter speed in relation to what film they were using. I can even see how some would argue that this helped photographers of the pre-digital age develop a more intimate understanding of light which, thus, made them “better” photographers.
In the end, what matters most is getting exactly the shot you want, the means less so. If you haven’t picked up your camera’s manual in a while — or ever, now might be a good time to do that; locate the bracketing mode in your camera and give it a spin. It just might open up some creative possibilities that had not occurred to you previously.
Further Reading:
Great article! HDR gets a bad name because of all the insane ways it is used. As a property photographer, I would be lost without exposure bracketing, Photomatix and Photomerge in Photoshop. AEB and HDR allows me to photograph the darkest rooms (without having to worry about any silly off camera flash setup) and make them look their best (and three times as bright).
I have got the bracketing down. but now I need to know what soft wear to use. I am going through some of the free soft were I see on the internet.
luminance is the one I used the other day and they just keep coming up with ghost. Also on my camera there is three types of bracketing. do know which one is best? Great post by the way.
It’s true that HDR, in the wrong hands, can make monsters — the Web is full of examples. Used judiciously, it gives us the Zone System of the digital age.
Light Stalking https://ift.tt/mir1EWx
Sourced by Time Trap Photography sharing the best photography tips, news and tricks throughout the industry. Time Trap Photography is dedicated to freezing those special moments in life that can be revisited and admired for generations to come. - Shannon Bourque
Please visit our main site for booking availability and rates.

Receive valuable industry knowledge delivered free to your email each day.


In manual mode probably you see in the viewfinder, what happen if you shot with which you have set at the moment. So in example if you set your camera at f/2.8 in a bright day and a time of 1/640 the viewfinder show you an overexposed picture. So you must set different aperture and/or time to get an appropriate exposure and you’ll see the level move towards the 0.