Today, we've got something a little more “unconventional” as far as photography tips go – specifically, Trick Photography. Who doesn’t love some mind-blowing artistic images that can make the viewers go “Wow?”
All you need to do to create such photos is to use some photography tricks and techniques and apply your creativity to your normal day to day photographs you take. There are a lot of camera tricks and post-processing techniques, that will help you to capture and create whimsical images.
You will need to invest some time and effort into mastering these skills to capture some special effects, before you can create a masterpiece as these photography techniques come with practice and do not happen overnight.
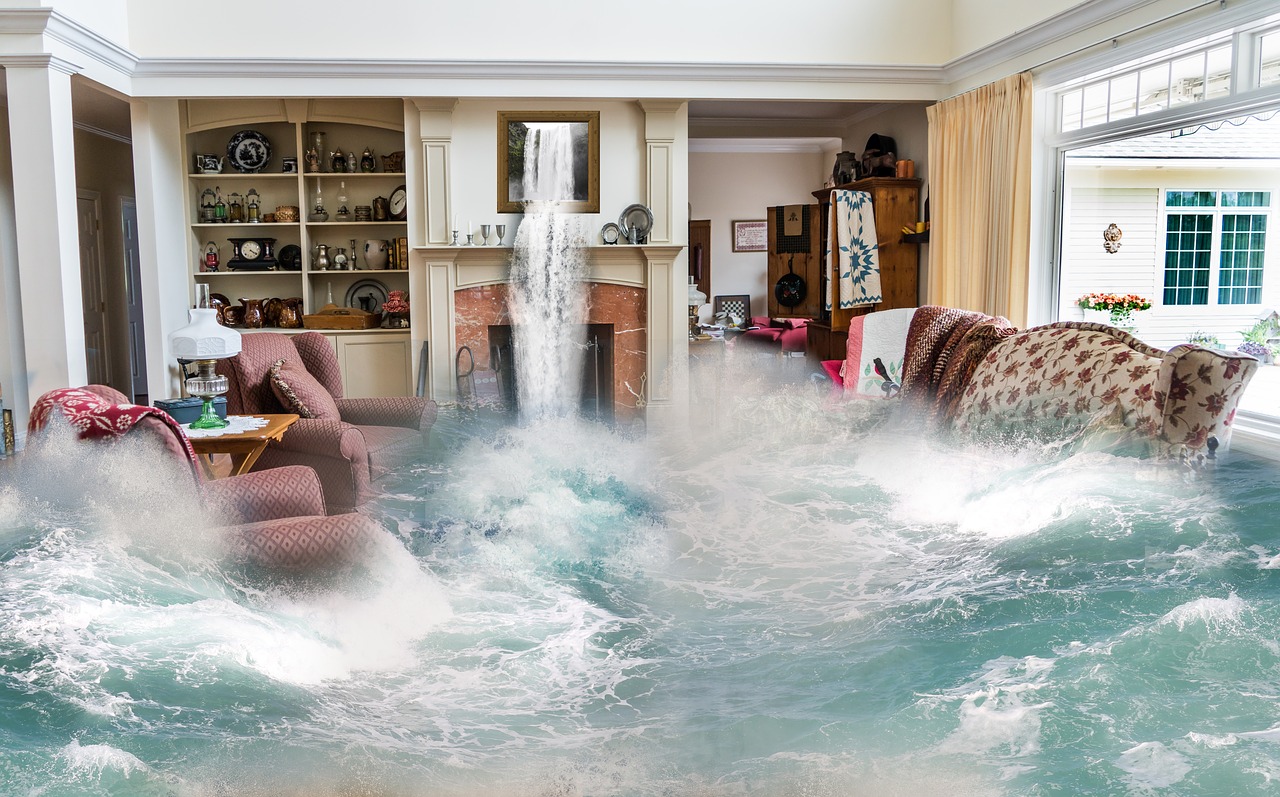
With each trial, you just keep getting better and can eventually master the technique yourself to achieve those effects.
Getting Started in Trick Photography
Free Lensing
You seriously do not need to invest in one of those Lensbaby optics to create those artistic “tilt-shift” kind of effects (also not the perfect “professional” look).
What is the “Free Lensing” Technique?
As the name indicates, if you have a camera with a removable lens, all you need to do is to detach the lens from the camera, just hold it very close to the camera body while looking through the viewfinder and tilt the lens towards different angles, manually focusing subjects while you shoot. A prime lens will work great for this technique, and it is better to avoid a zoom lens.
The focus plane in this method is skewed and so it's a trial and error process where you get either good or bad pictures. This method does require a lot of practice to get some good results, it also lets you create some beautiful tilt-shift images.
With practice, you can learn to focus on a particular subject than a random one and some of your first few images are going to be out of focus.
Note: Please do not try this if you feel uncomfortable with the idea that dust can hit your sensor. You can try holding your hand as a protection around the lens barrel against dust or maybe use a piece of cloth or something around that area (between lens and camera body) to prevent dust from entering in.
Avoid trying this in dusty or moisture-filled environments.
QUICK TIPS
- It is easier to get objects in focus on a 50mm or higher lens than on a wide angle one.
- Make sure you set your camera to manual mode and do the exposure settings before removing the lens.
- It is also best to set the focus to infinity before removing the lens.
- A camera lens with an aperture ring will be an added advantage to have selective aperture size!
- Slightly letting in light through will create beautiful natural light leaks.
Levitation Photography
Levitation photography is another tricky one that can be used to create truly magical photographs. Not a very popular type of photography yet, levitation photography although it seems and looks very difficult, can be done easily with some planning and creativity in hand.
As most of you may know, levitation photography is created by compositing two or more images using editing software, like Photoshop.
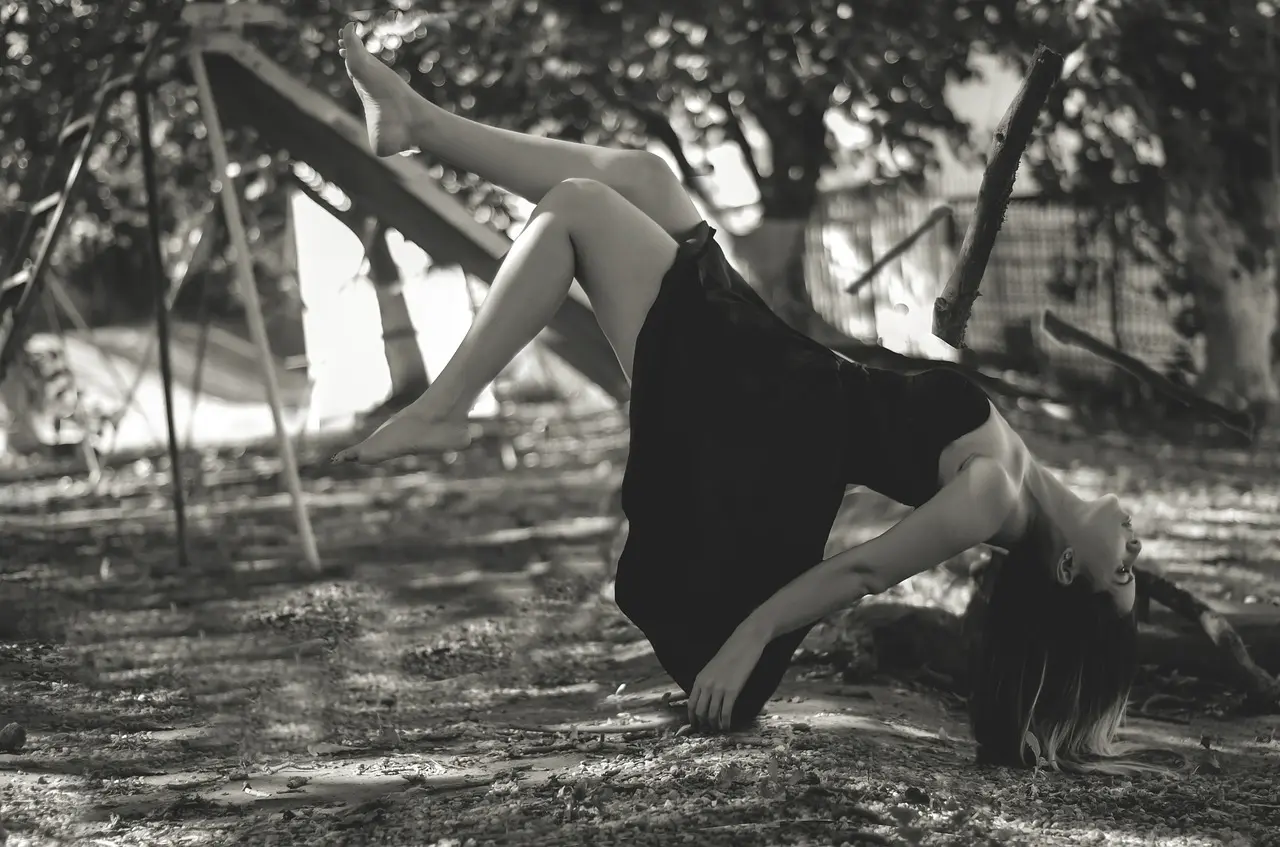
Tips to Create a Good Levitation Photograph
- Have a camera with manual focusing capabilities, a tripod and a stool or ladder depending on what you’d like to create. Using a remote trigger will be an advantage.
- Be careful about the clothing as they need to look very natural after post processing as you’ll be cloning out certain areas.
- Try not to shoot in harsh sunlight as this may cause you the extra job of working with a realistic shadow while post processing.
- Try your best to shoot from an angle that gives that levitating feel to the photograph.
- When shooting the levitation photograph, once you’re done with the shoot, don't forget to take a picture of the empty background as this is the most important image while post processing.
- The final part is the post-processing where you work with layers and mask. Once done, you merge the layers to create that final piece of art.
Levitation photography is fun and interesting if you practice it with patience!
Light Painting
Light painting is a long exposure photography technique that can create some amazing photos. Light painting can be done in various ways depending on your creativity.
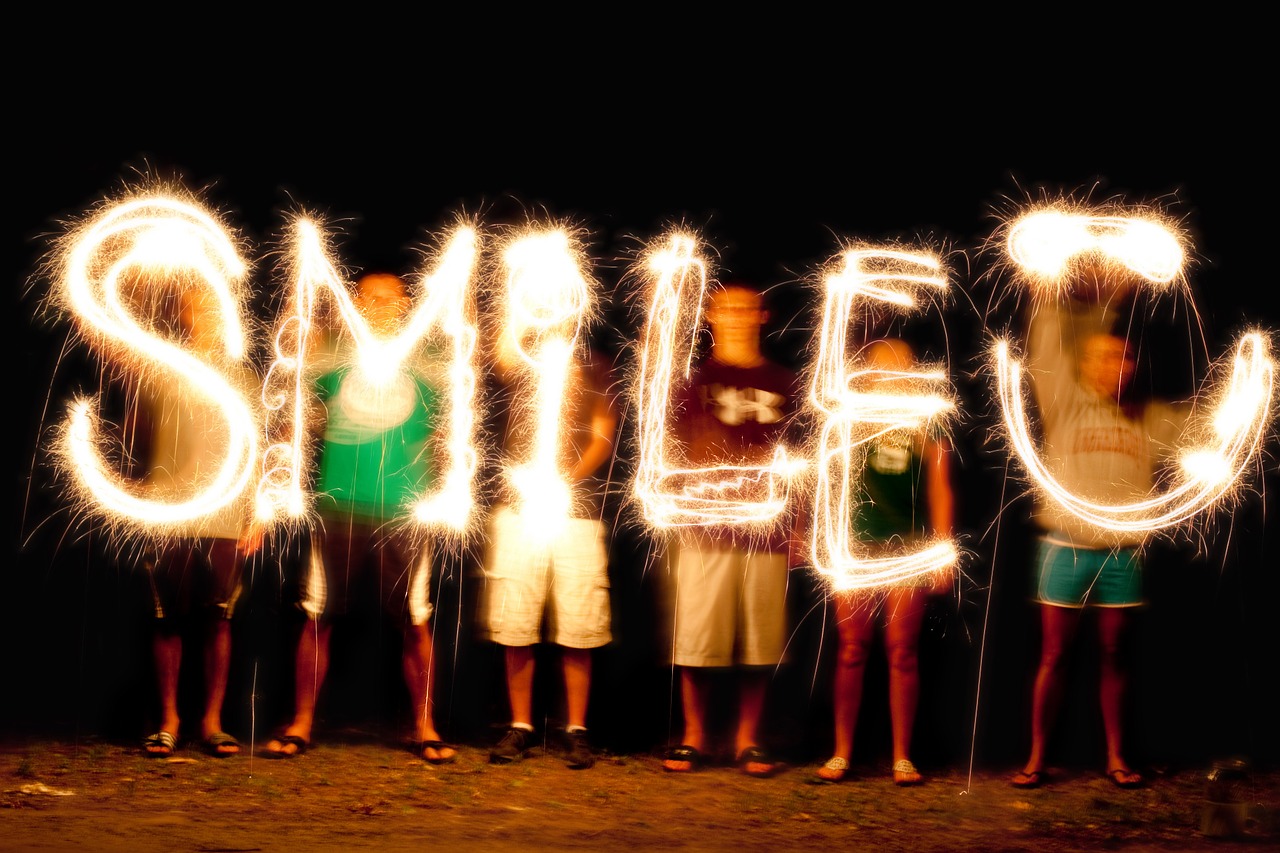
Tips to get Started with Light Painting
- Have a camera that can be set on slow shutter speed, a tripod, a light source (or more) and a remote trigger is necessary for long exposure photography like light painting.
- You can have a stationary subject or object and moving light. Since the shutter speed is very slow, when you wave around a light source while the shutter is pressed, it leaves a trail of light and also illuminates the subject in the photograph.
- You can use flashlights to light up subjects in the dark and take long exposure shots.
- Some ideas for light painting would be, using different colored optical fiber, steel wool, light sticks, fairy lights on a hula hoop, spirograph, tube wands, etc.
Multiplicity Photos
If you do not know what multiplicity photos are, it is nothing more than making a subject appear more than once in a photo. If you've come across these types of images and thought that it's not doable, trust me, it's very easy to do.
All you need to do is, take multiple photos of a scene but with your subject in different positions in the frame for each photo. That's it. You then use a software like Photoshop that lets you work with layers.
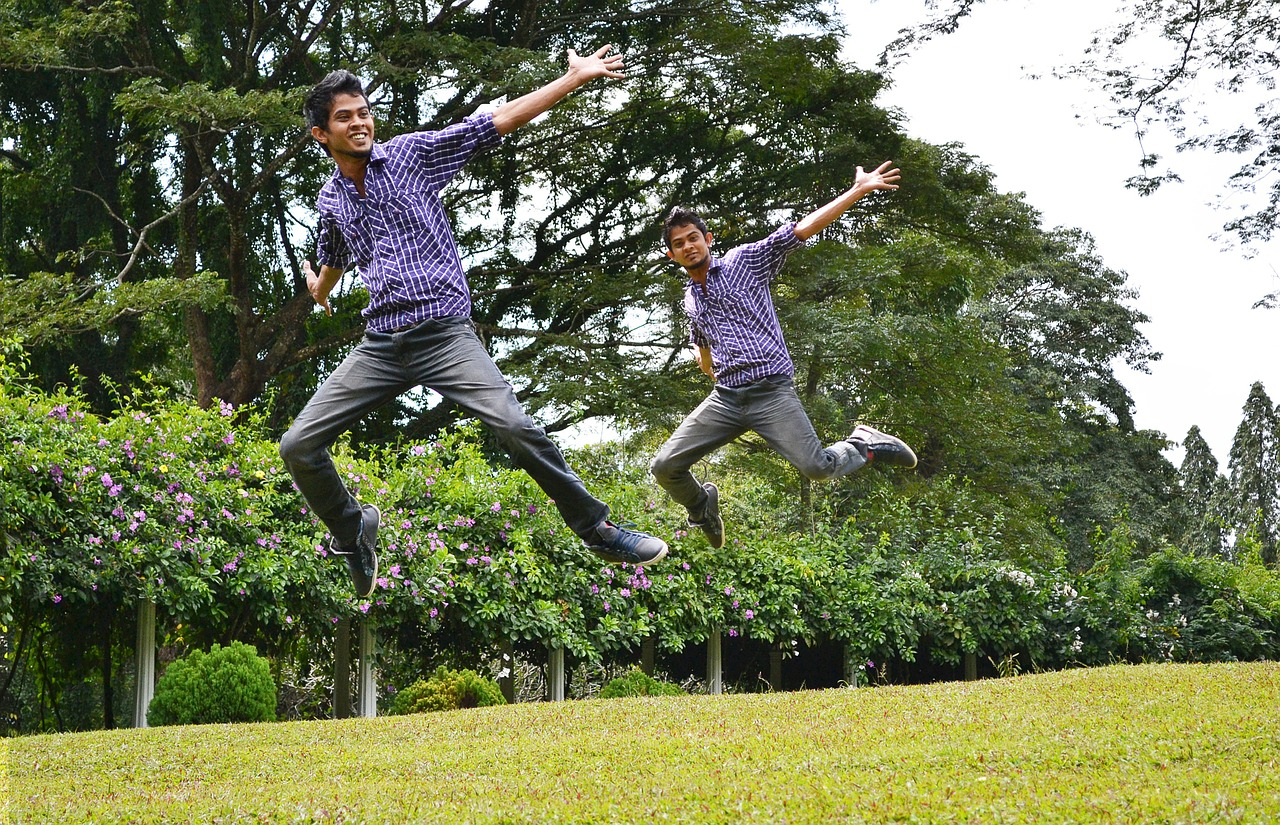
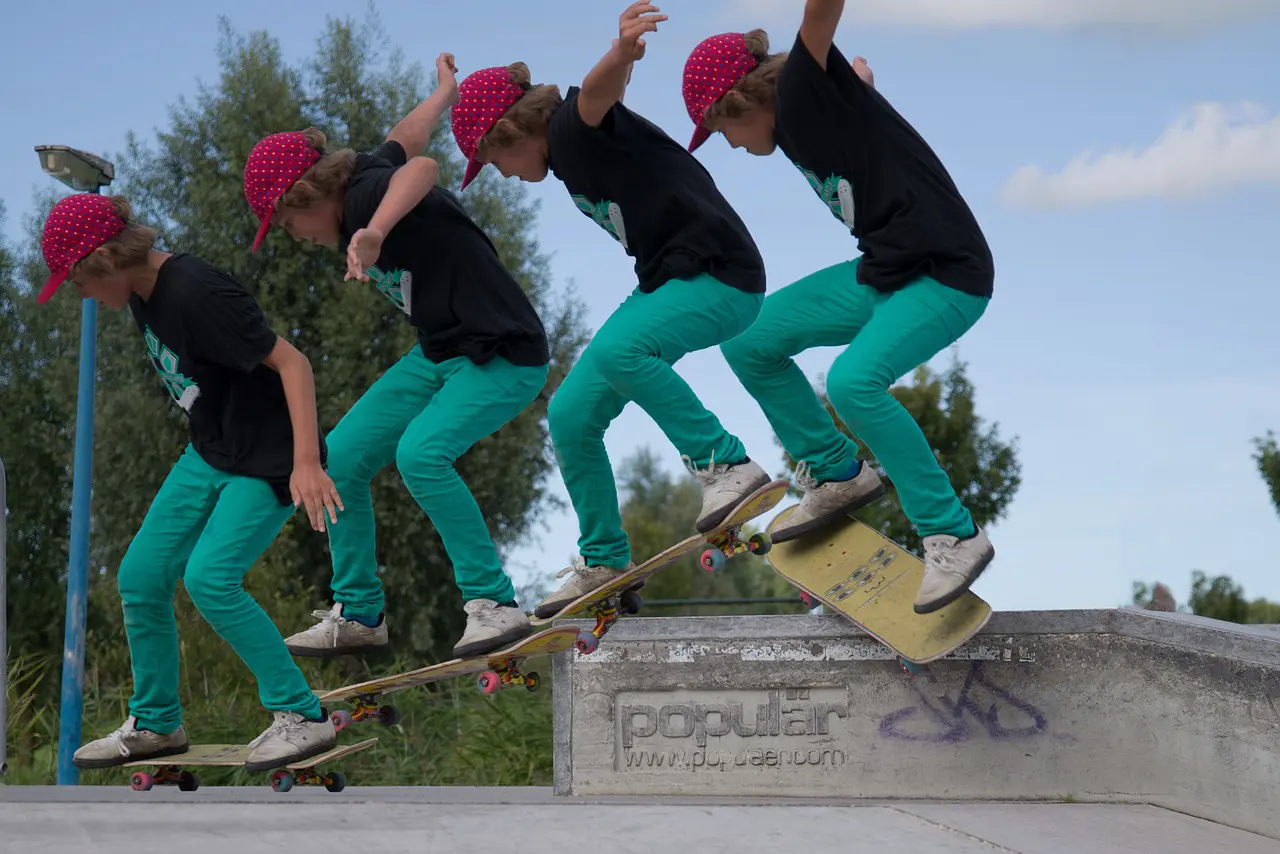
Tips to get you started with Multiplicity Photos
- Use a camera that allows for manual settings, have a tripod ready to have all the frames consistent (no camera movement between shots), preferably a day with no harsh sunlight and a subject. If you have a remote trigger, make use of it.
- Have the subject in one position, take a shot, move them to the next position, take a shot and keep doing this until you have all the photos with your subject in different locations.
- Use manual mode for consistent exposure.
- Once done, import these photos into your post software that lets you work with layers to get the multiplicity photo.
5 QUICK TIPS
- Infrared photography – If you do not want to invest in converting a camera to capture infrared photographs, you can get an infrared filter off Amazon or eBay for a cheaper price and use it in front of your lens to get some cool infrared photographs. Infrared filters let very little light to pass through them and hence you will need to use a tripod for longer exposure. Shoot RAW with low ISO.
- 360 Degree Reverse Panorama – If you are interested in making a 360-degree panorama, choose a good location, start taking photos like you would do for taking panorama, preferably vertical orientation, cover the whole intended field of view which would be 360 degrees.Use the widest lens possible and mount the camera on a tripod. Stitch the images using a panorama stitching software that lets you create different types of panorama.
- Reverse Lens Macro – This is one of the cheapest methods to get close to macro subjects for a photograph. In this technique, turn the lens around and attach it to the camera with the help of adapters called reverse rings (these are pretty cheap).Be careful with the exposed (back) part of the lens against dust and scratches. Best to use the tripod as handshakes can highly distort the photo. With this setup and some artificial light (if required) one can create beautiful macro photographs.
- Forced Perspective – When you shoot images from various perspectives, smaller objects may appear bigger and bigger ones may appear small and this technique is called forced perspective on photography. This tricky technique works great with a wide angle lens and sometimes with a telephoto lens as well depending on what you intend to shoot and you need a good eye to capture realistic looking photos. You will also need to have control on the depth of field to get successful results.
- Shaped Bokeh – This is a very interesting technique to capture interesting and magical photographs. Based on the theme of your photography, you can cut out shapes on a simple piece of chart paper or cardboard and hold it in front of the lens to get the same shape in the bokeh.
Further Resources
Light Stalking https://ift.tt/IOFvd1U
Sourced by Time Trap Photography sharing the best photography tips, news and tricks throughout the industry. Time Trap Photography is dedicated to freezing those special moments in life that can be revisited and admired for generations to come. - Shannon Bourque
Please visit our main site for booking availability and rates.

Receive valuable industry knowledge delivered free to your email each day.


No comments:
Post a Comment
Thank you so much for your comment. A moderator will review and approve all relevant posts. We appreciate your support and encourage you to stay with us by subscribing to our email updates. Where you can easily pick and choose what photography subjects interests you. Subscription link: http://bit.ly/photo-sub