When beginners start in photography, there are a few things that they need to know, understand, and practice before getting out to shoot. It is important to read the manual, know the parts of the camera, what each button and dial does, and some important features in the menu.
Frustrated with Soft images? Get sharper shots in just a few hours by discovering MattK's process for taking tack-sharp award-winning images of wildlife (maybe the most difficult genre to get sharp). Grab it here this week only.
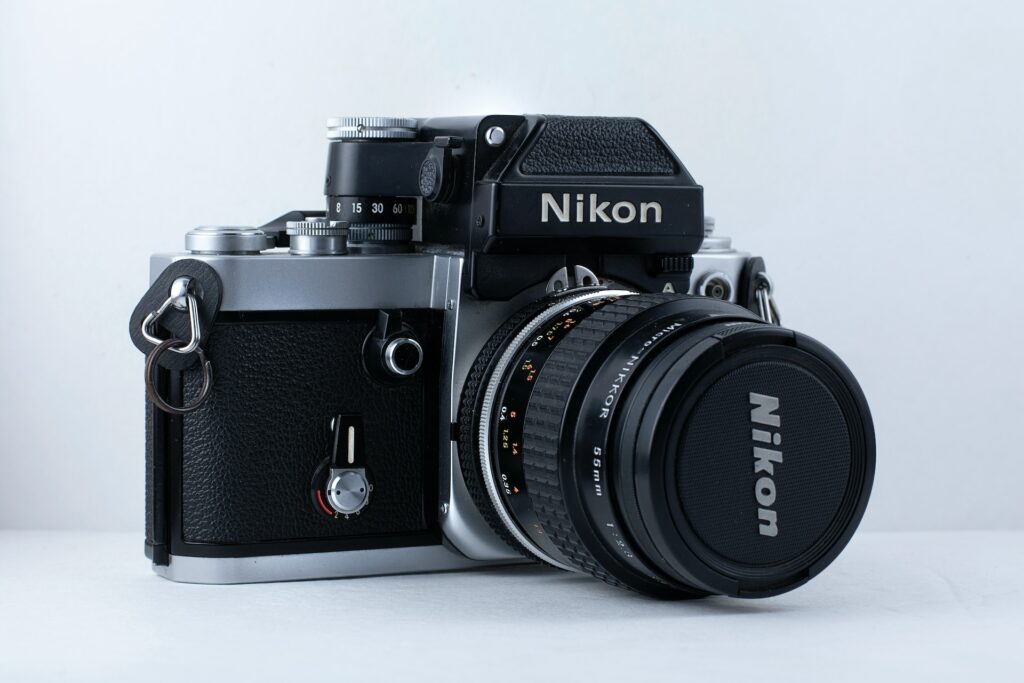
Each camera is slightly different regarding buttons, dials, menus, and terms used to represent modes and features, which can be easily understood from the manual, but most features will be similar. Here are 10 of our best links on camera craft to master the gear that you have.
While some photographers would love to hold a sophisticated camera with lots of buttons and dials, knowing what each button and dial does is quite important and will make your photography journey easier. You should be able to make quick decisions under certain shooting scenarios, and in that process, you need to instantly make decisions on which button, dial, etc., to access and get the shot at the right moment. This article is a guide to the dials, buttons, and levers on your camera.
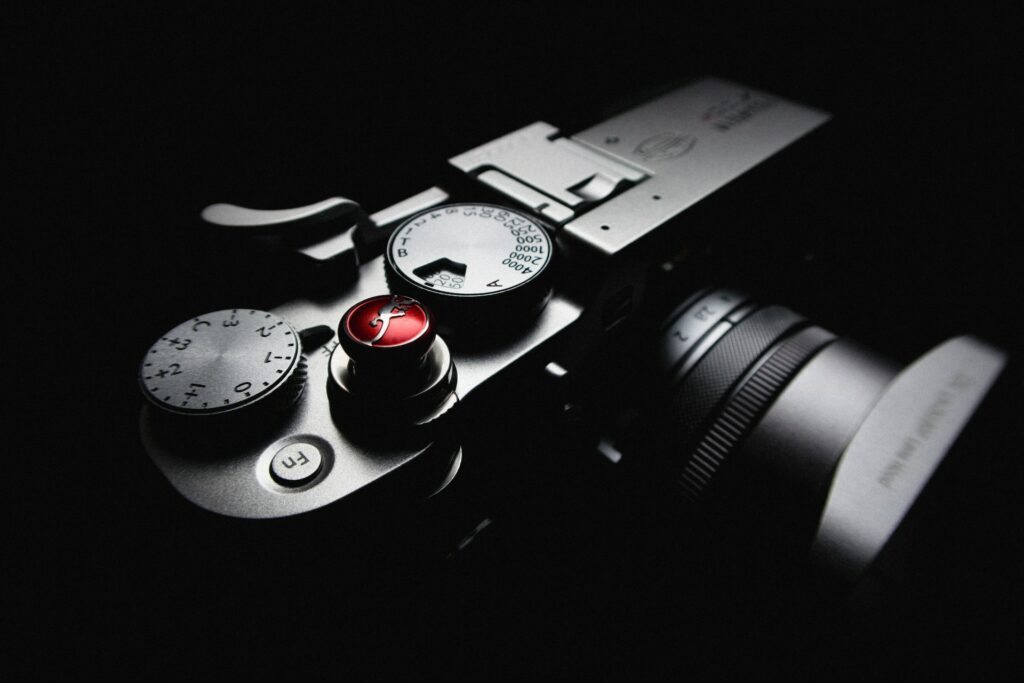
The aperture is the opening in front of a lens, and the size of the aperture decides the amount of light that enters the camera and reaches the sensor. The size of this aperture can be varied, and it depends on the lens on how wide and narrow the aperture values can be adjusted. Aperture is one of the most important factors that decide the exposure and other creative results in an image and one that beginners struggle with understanding. This guide will help you to understand aperture in a very simple way.
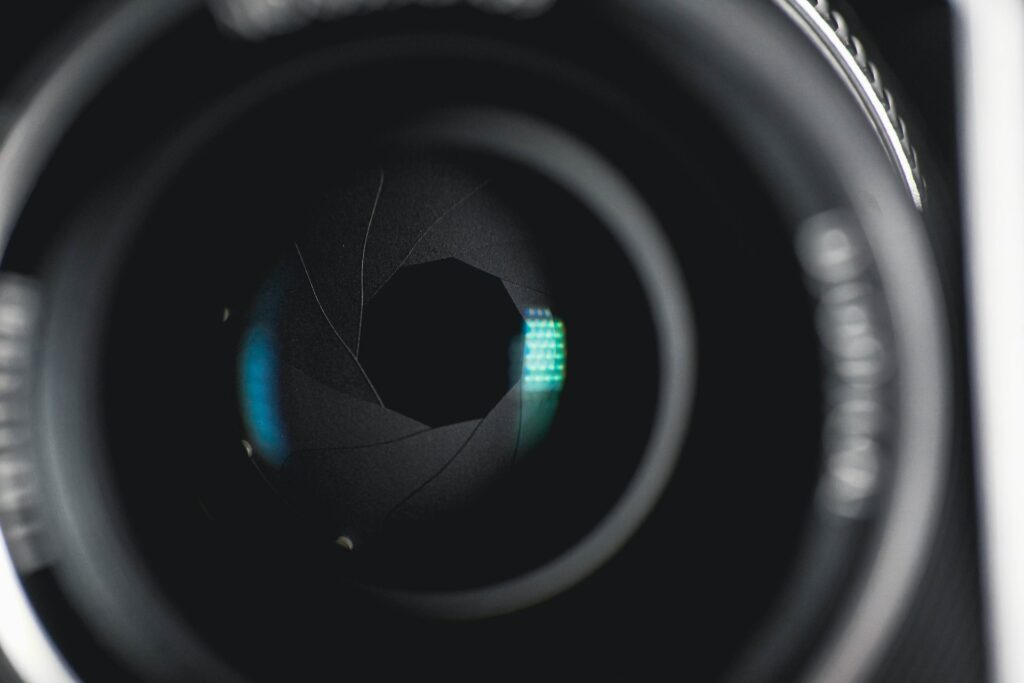
Shutter speed is the amount of time the shutter remains open to allow the light entering the camera to fall on the sensor. Depending on how long you expose and other factors like light, movements, etc., shutter speed also controls how the images are captured – for example, freeze actions with a very fast shutter speed like 1/2000 or 1/4000s or capture movements using slow shutter speeds like 1 or 30 seconds. It is also another factor, besides aperture, that controls the exposure of the image, and this article will help you understand what shutter speed does to your shots.
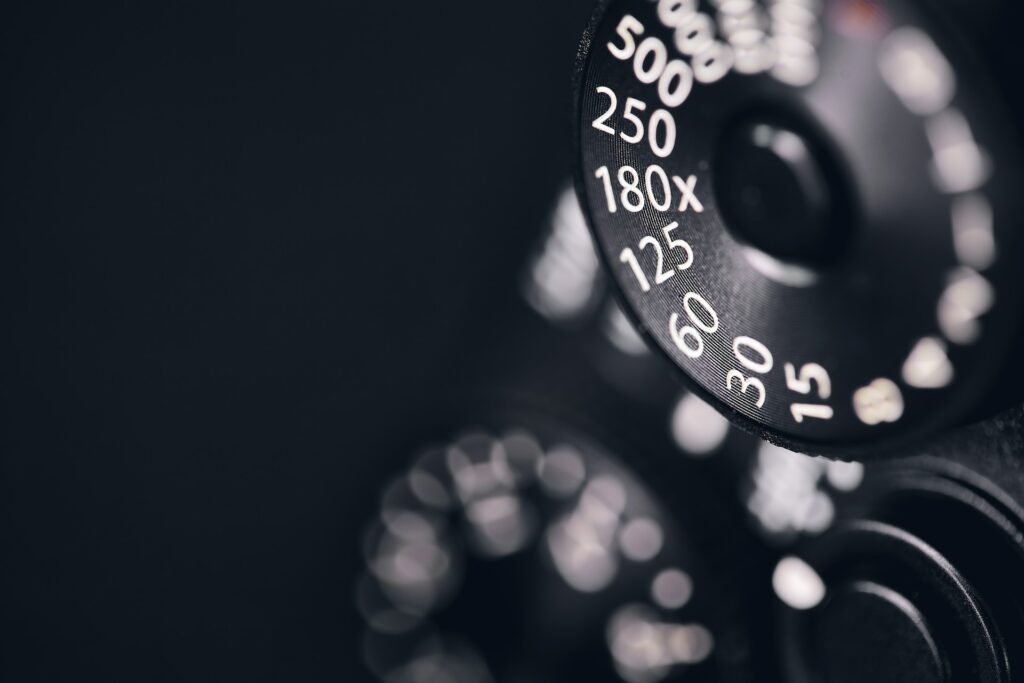
ISO is a setting in the camera that affects the sensor's sensitivity to light – in other words, for a digital camera, it is its ability to capture light depending on the iso values chosen – the lower the value, the less sensitive the sensor will be to light. When ISO values are increased, there is some digital noise introduced, and this scenario occurs in low light situations or other situations that require very narrow aperture values and fast shutter speeds. This article focuses on choosing the right ISO for a specific shot and remember that ISO is also one factor contributing to correct exposure, besides aperture and shutter speed.
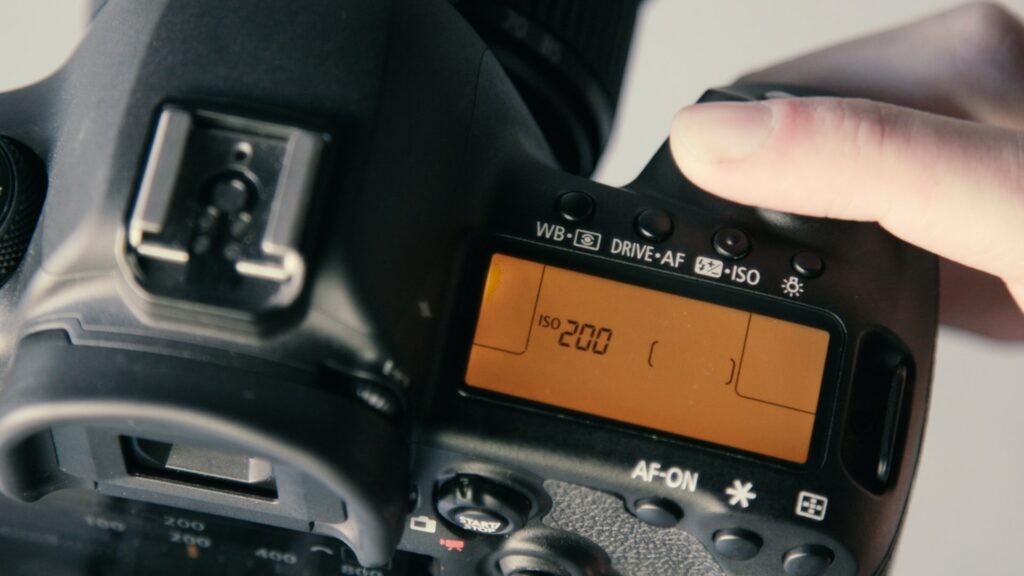
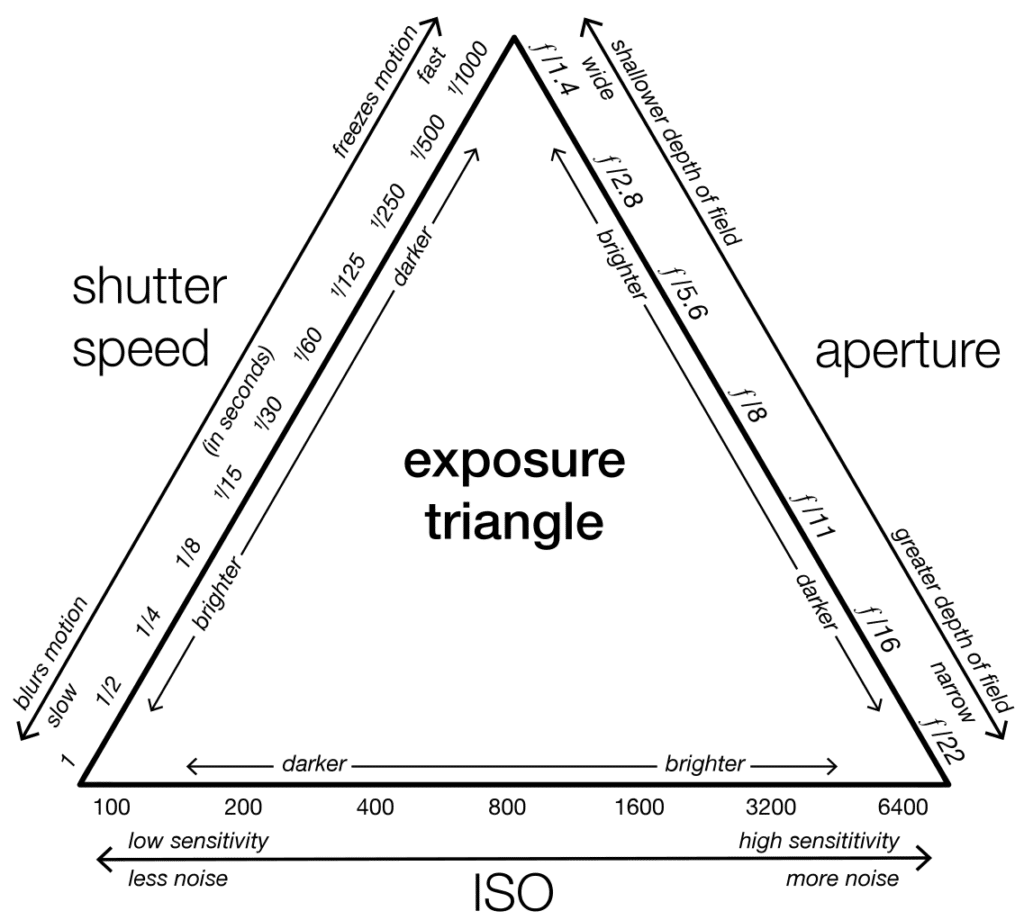
When you capture a photograph, you are making an exposure on the camera's sensor. This exposure depends on many factors, like the available light/light falling on the sensor, the scene/subject, but most importantly, the exposure is controlled by three main factors – the aperture value, shutter speed, and ISO. Whatever camera you own, the exposure triangle is the one that decides the exposure of the image that you capture and this article provides you with reasons why an understanding of the exposure triangle will help you grow as a photographer.
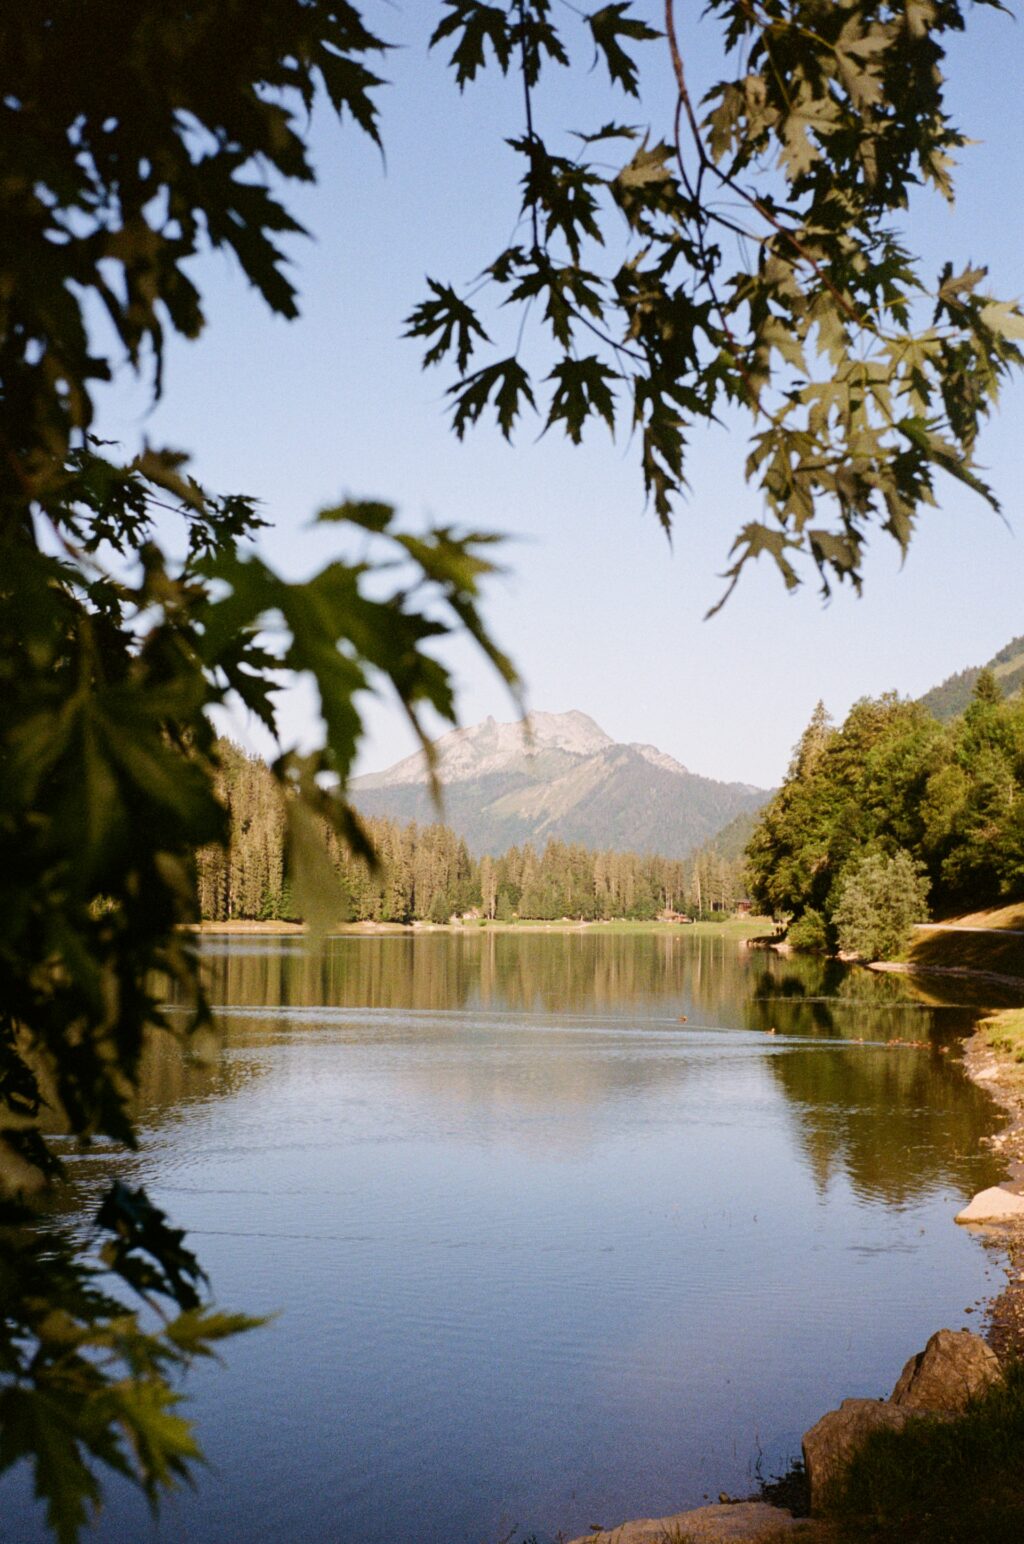
There are times when exposure settings done with the help of the camera's light meter are not very accurate, and the photographer may want the resulting image to be slightly brighter or darker. Exposure compensation is a setting that will allow the photographer to make the image darker or brighter by overriding the light meter. This article discusses when and why you should use exposure compensation.
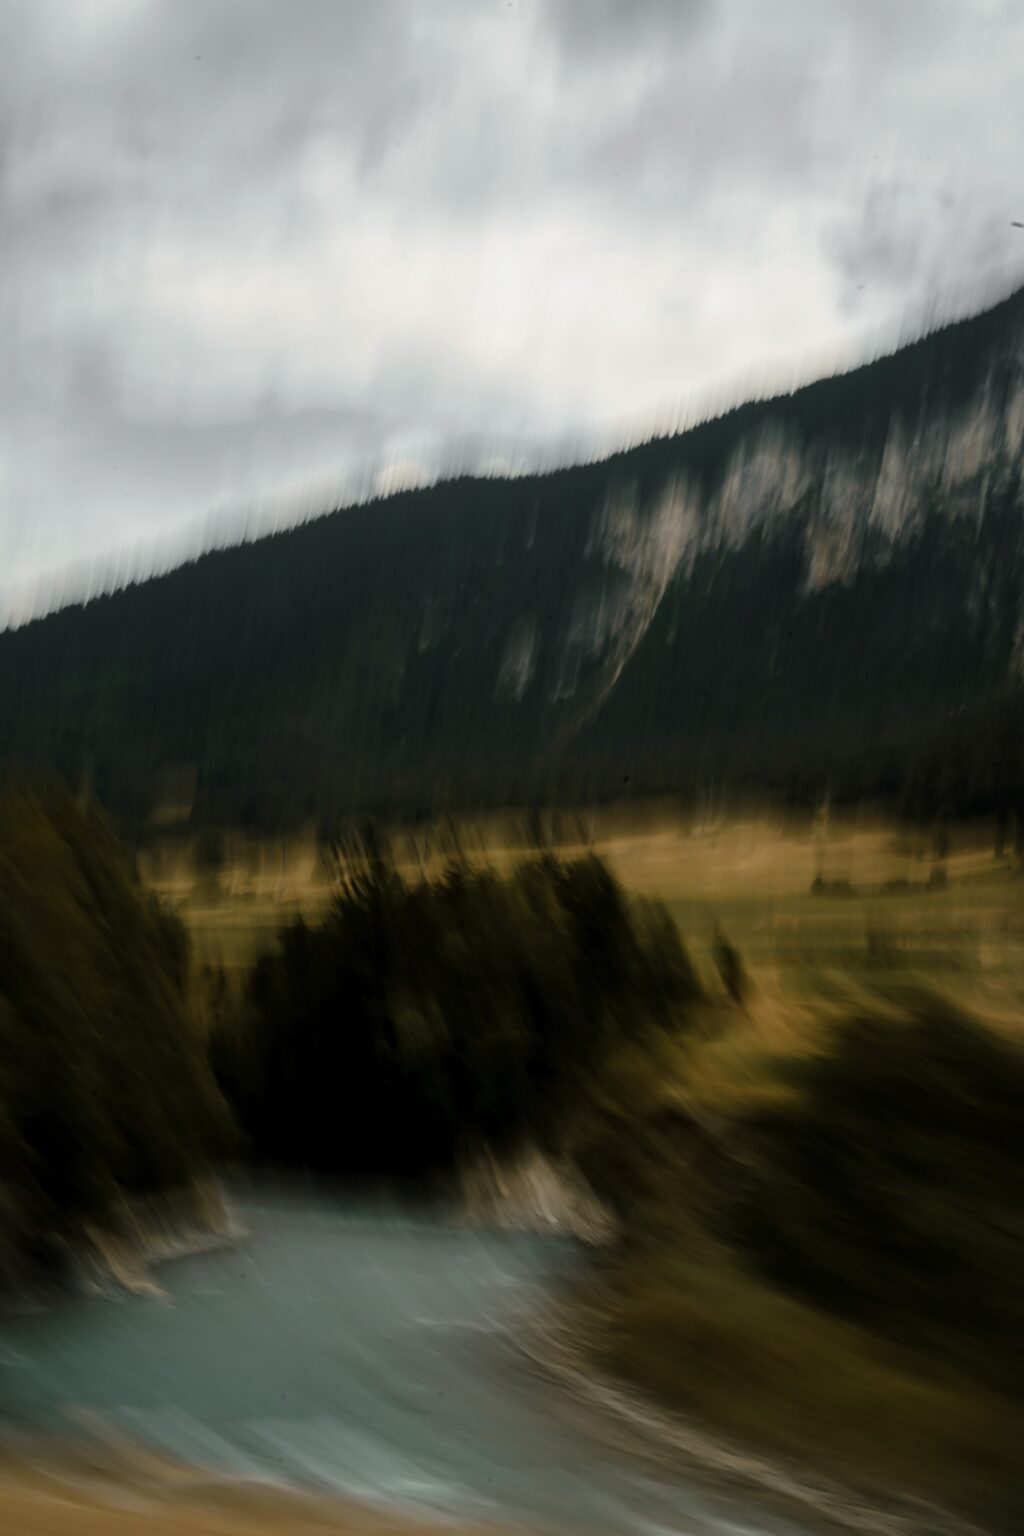
Beginners in photography often face problems in capturing tack-sharp images. Blurry and shaky images can be very frustrating, and some photographers struggle to find the reason behind blurry images. Knowing a few techniques and taking care of a few settings will help you capture sharp images every time you press the shutter button unless the blur is intentional. This article talks about the most basic thing you need to take care of to avoid camera shake.
Depth of field is the area that is of acceptable sharpness or focus in an image, and it can vary depending on various factors. When you are looking for sharpness in your image or creamy bokeh, you will need to adjust the aperture values, which are one of the deciding factors for depth of field. Here is a guide that will help you to understand depth of field in detail, so you can apply it in your photography to create better images.

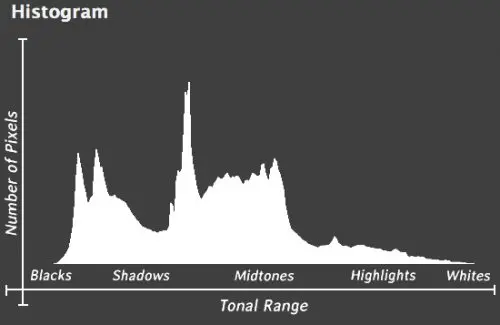
The histogram is one of the most important tools in the camera, and it is a visual representation of the tonal values in a photograph. To capture an image with good tonal variation, you need to have an almost bell-shaped histogram that covers all the areas, but there are times when you will need to push the histogram beyond its limits for the sake of visual impact. This article talks about why you do not have to always stay within the limits of your histogram and how you can push the boundaries for visual impact.
White balance in an image is how warm or cool the colors look in the photographs. Although the human eye does not see much color difference under different lighting conditions, the camera sees it and hence the color temperature. For white to look like natural white in a photograph, one has to balance the colors, which is achieved by adjusting the white balance. This article talks about manually setting a custom white balance in your camera.
Further Resources:
- The 7 Important Camera Controls Beginners Need To Master
- What Does Getting It Right In Camera Really Mean Today?
- The 7 Best Camera Functions You’re Probably Not Using But Should Be
- An Easy Guide to Understanding How Your Camera’s Menu System is Set Up
- These 3 Simple Facts Show You How to Take Control of Your Camera
Light Stalking https://ift.tt/b7NR4Kn
Sourced by Time Trap Photography sharing the best photography tips, news and tricks throughout the industry. Time Trap Photography is dedicated to freezing those special moments in life that can be revisited and admired for generations to come. - Shannon Bourque
Please visit our main site for booking availability and rates.

Receive valuable industry knowledge delivered free to your email each day.


No comments:
Post a Comment
Thank you so much for your comment. A moderator will review and approve all relevant posts. We appreciate your support and encourage you to stay with us by subscribing to our email updates. Where you can easily pick and choose what photography subjects interests you. Subscription link: http://bit.ly/photo-sub