There is a well-known acronym called KISS, Keep It Simple, Stupid. Created by the US Navy in the 60s, this tag could also be applied to modern-day photography.
Adobe’s Lightroom is probably the widest-used photographic app there is. Its appeal is the seamless integration of image management and nondestructive editing. I have used Lightroom Classic for many years and have a catalog reaching around 80k images.
Recently though I have started to look at my workflow in Lightroom. Like many professional photographers these days, I dabble in multiple revenue streams, stock, prints, and courses to name some.
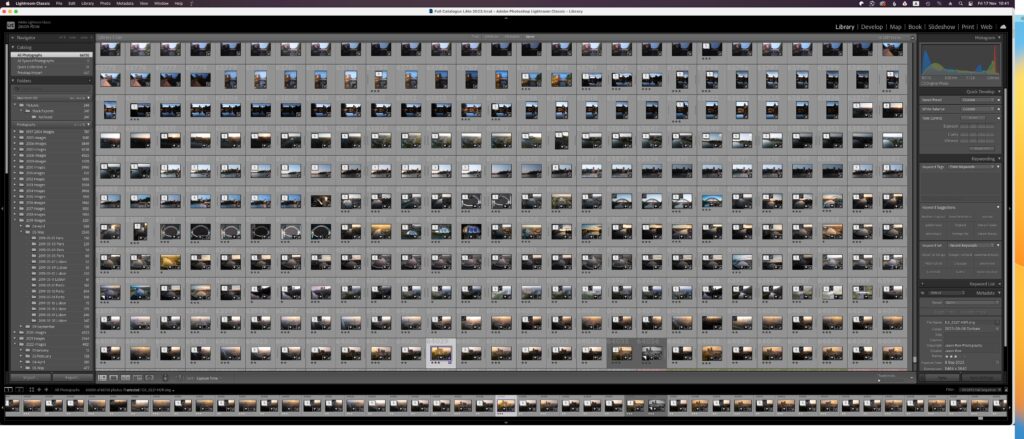
For that reason, I have used Lightroom’s powerful rating tools to isolate, edit, and export my images for each type of genre. The problem is that recently I realized that my workflow has become overly complicated. I tend to use pretty much every cataloging tool available to me, and that’s slowing me down. Today, we are going to look at Lightroom’s image management in general and why you should try to streamline your Lightroom workflow.
Look Over the Shoulder of These Experts As They Show You Their Lightroom Workflow
The Problems With Over-Complicating Lightroom Workflow
There are many potential issues with over-complicating your Lightroom workflow. Even before you start, you may have spread your images over multiple folders on multiple drives and have multiple catalogs. This in turn can make it difficult to sort and find images in your catalog.
Inconsistent importing can be an issue. You might apply metadata to some, copyright info to others, and apply a basic import preset to yet more images. This can lead to extra work in the future if you want your images to have a consistent default metadata and look.
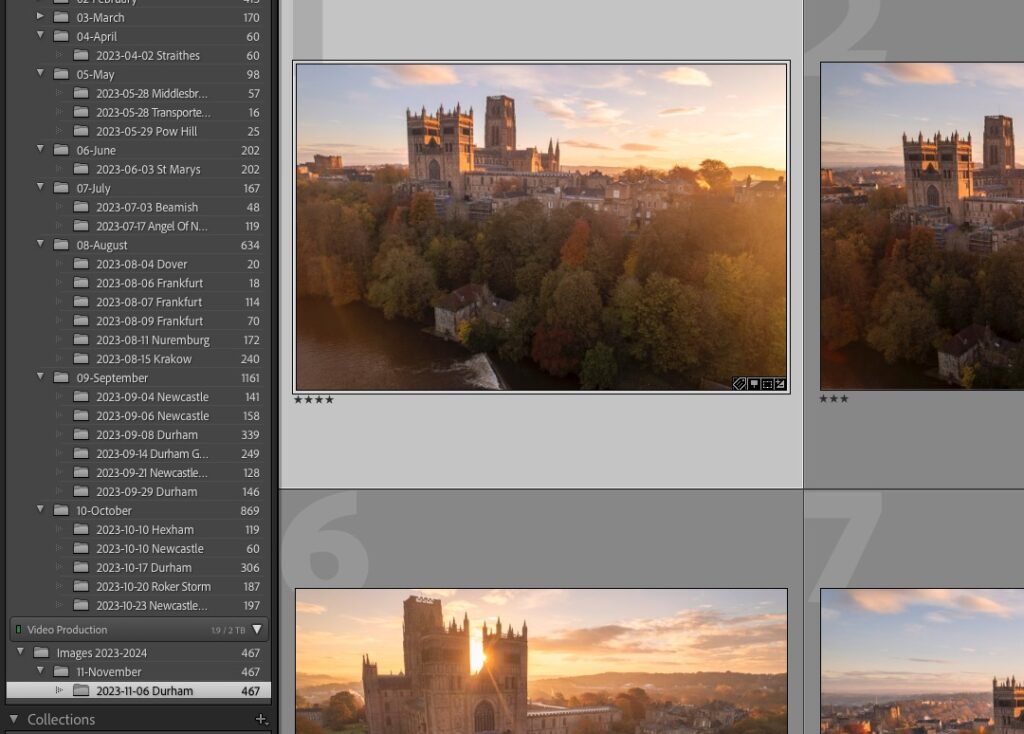
Once imported, the use of Lightroom’s rating system can become very erratic and inconsistent. This can seriously slow down your workflow as you try to remember what a particular rating means. Before we delve any further into a rating workflow, let’s take a look at how they work.
Lightroom’s Image Rating System
Lightroom’s catalog has three main rating tools. Stars, Colors, and Flags. Let’s quickly break down each.
- Stars: The star rating system allows the photographer to give a rating of between 1 and 5 stars to individual images. By default an image has a 0-star rating, we can change that by pressing the applicable number key.
- Colors. In addition to stars, we can give our image one of five different color labels. By default, these are red, yellow, green, blue, and purple. The labels can be changed in the Lightroom settings
- Flags. These can be flagged, unflagged, and rejected. Pressing the X key will reject an image and hide it from view in the catalog. It can be found and deleted by using the catalog filter functions.
These three systems make cataloging very powerful but require that you use them consistently if you are not to overcomplicate your workflow.
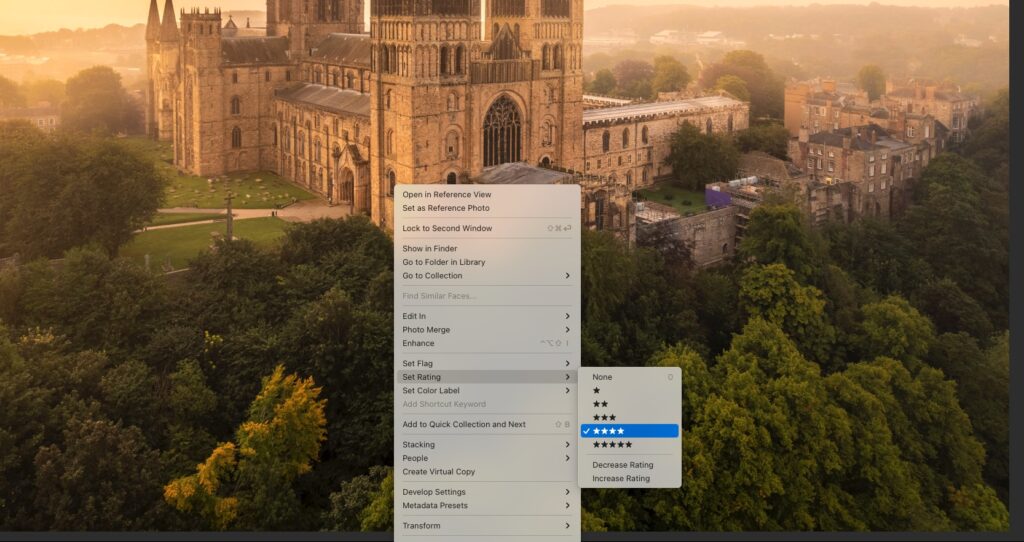
Define Your Rating System And Stick With It
One of the easiest ways to overcomplicate your workflow is inconsistent use of the rating system. For example, you might have recently imported a location shoot. You might start by star rating the images 3 for stock, 4 for prints, and 5 for portfolio. You might then rate an image red as to be worked on and green as ready for export. You might flag an image that requires more work.
However, if you do not use this system consistently with every shoot you will struggle to remember what each rating represents. Let’s have a quick look at my own rating workflow.
How I Use The Rating System to Save Time
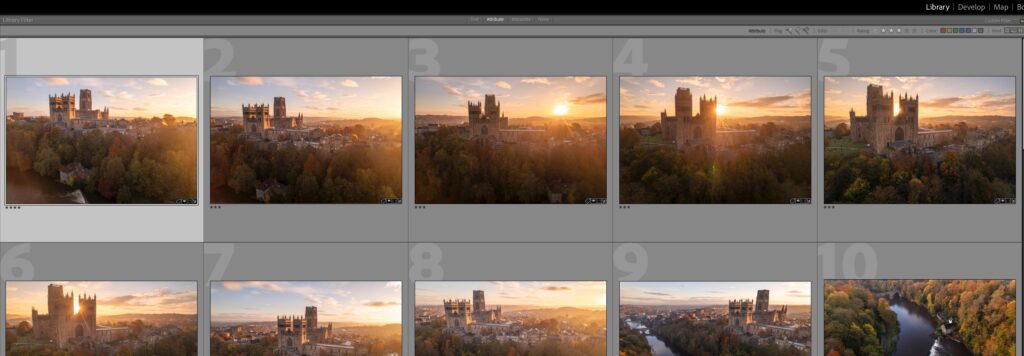
After a lot of experimentation and inefficiency, I found it useful to make sure each rating sub-section is well defined. In my workflow, the number ratings are used simply to define how good the image is. I start at:
- 3 stars, suitable for stock
- 4 stars, a sellable print
- 5 stars, portfolio material
And that’s it. I do not use 1 and 2 and I only use 0 to derate an image that I discover to have technical issues when editing.
I also use the color rating system sparingly. It’s simply:
- red, image requires editing
- green, the image is edited
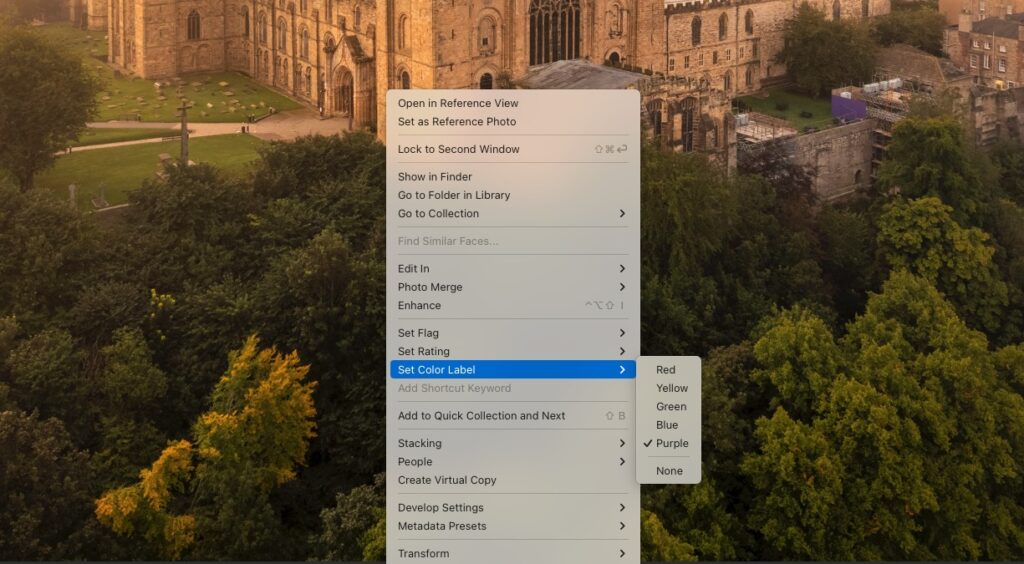
The flag system I use is only for rejecting images that I wish to delete. They might be poor composition, bad focus, or simply an image that is not interesting.
Using this workflow, I select 4 and 5-star images first and rate them red. I then edit them to my highest standards and add metadata such as caption, description, and keywords before giving them a green color rating. I repeat the process with 3-star only images but editing for stock rather than portfolio or print.
Going Beyond Ratings in Your Lightroom Workflow
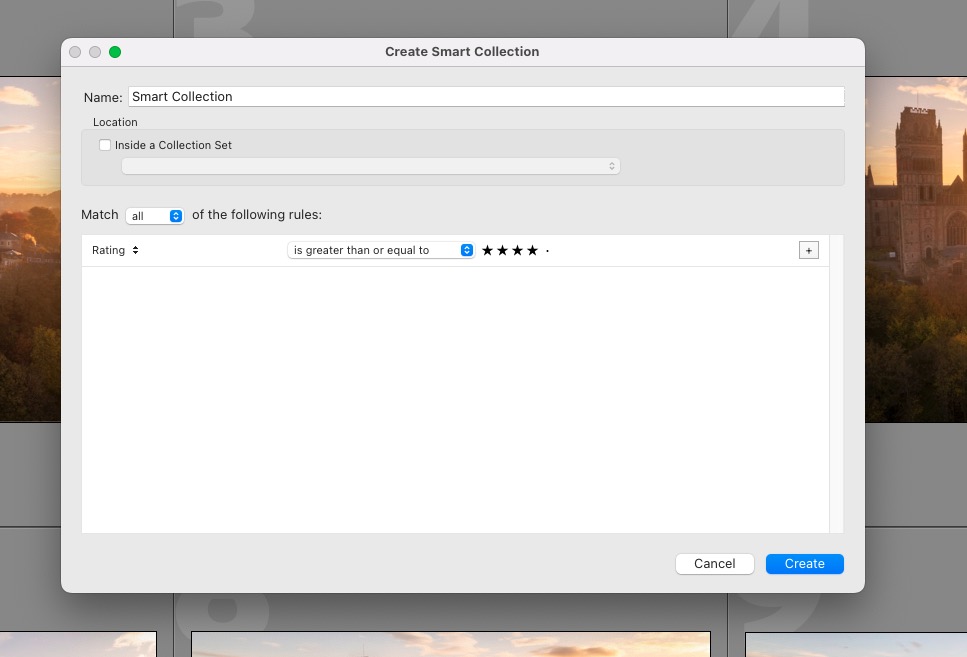
Of course, there are situations that occur in my workflow that go beyond my rating system. Rather than add more colors or stars, I use collections or smart collections. For example, if I am working on a course about the exposure triangle, I might need images that demonstrate shallow depth of field, slow shutter speed, or high ISO.
With collections, I can create a folder for each of these and drag suitable images into them. This negates the need for me to keep hunting down the images within their original folders. As a side note, dragging an image into a collection does not move it from the existing Lightroom folder.
The Importance Of A Consistent Lightroom Import Strategy
We touched on import earlier. When we do an import, we can choose to add certain bits of metadata. In my workflow, I simply add my current copyright data along with my name and contact details to each file. This is done through a metadata import preset.
However, one thing that I also do is add the location to the keywords. This will be city/town, state or county, and country. As much of my photography is location-based, travel, landscapes, and urban landscapes, this simple addition on import allows me to easily create smart collections.
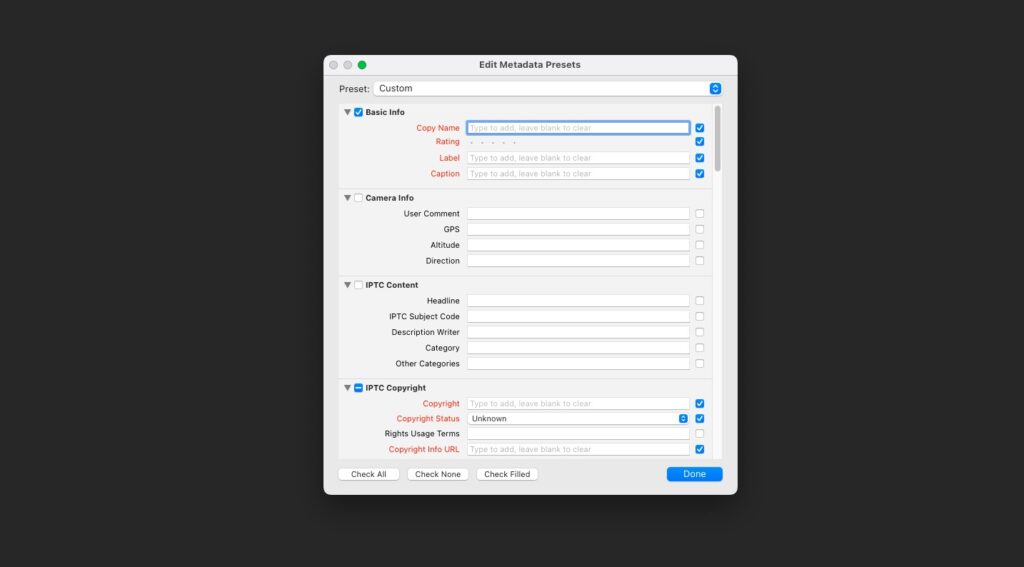
For example, I might be looking for all pictures from Durham, County Durham. I can set up a smart collection that looks for those keywords in the metadata and shows them all in one place. You can theme your keywords to the type of photography that you do.
Other Streamlining Considerations
The way you have your images stored can have a major impact on your workflow. If your shots are spread across multiple drives in multiple folders then organizing them will slow you down. This will be compounded by poor folder and file naming.
Try to get all your images into a well-organized file hierarchy all in one place. You can use Lightroom’s tools to refind the folders if you have moved them. Consolidating your images into one place will also make it easier to back up.
If you have a huge number of images, break the catalogs up into smaller ones. Make sure you store each catalog in the same place with an easy-to-remember title. For example, in my own workflow, I have split catalogs into pre-2011 and 2012 to date.
When it comes to editing images, you will, over time, develop a style. Try to use that style to limit the amount of time you edit a photo. Having a style will also reduce the need for multiple virtual copies, simplifying your catalog.
Further Reading
Summary
Just because Lightroom has such a vast array of cataloging tools, doesn’t mean that we need to use them all. Unless you have a photographic memory, it’s best to streamline your rating system to suit the work you shoot.
The efficiency of a workflow is all about keeping it simple and retaining muscle memory for the key aspects of that workflow. The more you add to it, the more complicated it will become and the slower the process will be. Applying the KISS principle to your photography workflow will save you a lot of time. Time saved to go out and shoot more.
Light Stalking https://ift.tt/sCrUTch
Sourced by Time Trap Photography sharing the best photography tips, news and tricks throughout the industry. Time Trap Photography is dedicated to freezing those special moments in life that can be revisited and admired for generations to come. - Shannon Bourque
Please visit our main site for booking availability and rates.

Receive valuable industry knowledge delivered free to your email each day.


No comments:
Post a Comment
Thank you so much for your comment. A moderator will review and approve all relevant posts. We appreciate your support and encourage you to stay with us by subscribing to our email updates. Where you can easily pick and choose what photography subjects interests you. Subscription link: http://bit.ly/photo-sub