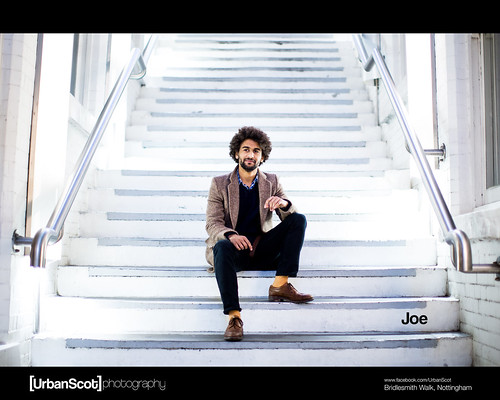
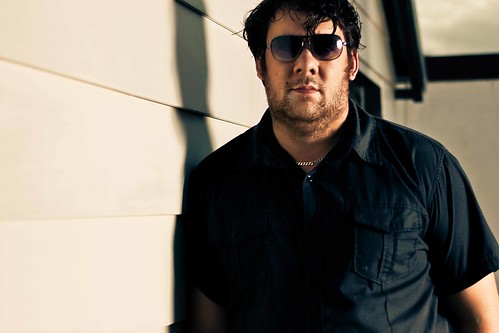
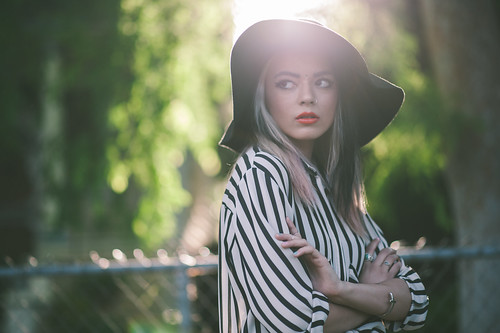
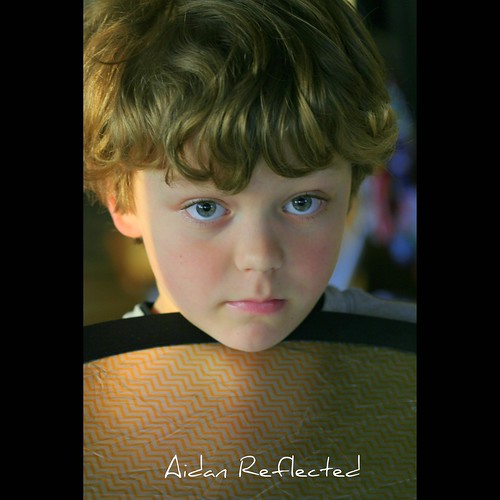
Bounced light has always been an important component of lighting, especially in portraiture and it is one of the most fundamental lighting skills one should possess as a portrait photographer. It gives a little more illumination to the subject and eliminates or lightens unwanted shadows.
While some may come up with different ways to bounce light, truthfully, there is only one real way to bounce light and that is with a reflective surface. However, there are different techniques you can use and these variations are all based on the direction, material, color, and even angle of the object or surface used to bounce the light. The effects and techniques are different but they all aid the photographer to achieve better portraits.
So, What Are The Benefits Of Bounce Light?
Bouncing light is essential at times when you want to get rid of harsh shadows or when you want to soften the light that you already are using. If you are a photographer who works with strobes and you either are not able to use other lighting modifiers or you do not own them, then bouncing light can be a very useful technique. The same applies when you are shooting weddings and events under ambient or low light and you want to improve the lighting conditions, then bounced light can come to the rescue. By bouncing light, you are able to transform the small light source that produces harsh light into a large light source that produces soft and flattering light.
Some objects that can be used to bounce light are:
- White walls
- White or grey ceilings
- White or grey colored screens
- White or grey colored clothes and boards
- Other reflective surfaces like water, tiles, white floor, other props like books, etc.
Here Are 12 Different Ways To Bounce Light To Get Better Portrait Shots:
The methods below can be used whether you're using natural or artificial light.
1. Bounce Light From a Portable Reflector
Using a portable reflector is probably the most basic form of bouncing light common to portrait photographers. While your main light source is hitting one side of your subject, you can position the reflector on the opposite side of the main light and illuminate the opposite of the face. This eliminates a little bit of unwanted shadows, making your portrait a little less textured and not too edgy. You should check out the 5-in-1 reflector kit.

Photo by Peter McConnochie
You can also use the reflector to turn your small light source (for example, a strobe) into a large or broad light source (light from a strobe which is a small light source can be bounced to create a broad light source). This way, you are able to convert the small light source with hard and unflattering light into a large light source with soft and flattering light. Just doing this will make a huge difference in the resulting portrait as huge diffused lights are flattering.
2. Use Different Reflector Sizes
Size matters when it comes to reflectors since different surface areas affect the hardness and softness of light. Using a larger reflector means softer light. Smaller ones do the opposite although it’s still much softer than the original, direct light source.
3. Multiple Reflectors for Group Portraits
Instead of using just one big reflector, try adding a few smaller reflectors to create a more uniquely-illuminated group portrait. If a single reflector cannot create the lighting effect you want for a group of 4 or 5 people, try using smaller reflectors for individuals you want more light on. Although you may need more hands to hold all the reflectors, it might eventually result in better lighting.
4. Bounce Light Using a White or Light Gray Wall
One of the best sources of reflected light are large white solid objects since they bounce back a whole lot of soft light and cover a large area. White walls act like over-sized reflectors. Place your subject(s) beside or near a white wall with the sunlight bouncing off it to create that soft fill light effect.

Photo by Joel Devereux
5. White Floors or Water
It’s not just white walls that can add a beautiful fill light to portraits, you can also use white flooring to bounce light. This lightens the areas under the eyes, nose and chin, especially when light is coming from above. You can also use bodies of water as an alternative. That’s one reason why beach shots look so stunning.
6. Ceiling Bounce
When you don’t have the luxury of time to setup your hotshoe flash off-cam and you’re at an event shooting portraits, you can always bounce its light off the ceiling. Allowing light to hit the ceiling and bounce downward, creates a better effect than direct light from the front. Not only does it prevent red-eye, it also avoids the mug-shot look that direct, frontal light creates. You just have to make sure the ceiling is light colored, preferably white or very light gray. It shouldn’t be too high either since the distance of the ceiling from the main light source affects illumination.
7. White Rooms
Don’t just limit yourself to choosing between white ceilings, walls, or floors. Why don’t you try them all. Find a room that has exactly all three and photograph there. This helps when you don't have a lot of light sources but want more punch in terms of light. A little amount of light maybe from a window or strobe in a room where everything is white does wonders. Now you know why some portrait studios have this as a setup.

Photo by Robert Bejil
8. Use a Bounce Card
Some flash units have built-in bounce cards that you can use to diffuse light. It’s really just a small white card that works similar to bouncing off the light off the ceiling except that its placed right on your hot shoe flash. This is quite effective to use and better than directly using your flash on your subject in times when you don’t have the luxury of getting your hot shoe flash off the camera, and where you don’t have a white ceiling or when the ceiling is too high. Those without the card can make their own DIY versions.
9. Bounce Strong Back Light as Fill Light
We all love the rimlighting effect which creates an outline of our subjects using the back light. If there is no other light source with you to illuminate the face, it’s a good option to bounce back the same light as fill light. You can do this by shooting with the wall behind your back, essentially with the wall in front of the subject, or by using a reflector. Bouncing back the light will also help you show the details in the background better. This avoids silhouettes or blown out highlights when you choose to properly expose the backlit face.
10. Bouncing Light on Colored Surfaces
It’s always suggested to use white or light gray to bounce back light, simply because these are neutral colors. If you want to add a little flair, then go the colored way. Try using a pink colored board or wall and you’ll reflect a pink tone back to your subject. This works with colored light diffusers as well.
11. Bounce Light on Golden or Other Metallic Surfaces
Golden surfaces are excellent for creating a natural warm look. You can add a sunset like fill light with it. There are available 5-in-1 reflectors you can purchase from photography stores where gold and silver sides are available. Silver ones produce a cooler tone and excellent for those who want a little more punch without the warm tone.

Photo by John Morgan
12. Bounce Light From a Prop
Most reflectors are used mainly as an aid to assist in giving light. They are usually not part of the frame. But there others that you can use as part of the frame. It doubles as a lighting accessory at the same time an element of your image. An opened book under the face, leaning on a white counter-top, sitting on the floor, and leaning against a white wall – these are just some examples.
Further Resources on Bouncing and Reflecting Light:
Light Stalking https://ift.tt/2nMuUkh
Sourced by Time Trap Photography sharing the best photography tips, news and tricks throughout the industry. Time Trap Photography is dedicated to freezing those special moments in life that can be revisited and admired for generations to come. - Shannon Bourque
Please visit our main site for booking availability and rates.

Receive valuable industry knowledge delivered free to your email each day.


No comments:
Post a Comment
Thank you so much for your comment. A moderator will review and approve all relevant posts. We appreciate your support and encourage you to stay with us by subscribing to our email updates. Where you can easily pick and choose what photography subjects interests you. Subscription link: http://bit.ly/photo-sub