
#instakwer #92
Oft überlege ich mir für die instakwers ein Thema und wähle danach die Fotos aus. Heute ist es anders. Ich habe versucht, möglichst unvoreingenommen Motive zu suchen. Fotos, die mich auf Anhieb ansprechen und bei denen ich beim Scrollen länger hängen bleibe.
Und es hat mich selbst überrascht, wie düster die Bildstrecke gworden ist. Vielleicht schwingt unbewusst die Vorbereitung auf die dunkle Jahreszeit mit. Vielleicht sollte ich bei der nächsten Auswahl auch einfach fröhlichere Musik hören.


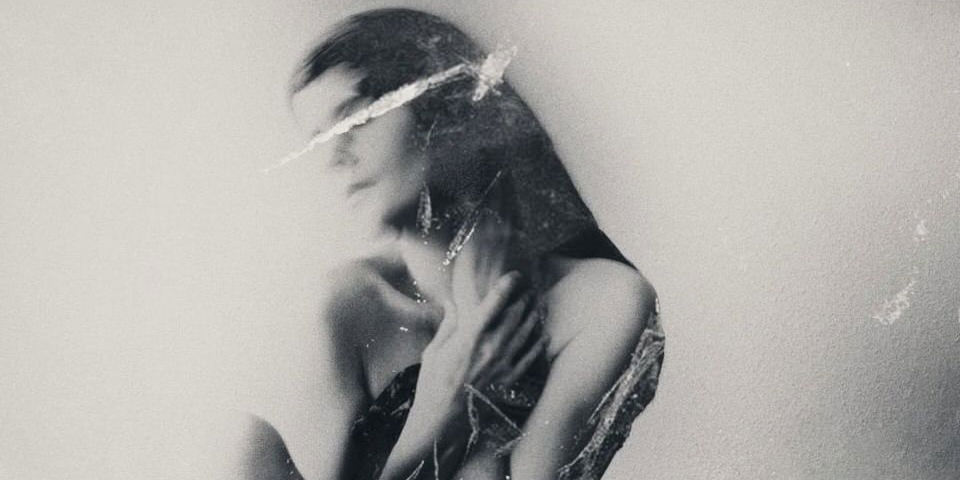
© rikita__


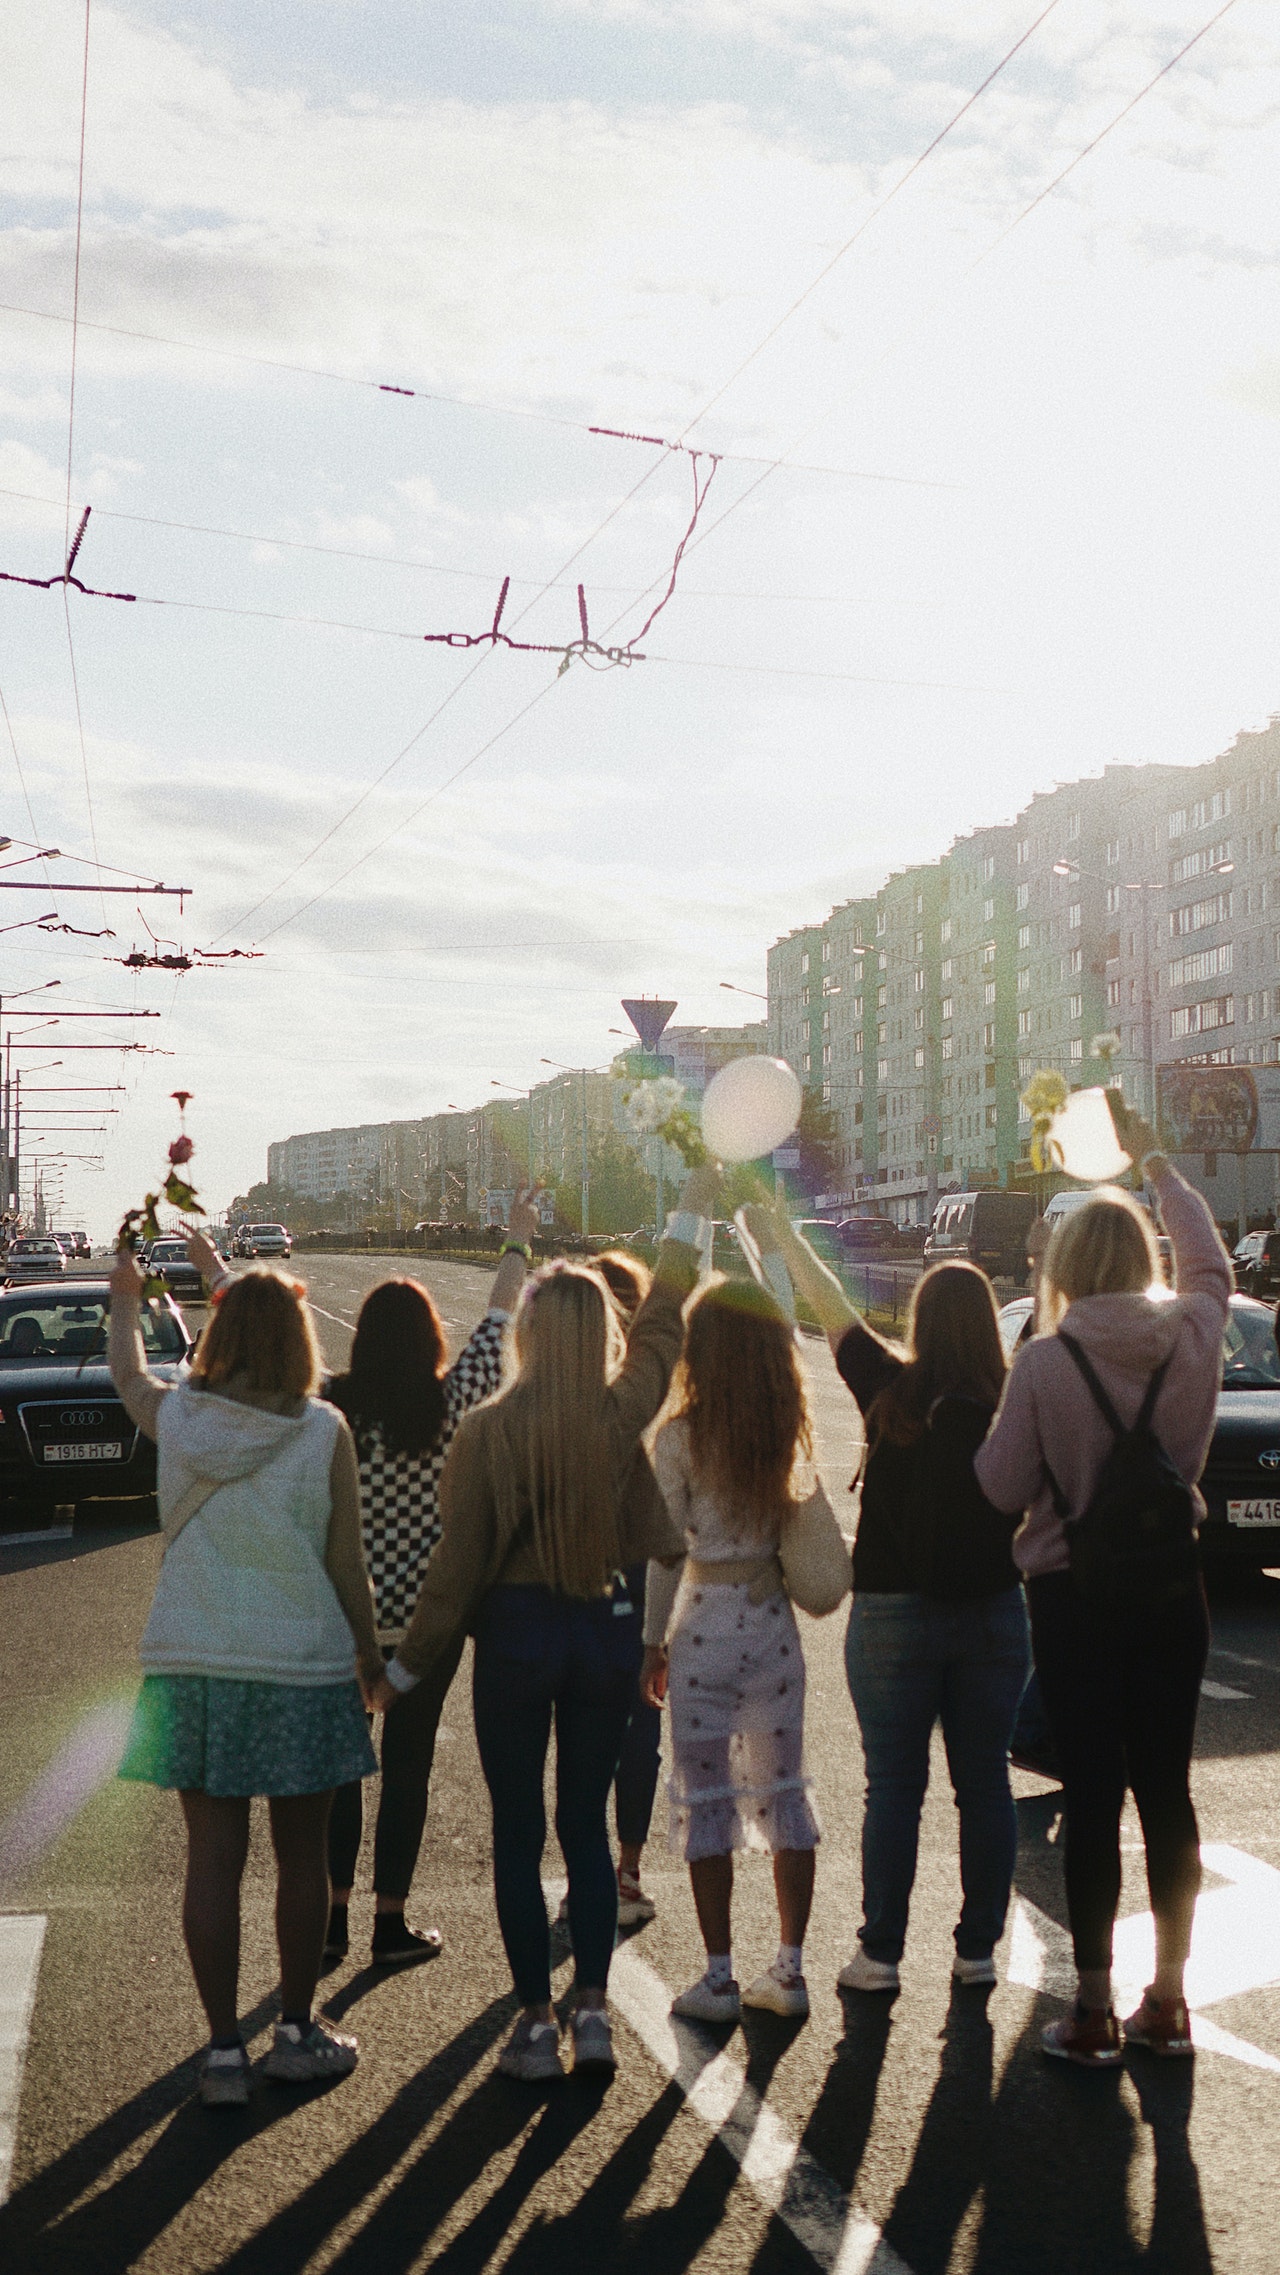
© sotblindlamp


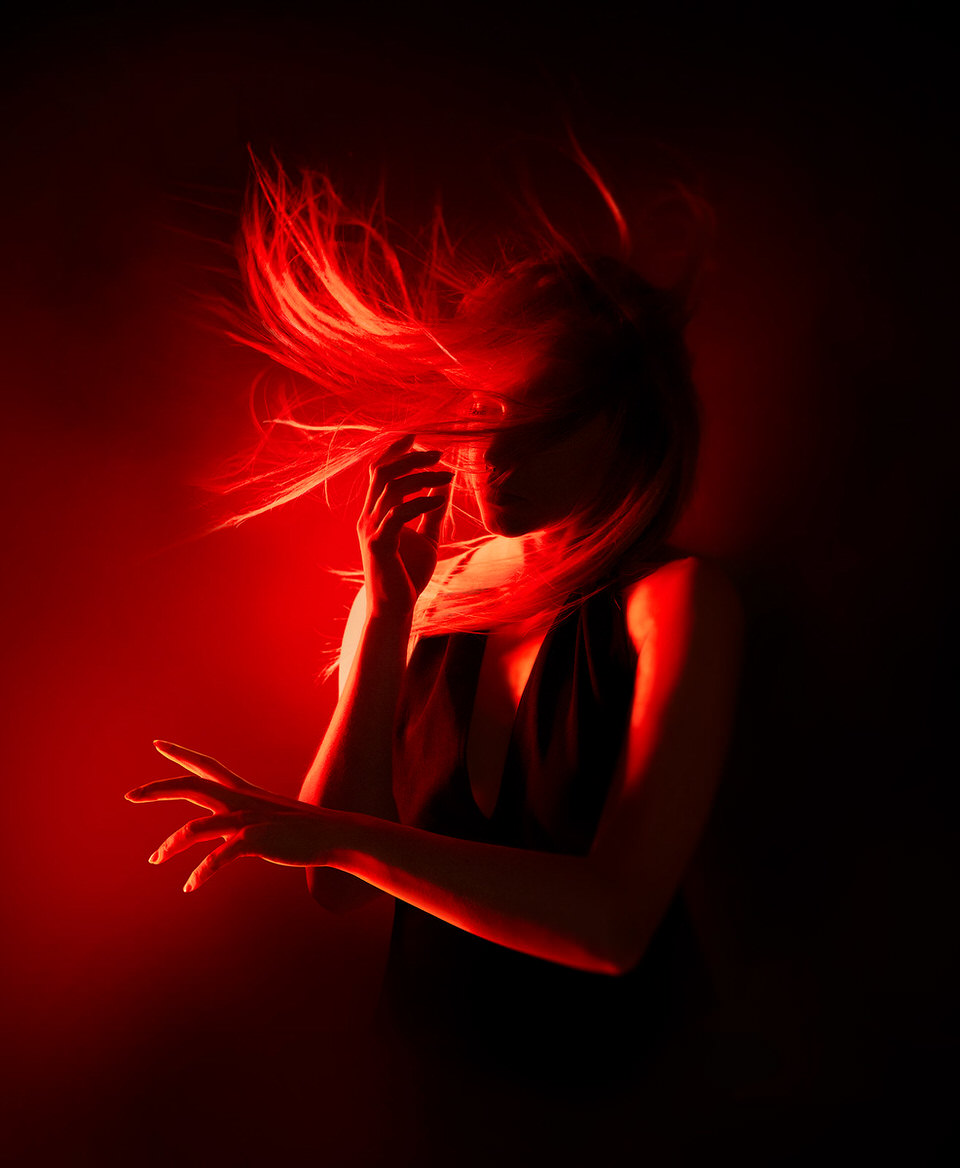
© aquafoto


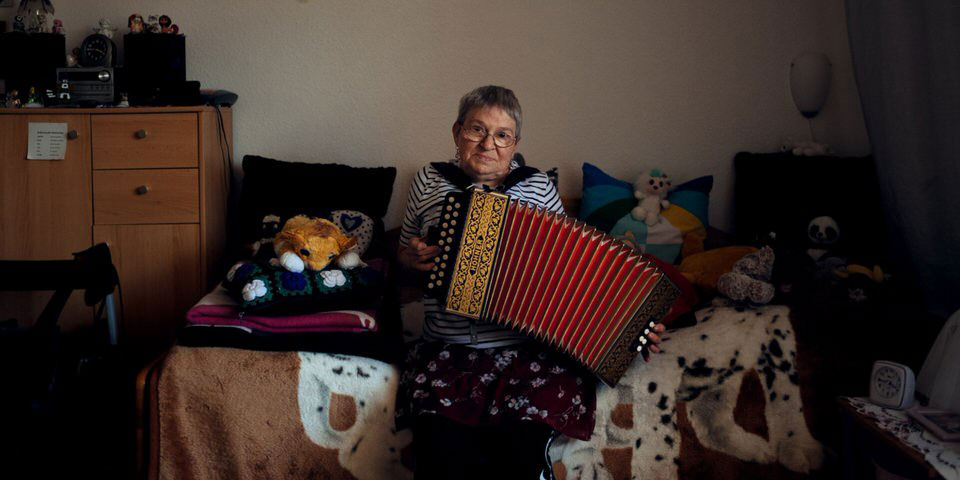
© resa_rot


Ihr möchtet selbst ein Bild einreichen? Dann nutzt auf Instagram den Hashtag #instakwer und vielleicht seid Ihr schon beim nächsten Mal mit dabei. Wir stellen alle zwei Wochen eine kleine Auswahl Eurer Bilder zu einem Artikel zusammen. Die Themen dafür wählen wir spontan aus und lassen uns dabei auch von Euren Einreichungen inspirieren.
kwerfeldein – Magazin für Fotografie https://ift.tt/3jiQ02d
Sourced by Time Trap Photography sharing the best photography tips, news and tricks throughout the industry. Time Trap Photography is dedicated to freezing those special moments in life that can be revisited and admired for generations to come. - Shannon Bourque
Please visit our main site for booking availability and rates.

Receive valuable industry knowledge delivered free to your email each day.


